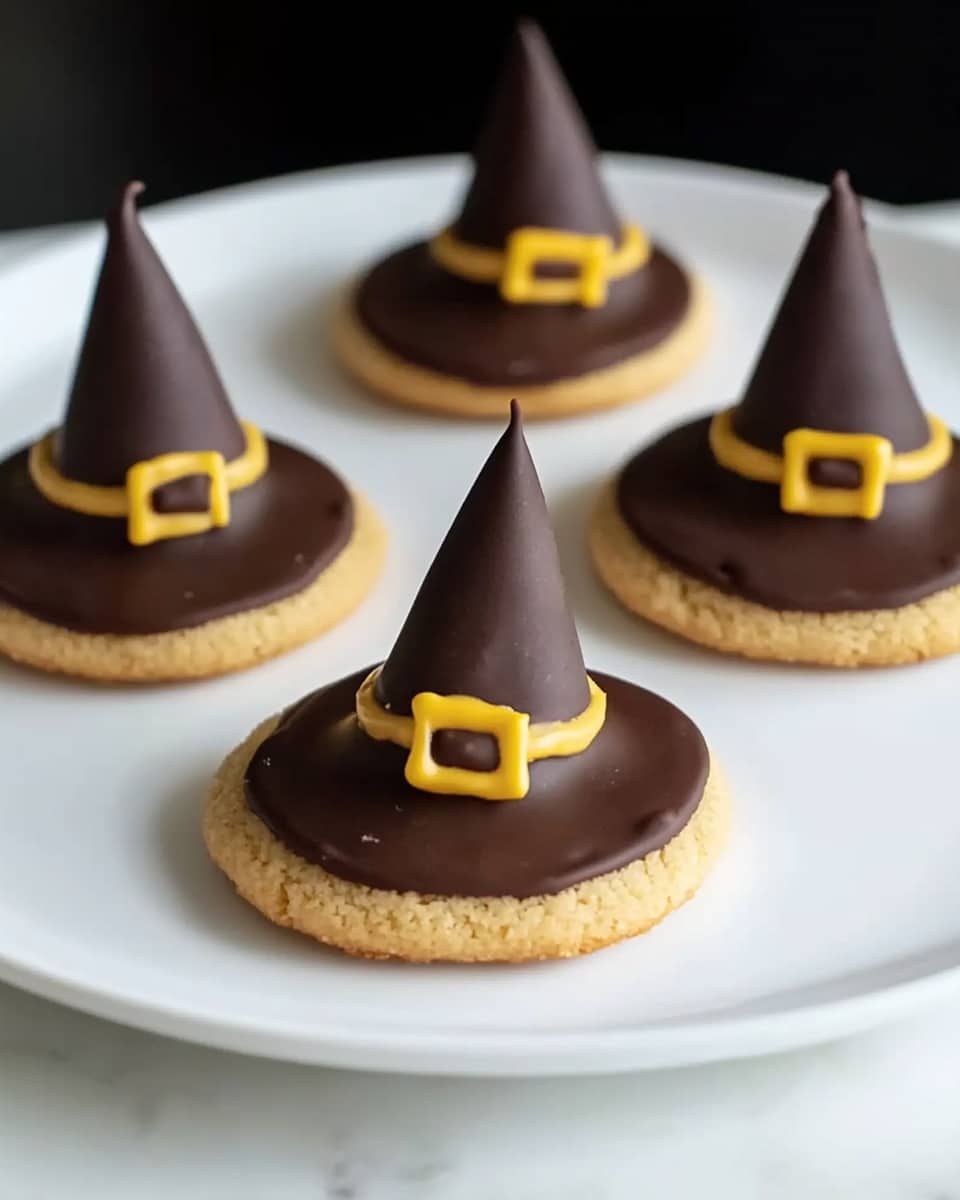
Witches’ Hats Cookie Treats Recipe
If you’re looking to add a little magic to your treat table this season, I can’t recommend the Witches’ Hats Cookie Treats Recipe enough. These adorable little cookie stacks look impressive but come together with surprising ease, making them perfect for a last-minute Halloween party or a festive family dessert. What I love is how they bring that perfect mix of rich chocolate and sweet fudge-striped cookies, topped off with a glossy chocolate kiss that feels like a bit of edible witchy charm.
Whenever I make these, I’m always reminded how fun and simple baking can be—no fancy ingredients, just a few pantry staples that turn into something truly special. Whether you’re sharing them with kids or serving them at a spooky gathering, this Witches’ Hats Cookie Treats Recipe never fails to be a crowd-pleaser. I’m excited to walk you through it so your kitchen can be filled with the same delight.
Ingredients You’ll Need
These ingredients are straightforward but thoughtfully chosen to create that classic combination of crisp cookies, sticky honey for hold, and the irresistible milk chocolate touches. Choosing the right fudge stripe cookies and chocolate kisses really makes a difference, so I’ll share a few tips to get you started.
- Fudge stripe cookies: These cookies are the star base for the witches’ hats with their delightful striped design and chocolate flavor. Look for fresh, crispy packages for the best texture.
- Honey: Acts as the glue holding layers together—using a mild-flavored honey keeps the sweetness balanced without overpowering the chocolate.
- Milk chocolate candy kisses: Unwrapped, these become the perfect conical “hat” tops with that classic smooth chocolate melt. You can substitute with dark chocolate if you prefer a richer flavor.
- Decorating gel: This is the final touch for decorating, lending a fun, colorful flair. You can find this near the cake decorating aisle—green, orange, or black work especially well for Halloween themes.
Variations
I love how forgiving this Witches’ Hats Cookie Treats Recipe is, letting you make it your own with easy swaps and fun twists. Here are some ideas based on what I’ve tried and loved:
- Variation: Try white chocolate kisses with a drizzle of dark chocolate gel for a ghostly look. I did this last year, and the contrast was stunning on the dessert table.
- Nut allergy-friendly: Swap out honey for corn syrup or a mild syrup to keep it nut-safe while still sticky enough—worked perfectly when my niece had a peanut allergy.
- Extra spooky: Add edible googly eyes with decorating gel for eyes right on the chocolate hats—kids love helping with this creative step.
- Seasonal twist: Around Christmas, I switched to peppermint-flavored kisses and red or green decorating gel for a festive spin that was a huge hit.
How to Make Witches’ Hats Cookie Treats Recipe
Step 1: Prep Your Cookies and Workspace
Start by laying out your fudge stripe cookies on a clean surface or baking sheet. You want easy access and a bit of space to work comfortably. Unwrap the milk chocolate candy kisses so they’re ready to go—trust me, no one wants to be unwrapping chocolates with sticky fingers mid-assembly! Have your honey nearby in a small bowl or jar for easy dipping or spreading.
Step 2: Build the Base Layers
Take one fudge stripe cookie and lightly brush a small amount of honey on the underside. You don’t need much; just enough to stick the cookies together without making them soggy. Stack another cookie on top, gently pressing down so they bond but the chocolate stripes stay visible and intact. Repeat this to create as many hat bases as you want.
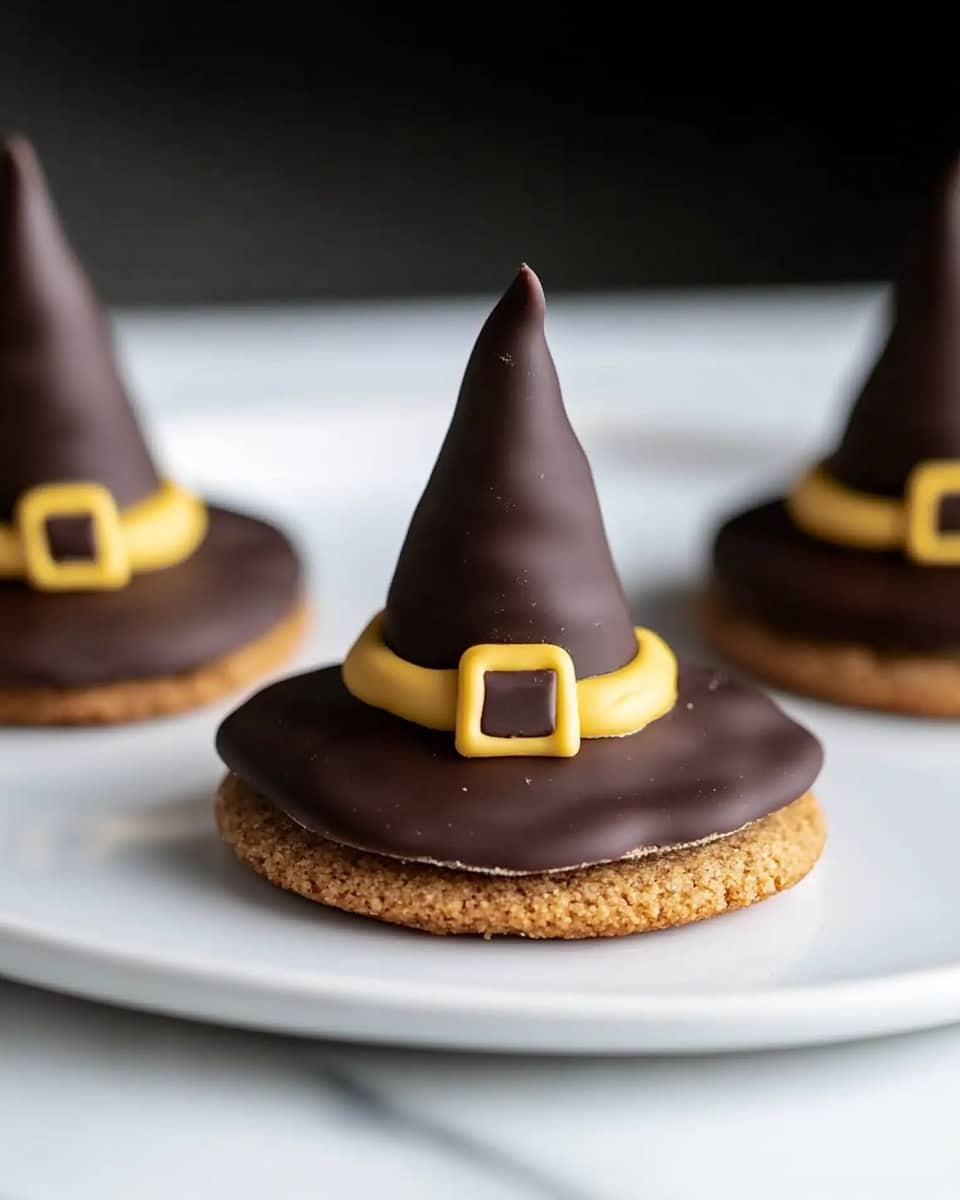
Step 3: Attach the Chocolate Kiss “Hat”
Once your cookie stacks are set, use a dab of honey on the flat base of each milk chocolate kiss to stick it right on top. Hold it in place for a few seconds to secure. This little “hat” is the signature part of the treat and adds that tasty peak of creamy chocolate everyone loves. If the honey feels sticky, chilling the treats for a bit before adding the kisses can help keep things neat.
Step 4: Add Fun Decorating Gel Details
This is where you can really let your creativity shine! Use the decorating gel to add little swirls, dots, or even tiny faces on the hats. I like to go for a spooky vibe with orange and black, but you can do whatever makes you smile. Just be gentle because the gel tube tips can sometimes be a bit finicky.
How to Serve Witches’ Hats Cookie Treats Recipe
Garnishes
I usually add a sprinkle of edible glitter or some colored sugar around the base of the cookies when serving. It makes the whole plate sparkle and feel extra festive, and let’s face it, a bit magical. Sometimes a few mini marshmallows around the plate make it look like a little witch’s forest floor, which is always a fun touch for kids.
Side Dishes
These cookie treats stand well on their own, but if you want to round out the spooky snack spread, I recommend serving them alongside a simple hot chocolate or a sparkling apple cider. The warmth and acidity balance the sweetness beautifully. For a more substantial option, a light fruit salad or some caramel popcorn works wonders.
Creative Ways to Present
One year, I arranged these Witches’ Hats Cookie Treats Recipe on a tiered cake stand surrounded by candy corn and fake cobwebs—it was a hit at the party and looked so enchanting. You could also skewer them gently onto mini sticks for handheld witch hats, perfect for a Halloween potluck or kid’s party favor. A little black paper doily under each treat adds a vintage touch too.
Make Ahead and Storage
Storing Leftovers
I store any leftover Witches’ Hats Cookie Treats Recipe in an airtight container at room temperature. They stay fresh and crisp for about 3-4 days. Just make sure to keep them separated or layered with parchment paper to avoid the chocolate kisses sticking together or the decorating gel smearing.
Freezing
Freezing is definitely an option if you want to prepare these cookies in advance. I place them in a single layer on a baking sheet to freeze initially, then transfer them to a sealed container or freezer bag once firm. When you’re ready, thaw them at room temperature—just be gentle because the chocolate can sweat a bit if it gets too warm too fast.
Reheating
Since these are cookies and candy, reheating isn’t really needed, but if you’d like to refresh that crispness, lightly toasting the cookies before assembly works well. For leftovers, just enjoy them as is—sometimes room temperature is best so the honey doesn’t get too sticky and the chocolate stays beautifully solid.
FAQs
-
Can I use other types of cookies besides fudge stripe cookies for Witches’ Hats Cookie Treats Recipe?
Absolutely! While fudge stripe cookies give the perfect chocolate-striped look and crisp texture, you can experiment with other thin, firm cookies like shortbread or chocolate wafers. Just be mindful of how well they hold together when stacked.
-
Is it necessary to use honey as the adhesive in this recipe?
Honey works great because of its stickiness and subtle sweetness, but you can substitute corn syrup, molasses, or even a thin layer of peanut butter if allergies aren’t a concern. The key is to have something sticky enough to hold the cookies and chocolate kisses in place.
-
How long can I store Witches’ Hats Cookie Treats?
Stored in an airtight container at room temperature, these treats last about 3-4 days before the cookies start to lose their crispness. Avoid refrigeration as it can make the cookies soggy and dull the chocolate shine.
-
Can I make these treats gluten-free?
Yes! Use your favorite gluten-free striped or chocolate cookies as a one-to-one swap. Just ensure the decorating gel and chocolate kisses you choose are also gluten-free to keep it safe.
-
What’s the best way to decorate the chocolate hats?
Using decorating gel gives you fun color and precision. I recommend practicing your designs on parchment paper first to get comfortable with the gel pressure. Simple dots, stripes, or little faces really bring the witches’ hats to life!
Final Thoughts
Honestly, the Witches’ Hats Cookie Treats Recipe holds a special place in my heart because it combines simplicity with that little extra touch of whimsy that’s perfect for Halloween. Every time I make them, I feel like I’ve pulled a fun little treat out of a storybook—and everyone loves how eye-catching they are without hours in the kitchen. I’m confident you’ll enjoy making these as much as eating them, and they’re guaranteed to add a bit of magic to your next gathering. Go on, whip up a batch and watch the smiles appear!
PrintWitches’ Hats Cookie Treats Recipe

Witches’ Hats are a fun and festive Halloween treat made by combining fudge stripe cookies with chocolate candy kisses and a touch of honey, decorated with gel for a spooky look. This no-bake recipe is simple, quick, and perfect for parties or seasonal celebrations.
- Prep Time: 10 minutes
- Cook Time: 0 minutes
- Total Time: 10 minutes
- Yield: About 64 witches’ hats (based on 2 packages with approximately 32 cookies each) 1x
- Category: Dessert
- Method: No-Cook
- Cuisine: American
Ingredients
Cookies
- 2 (16 ounce) packages fudge stripe cookies
Sweets
- 1 (9 ounce) bag milk chocolate candy kisses, unwrapped
Other
- ¼ cup honey, or as needed
- 1 (4.5 ounce) tube decorating gel
Instructions
- Prepare the Cookies: Lay out the fudge stripe cookies on a flat surface to work with. These will form the base of the witches’ hats.
- Apply Honey: Lightly brush or dab about ¼ cup of honey onto the center of each fudge stripe cookie. The honey acts as an adhesive to secure the chocolate candy kisses on top.
- Place the Candy Kisses: Immediately press one unwrapped milk chocolate candy kiss onto the honey-covered center of each cookie, creating the pointed top part of the witch’s hat.
- Decorate with Gel: Use the decorating gel to draw details onto the hats, such as hat bands or other Halloween-themed designs, to add fun and personality to each witch’s hat.
- Set and Serve: Allow the honey to set for a few minutes so the candy kiss is firmly attached. Arrange the witches’ hats on a serving plate for presentation.
Notes
- Adjust honey quantity as needed to ensure the kisses stick securely without making the cookies too sticky.
- For variety, try different flavors or colors of candy kisses to create colorful witches’ hats.
- Store the assembled witches’ hats in an airtight container at room temperature to keep cookies crisp.
- Decorating gel can be substituted with melted colored chocolate or icing if desired.
- This recipe requires no baking, making it a quick and easy Halloween treat for kids and adults alike.
Keywords: witches hats, halloween treats, fudge stripe cookies, candy kisses, no bake dessert, easy halloween snacks