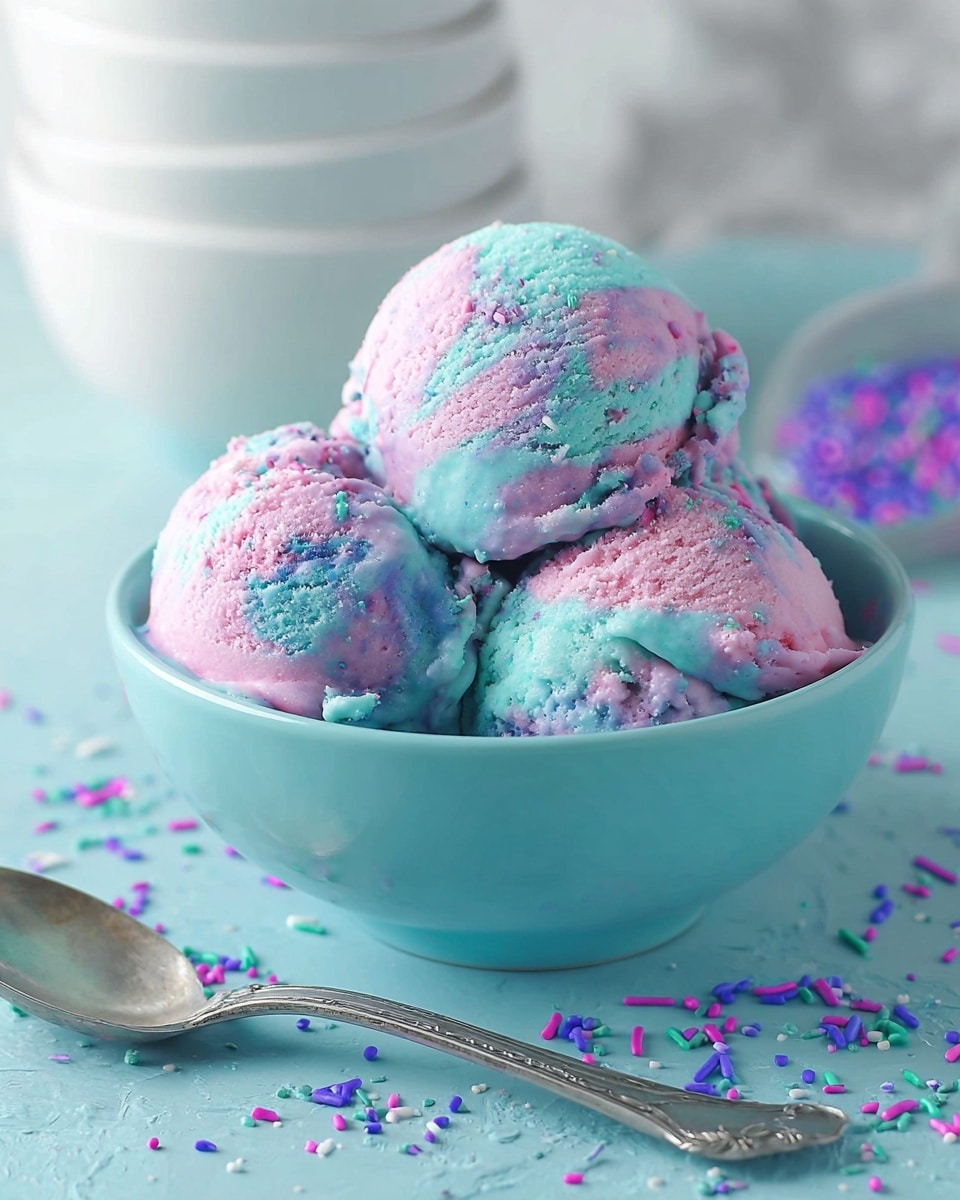
No-Churn Cotton Candy Ice Cream Recipe
If you’ve ever wished you could capture that whimsical, childhood carnival feeling in a scoop of ice cream, this No-Churn Cotton Candy Ice Cream Recipe is your ticket. It’s delightfully sweet, fluffy, and bursting with nostalgic cotton candy flavor, but without any fancy equipment needed. I love how simple this comes together, making it perfect for hot summer days or anytime you want a fun, pastel-hued treat that’s bound to impress.
What makes this recipe really stand out is how effortlessly you can whip it up with just a handful of ingredients — no ice cream maker required! I’ve made this several times when friends drop by unexpectedly, and it’s always a hit. Plus, you can customize the colors or add sprinkles to match any party theme. Trust me, once you try this No-Churn Cotton Candy Ice Cream Recipe, it’ll become a go-to in your dessert arsenal.
Ingredients You’ll Need
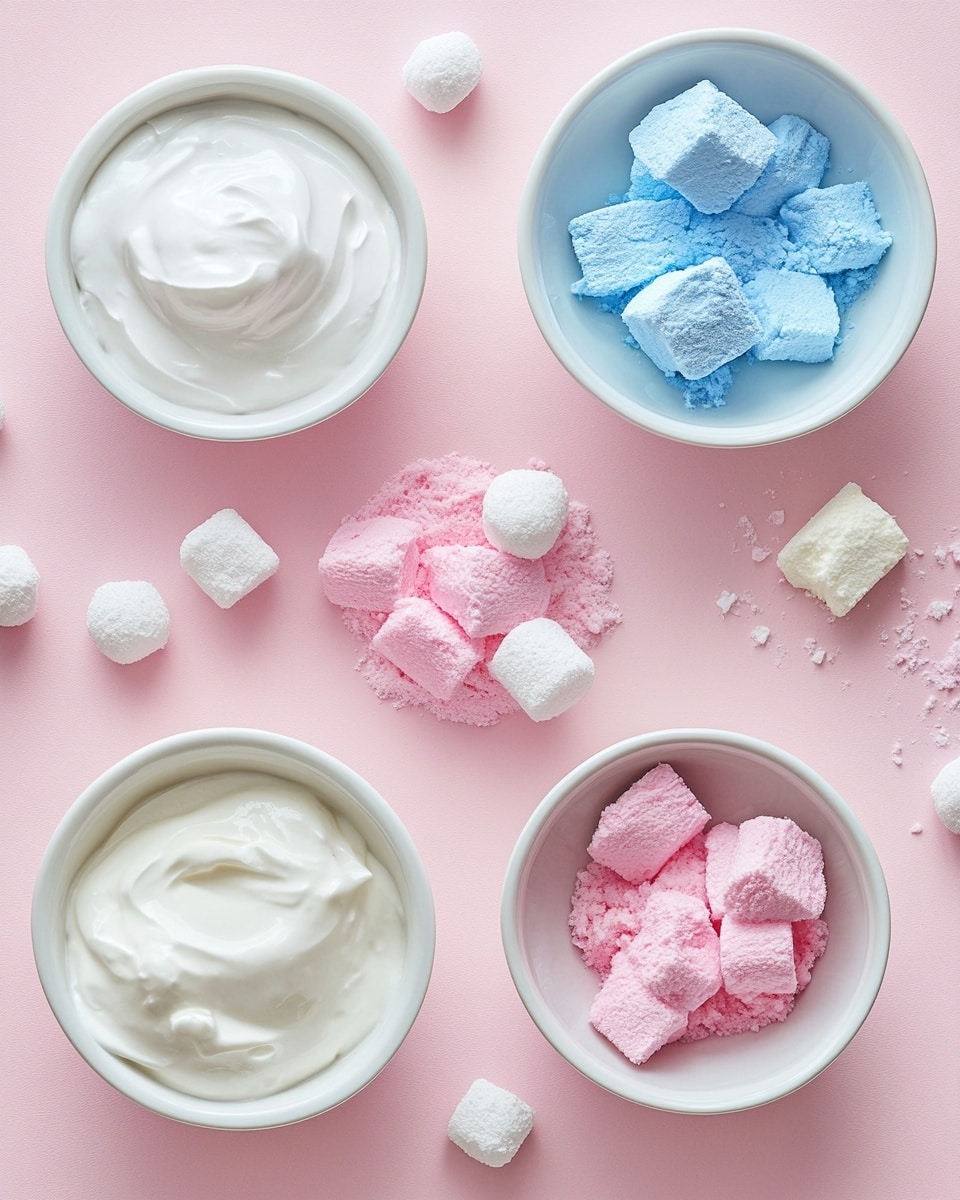
Each ingredient in this recipe plays a key role in creating that creamy, airy texture and iconic cotton candy flavor. Be sure to grab the coldest heavy whipping cream you can find, and look for a quality cotton candy flavoring — it really makes the difference. Oh, and the food coloring? Totally optional, but it adds that whimsical vibe!
- Heavy whipping cream: Using it very cold helps it whip better and makes your ice cream smooth and creamy.
- Sweetened condensed milk: Adds the perfect amount of sweetness and creaminess while helping everything freeze nicely without an ice cream maker.
- Cotton candy flavoring: This is the secret ingredient for that authentic carnival taste—don’t skip it!
- Food coloring (pink and blue): Optional but fun for getting that classic cotton candy swirl look. Use gel food coloring if possible for vibrant shades without thinning your mixture.
Variations
I love experimenting with this recipe and making it my own. You can easily tweak the flavors or colors to match your mood or occasion. Feel free to get creative — this recipe is a wonderful base that’s super forgiving!
- Vegan Variation: Swap the heavy cream with coconut cream and use a vegan sweetened condensed milk alternative; I did this once during a friends’ gathering and it turned out wonderfully rich.
- Mixed Berry Swirl: Add a homemade berry compote swirl in the final mix for a fruity twist that balances the sweetness.
- Birthday Party Version: Stir in some colorful sprinkles or mini marshmallows for a fun party vibe that kids (and adults) adore.
- Less Sweet Option: Cut back slightly on the condensed milk and add a pinch of salt; this gives a more subtle flavor that still feels indulgent.
How to Make No-Churn Cotton Candy Ice Cream Recipe
Step 1: Whip the Cream to Soft Peaks
Start by pouring your very cold heavy whipping cream into a large mixing bowl. Using a hand mixer or a stand mixer fitted with a whisk attachment, whip the cream on medium-high speed until soft peaks form. This means the cream will hold a gentle peak but still be smooth and fluffy—not over-whipped into butter! A helpful tip is to chill your bowl and whisk in the fridge for 10 minutes before starting to get even better results.
Step 2: Fold in Sweetened Condensed Milk and Flavoring
Gently fold in the cold sweetened condensed milk and your cotton candy flavoring to the whipped cream. Folding is key here — use a spatula to carefully combine everything without deflating the whipped cream. If you’re adding food coloring, divide the mixture into two bowls to swirl in pink and blue drops before folding together for a pretty cotton candy effect.
Step 3: Freeze and Wait
Transfer your mixture to a loaf pan or airtight container, smoothing the top with your spatula. Cover tightly with plastic wrap or a lid and pop it into the freezer for at least 6 hours — or better yet, overnight. Patience really pays off here since the ice cream needs time to firm up properly without churn.
How to Serve No-Churn Cotton Candy Ice Cream Recipe
Garnishes
When I serve this cotton candy ice cream, I like topping it with a few extra touches to amp up the fun. Rainbow sprinkles, mini marshmallows, or even some crushed candy canes work beautifully. Not only do they add color and texture, but they bring a playful carnival vibe to every spoonful.
Side Dishes
This sweet treat pairs surprisingly well with light desserts like lemon bars or a simple fruit salad. I’ve also enjoyed it alongside warm funnel cake or churros at home for a complete fairground-inspired spread.
Creative Ways to Present
For special occasions, I like to serve this No-Churn Cotton Candy Ice Cream Recipe in clear glass parfait cups layered with cotton candy pieces or crushed pink popcorn. It makes for a stunning presentation that always gets compliments, and the layers keep things interesting bite after bite.
Make Ahead and Storage
Storing Leftovers
I store leftover No-Churn Cotton Candy Ice Cream in an airtight container to prevent ice crystals and freezer burn. Covering the surface with a piece of parchment or wax paper before sealing helps keep that creamy texture intact. It usually stays great for up to two weeks in my experience.
Freezing
This recipe freezes really well since it’s made to churn-freeze from the start. Just make sure it’s well covered and stored in the coldest part of your freezer. When you’re ready to serve, just let it sit out for a few minutes to soften slightly for that perfect scoop consistency.
Reheating
Since this is ice cream, reheating isn’t necessary — but if it’s too hard to scoop, leave it at room temperature for 5–10 minutes before serving. Avoid microwaving it because it can turn icy or melt unevenly, ruining the texture.
FAQs
-
Can I use regular vanilla extract instead of cotton candy flavoring?
You can, but the ice cream won’t have that iconic cotton candy taste. Cotton candy flavoring is specially formulated to mimic that sweet, sugary carnival flavor, so it’s worth tracking some down if you’re aiming for authenticity.
-
Why does my no-churn ice cream get icy?
Icy texture usually comes from not whipping the cream enough or using ingredients that are too warm. Make sure your heavy cream is very cold and that you whip it just right to incorporate enough air. Also, properly sealing and freezing your mixture helps prevent ice crystals from forming.
-
Can I add mix-ins like sprinkles or candy pieces into the ice cream?
Absolutely! Folding in colorful sprinkles or crushed candy into the mixture before freezing adds fun texture and bursts of flavor. Just be gentle to avoid deflating your whipped cream base.
-
How long does this No-Churn Cotton Candy Ice Cream Recipe last in the freezer?
Stored properly in an airtight container, the ice cream stays delicious for up to two weeks. After that, it may start to develop freezer burn or change texture.
Final Thoughts
This No-Churn Cotton Candy Ice Cream Recipe holds a special place in my heart because it’s a quick, no-fuss way to bring a bit of magic to my everyday routine. Whether you’re treating yourself after a long day or surprising guests with a colorful homemade dessert, this recipe delivers smiles every time. I hope you give it a try—you’ll enjoy the sweet nostalgia and creamy bliss as much as I do!
PrintNo-Churn Cotton Candy Ice Cream Recipe

This no-churn cotton candy ice cream is a fun and whimsical treat that requires no ice cream maker. Made with heavy whipping cream, sweetened condensed milk, and cotton candy flavoring, it’s creamy, sweet, and perfect for summer. Optional pink and blue food coloring give it a playful pastel look reminiscent of classic cotton candy at fairs.
- Prep Time: 15 minutes
- Cook Time: 0 minutes
- Total Time: 6 hours 15 minutes
- Yield: About 6 servings 1x
- Category: Dessert
- Method: No-Cook
- Cuisine: American
- Diet: Vegetarian
Ingredients
Ice Cream Base
- 2 cups very cold heavy whipping cream
- 1 14-ounce can sweetened condensed milk, cold
- 2 teaspoons cotton candy flavoring
Optional Add-Ins
- Food coloring in pink and blue
Instructions
- Prepare the whipping cream: In a large mixing bowl, whip the very cold heavy cream using a hand mixer or stand mixer at medium-high speed until stiff peaks form. This means when you lift the beaters, the cream holds its shape firmly.
- Combine condensed milk and flavoring: In a separate bowl, gently mix the cold sweetened condensed milk with the cotton candy flavoring until fully incorporated. If using food coloring, add a few drops of pink or blue to the condensed milk mixture and mix well to achieve desired pastel shades.
- Fold together: Carefully fold the flavored condensed milk mixture into the whipped cream in batches to avoid deflating the whipped cream. Use a spatula and gentle motions until thoroughly combined and smooth.
- Color layering (optional): For a cotton candy swirl effect, divide the mixture into two bowls and tint one pink and one blue. Alternate spoonfuls of each color into a loaf pan or container and gently swirl with a knife to create a marbled appearance.
- Freeze: Cover the container tightly with plastic wrap or a lid and place in the freezer. Freeze for at least 6 hours or overnight until the ice cream is firm and scoopable.
- Serve: When ready to serve, remove from freezer and let sit for a few minutes to soften slightly for easier scooping. Serve with colorful sprinkles or cotton candy pieces for extra fun if desired.
Notes
- Ensure the heavy cream is very cold for best whipping results.
- Do not overmix when folding the condensed milk into the whipped cream to keep the ice cream light and airy.
- This recipe requires at least 6 hours of freezing time without an ice cream maker.
- Optional food coloring adds a fun visual element but does not affect flavor.
- Store leftover ice cream tightly covered in the freezer to prevent ice crystals.
Keywords: cotton candy ice cream, no churn ice cream, homemade ice cream, no ice cream maker, easy dessert, summer treat, whipped cream dessert