Loaf Pan Basque Cheesecake Recipe
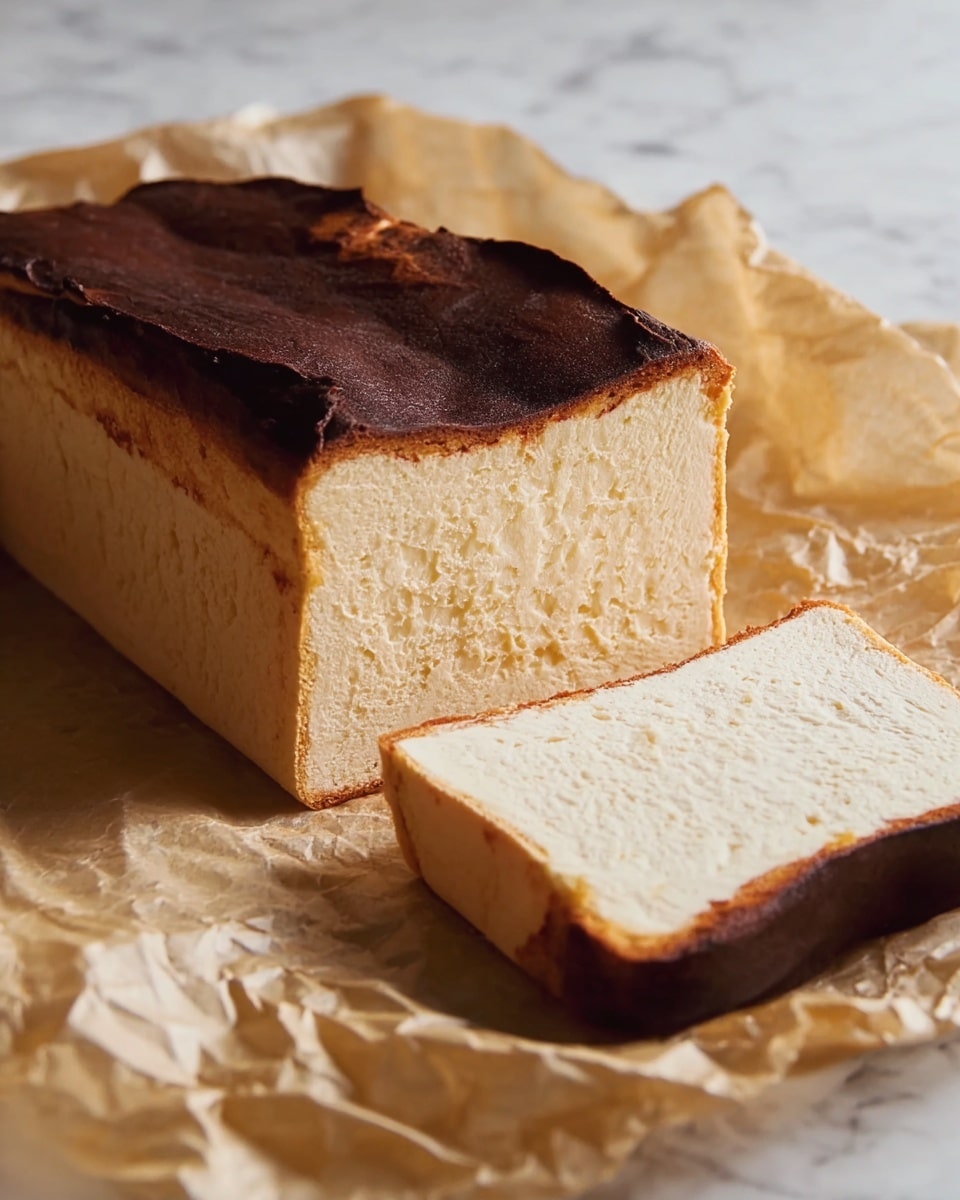
I can’t wait to share this Loaf Pan Basque Cheesecake Recipe with you because it’s one of those desserts that feels fancy but comes together so easily. There’s something magic about the way this cheesecake browns on top with that caramelized, almost burnt crust while staying creamy and smooth on the inside. If you’ve ever wanted to try a Basque cheesecake but found the round, rustic version a bit tricky, this loaf pan version is a game changer — easier shape, simpler to slice, and perfect for sharing.
What I love most is how versatile this Loaf Pan Basque Cheesecake Recipe is. It works beautifully whether you’re hosting an afternoon coffee gathering or winding down with a little treat after dinner. Plus, it’s made with straightforward ingredients that probably already live in your fridge. Trust me, once you make it, this cheesecake becomes that comforting, reliable dessert you’ll want to make again and again.
Ingredients You’ll Need
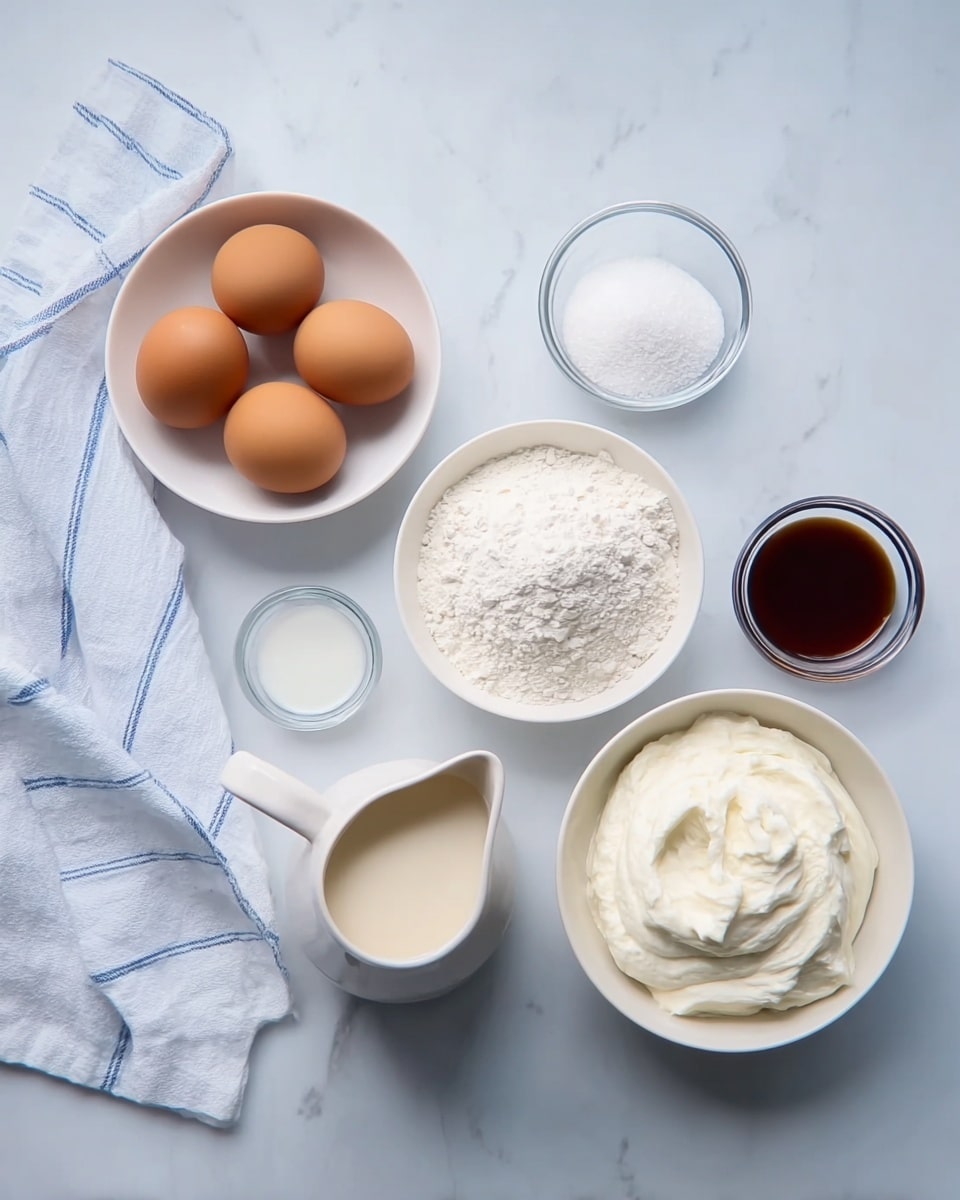
Each ingredient plays a key role in creating the perfect balance of richness and texture in this Loaf Pan Basque Cheesecake Recipe. Shopping for these, I always suggest getting the freshest cream cheese and a good quality heavy cream for that extra smoothness.
- Cream Cheese: Room temperature cream cheese blends more easily, avoiding lumps for silky filling.
- Granulated Sugar: Regular granulated sugar helps with caramelization, giving the crust that classic Basque look.
- Eggs: Large eggs add structure and moisture — make sure they’re at room temp to mix evenly.
- Vanilla Essence: Just a teaspoon brings warmth and depth without overpowering the cheesecake’s natural flavors.
- Salt: Enhances all the flavors, bringing out the sweetness and balancing richness.
- Heavy Cream: Adds decadence and creaminess; again, room temperature is best for seamless mixing.
- All-Purpose Flour: Helps stabilize the cheesecake so it holds together beautifully when sliced.
Variations
I love playing around with this recipe depending on the season or mood, and you should definitely feel free to make it your own. A little tweak here and there can make it fit any occasion perfectly.
- Lemon Zest: Adding a teaspoon of lemon zest gives the cheesecake a fresh, bright twist I really enjoy in springtime.
- Chocolate Swirl: Gently folding in melted dark chocolate creates a rich marbled effect — perfect for chocoholics among us.
- Gluten-Free: Swap the all-purpose flour for a gluten-free flour blend to keep it inclusive without changing the flavor.
- Reduced Sugar: You can slightly cut back on sugar if you prefer a less sweet dessert — just know the caramelization might be a bit lighter.
How to Make Loaf Pan Basque Cheesecake Recipe
Step 1: Prep Your Pan and Ingredients
Start by preheating your oven to a high temperature — around 400°F (200°C). Line your loaf pan with parchment paper, making sure it extends over the edges since this will help you lift the cheesecake out easily later. While the oven heats, bring your cream cheese, heavy cream, and eggs to room temperature if you haven’t yet; it makes all the difference for a smooth batter without lumps.
Step 2: Mix the Batter Smoothly
Using a mixer or a sturdy whisk, beat the cream cheese until creamy and smooth. Gradually add in the sugar and continue mixing. Then add eggs one at a time, mixing well after each addition. Stir in the vanilla essence and salt. Finally, add the heavy cream and mix it all together gently. Sift the flour over the batter and carefully fold it in to avoid lumps but without overmixing — you want it just combined.
Step 3: Bake Until Perfectly Browned
Pour the batter into your prepared loaf pan and place it in the oven. Bake for about 50-60 minutes or until the top is deeply golden brown with those signature cracks. Don’t worry if the center is still a little jiggly — it will firm up as it cools. The color and texture are the best indicators that you’re on the right track.
Step 4: Cool and Chill
Once out of the oven, let the cheesecake cool completely in the pan on a wire rack. Then cover and refrigerate for at least 4 hours, preferably overnight. This rest time is crucial to let the flavors meld and the texture set perfectly. I’ve found it slices much cleaner and tastes richer after chilling.
How to Serve Loaf Pan Basque Cheesecake Recipe
Garnishes
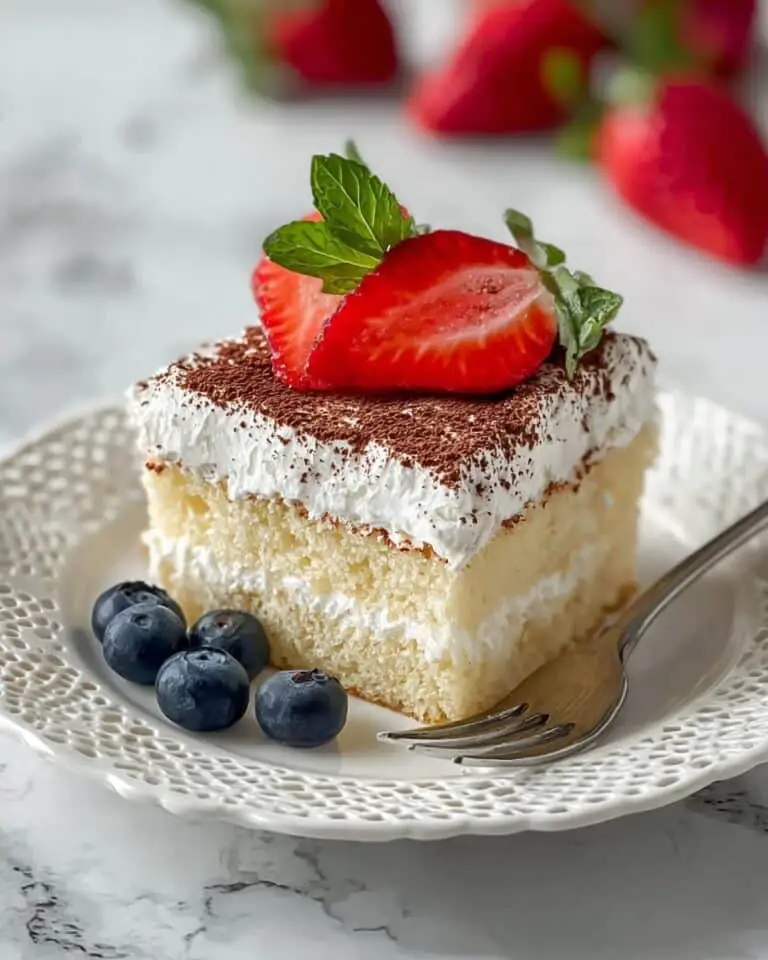
I usually keep it simple with a dusting of powdered sugar or a few fresh berries on top. Sometimes a drizzle of homemade caramel sauce adds a beautiful sweetness to balance the slightly burnt crust. Those burnt edges give this cheesecake its charm, so I love to let them shine through without heavy toppings.
Side Dishes
For a complete dessert experience, I like serving this with a hot cup of coffee or black tea. The richness paired with a warm beverage creates a lovely cozy vibe. On special occasions, fresh fruit compote or a tart fruit salad works beautifully to cut through the creamy texture and add brightness.
Creative Ways to Present
I’ve found that slicing the cheesecake into neat bars and arranging them on a rustic wooden platter makes for an inviting display at parties. You can also layer it with whipped cream and berries in clear glasses for an elegant parfait-style presentation that wows guests while keeping things easy to serve.
Make Ahead and Storage
Storing Leftovers
Leftover slices keep wonderfully in the fridge, wrapped tightly in plastic wrap or stored in an airtight container. I’ve found they actually taste better after a day or two as the flavors deepen. Just be sure to keep them cold to maintain that creamy texture.
Freezing
If you want to freeze the cheesecake, wrap it very well in plastic wrap and then aluminum foil to prevent freezer burn. I recommend slicing before freezing — that way you can thaw individual portions easily. When thawed overnight in the fridge, the texture stays pretty close to fresh and delicious.
Reheating
Since Basque cheesecake is best served chilled, I don’t typically reheat it. If you prefer it at room temperature, just let it sit out for 15-20 minutes before serving, and you’ll get that soft, luscious feel without melting the texture.
FAQs
-
Can I use a different pan instead of a loaf pan for this Basque cheesecake?
Absolutely! While this Loaf Pan Basque Cheesecake Recipe is designed with the loaf pan’s shape in mind, you can use a round springform pan or even a square pan with some adjustments to baking time. Just be mindful that the batter depth will affect how long it needs to bake, so keep an eye on that signature browning and jiggle.
-
Why does the Basque cheesecake have that burnt top and edges?
The burnt top and edges are classic and intentional features of Basque cheesecake. They add a caramelized flavor and slight bitterness that contrast beautifully with the creamy and sweet interior. Baking at a high temperature creates this effect, so don’t worry if it looks a little dark – that’s exactly what you want!
-
Do I need to use a water bath for this cheesecake?
Nope, part of what makes this recipe accessible is that it doesn’t require a water bath. The high heat baking method with a loaf pan works well on its own, giving you that burnt exterior and creamy texture inside without the extra hassle.
-
Can I make this cheesecake dairy-free?
To make a dairy-free version, you’d need to substitute the cream cheese and heavy cream with non-dairy alternatives like vegan cream cheese and full-fat coconut cream. Keep in mind that the texture and flavor may shift slightly, so it might take a bit of experimentation to get it just right.
-
How do I know when the cheesecake is done baking?
Look for a deeply golden brown, almost burnt-looking top with cracks. The center should still have a slight jiggle when you gently shake the pan. This balance ensures the creamy texture inside while having that caramelized exterior that defines this style.
Final Thoughts
If you ask me, this Loaf Pan Basque Cheesecake Recipe hits that sweet spot between simple and special. It’s one of those recipes that doesn’t require a ton of fancy ingredients or skills, but it delivers big on flavor and wow factor. I hope you give it a try soon — whether it’s for a casual weeknight treat or a weekend dessert to impress friends. Once you taste that creamy, caramelized slice, you’ll understand why it quickly became a favorite in my kitchen, and I’m sure it will in yours too.
PrintLoaf Pan Basque Cheesecake Recipe
This Loaf Pan Basque Cheesecake is a creamy, caramelized dessert with a rich and custardy interior baked to perfection in a loaf pan. Featuring cream cheese, heavy cream, and a hint of vanilla, this cheesecake is an elegant twist on the traditional Basque cheesecake, ideal for those who love a slightly burnt, caramelized top with a smooth, luscious texture inside.
- Prep Time: 15 minutes
- Cook Time: 55 minutes
- Total Time: 5 hours 10 minutes
- Yield: 8 servings 1x
- Category: Dessert
- Method: Baking
- Cuisine: Basque, Spanish
- Diet: Vegetarian
Ingredients
Cheesecake Batter
- 1 & ¾ cups / 400 g Cream Cheese (room temperature)
- ½ cup / 100 g Granulated Sugar
- 3 large Eggs
- 1 tsp / 5 ml Vanilla Essence
- ¼ tsp / 2 g Salt
- 1 & ¼ cups / 300 g Heavy Cream (room temperature)
- 2 & ½ tbsp / 20 g All-Purpose Flour
Instructions
- Prepare the oven and pan: Preheat your oven to 400°F (200°C). Line a loaf pan with parchment paper, making sure the paper extends above the sides of the pan to catch the cheesecake batter and facilitate easy removal.
- Mix cream cheese and sugar: In a large mixing bowl, beat the room temperature cream cheese with granulated sugar until the mixture is smooth and creamy, ensuring there are no lumps.
- Add eggs and vanilla: Incorporate the eggs, one at a time, mixing thoroughly after each addition. Add the vanilla essence and blend until fully combined.
- Incorporate dry ingredients: Sift the all-purpose flour and salt, then gradually fold them into the cream cheese mixture to avoid lumps.
- Add heavy cream: Slowly pour in the heavy cream while continuing to mix gently. The batter should be silky and well combined but not overmixed.
- Pour the batter into the loaf pan: Transfer the batter into the prepared loaf pan and gently tap the pan on the counter to release any large air bubbles.
- Bake the cheesecake: Place the loaf pan in the preheated oven and bake for about 50-60 minutes. The top should become deeply golden brown and slightly burnt, characteristic of the Basque cheesecake style. The center will still be a bit jiggly but set.
- Cool the cheesecake: Remove the cheesecake from the oven and let it cool in the pan at room temperature. Once cooled, refrigerate for at least 4 hours or overnight to allow the cheesecake to set properly and develop flavor.
- Serve: Carefully lift the cheesecake out using the parchment paper and slice to serve. Enjoy chilled or at room temperature for a creamy, rich dessert experience.
Notes
- Ensure cream cheese and heavy cream are at room temperature to avoid lumps in the batter.
- Do not overmix the batter to keep the cheesecake’s creamy texture.
- Use a parchment liner extending beyond the loaf pan edges for easy removal.
- The deeply caramelized top is typical of Basque cheesecake and adds to its unique flavor.
- Chilling the cheesecake overnight enhances its texture and flavor.
- If the top browns too quickly, loosely cover with foil to prevent burning while baking through.
Keywords: Basque cheesecake, loaf pan cheesecake, caramelized cheesecake, creamy cheesecake recipe, dessert, easy cheesecake