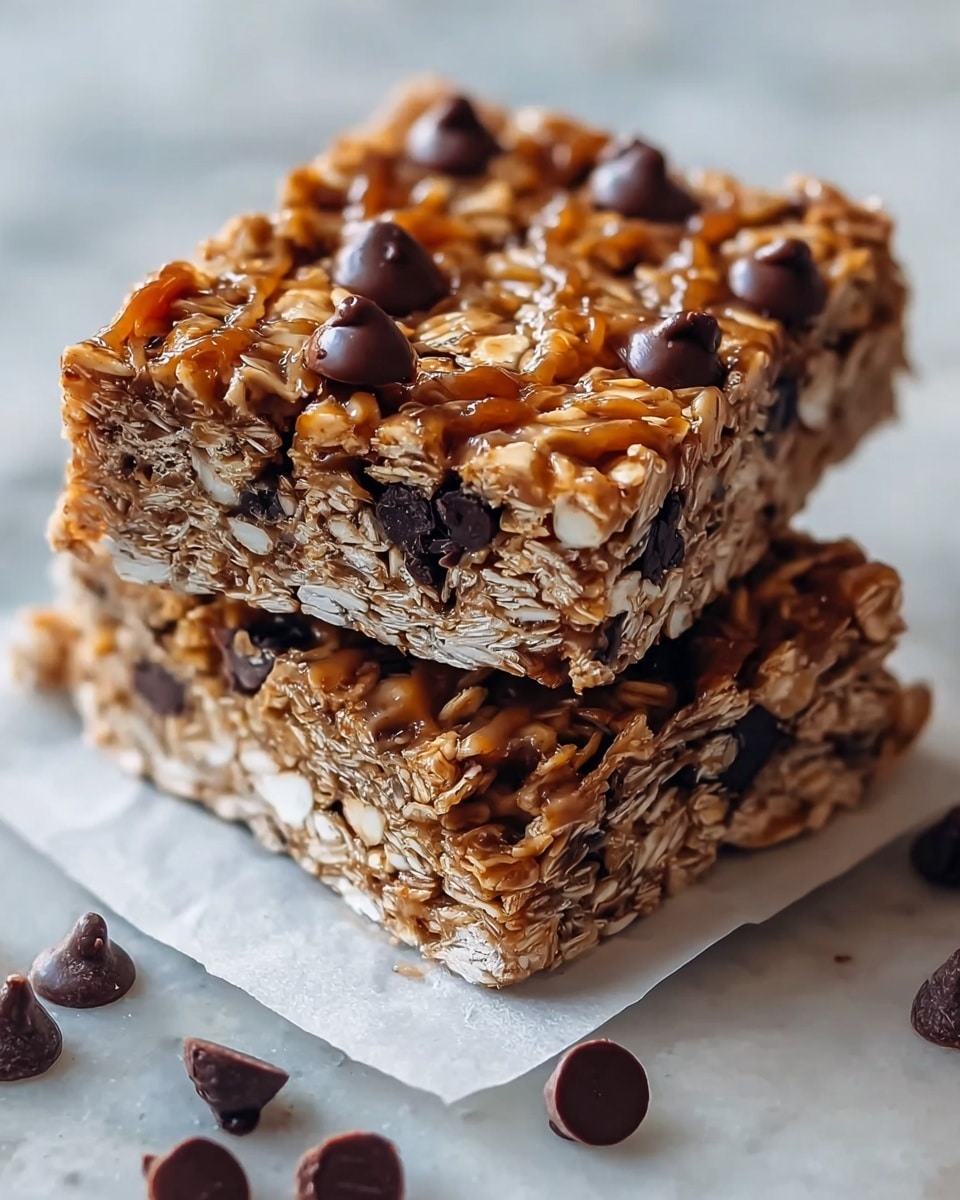
Homemade No Bake Granola Bars Recipe
If you’re anything like me and always on the hunt for a quick, nutritious snack that doesn’t involve turning on the oven, then this Homemade No Bake Granola Bars Recipe is going to be your new best friend. These bars are incredibly easy to make, with straightforward ingredients you probably already have lurking in your pantry. Plus, they’re versatile enough to customize however you like, which means you can whip up a batch perfectly suited to your taste and diet.
What makes this Homemade No Bake Granola Bars Recipe a real winner in my kitchen is not just how hassle-free it is, but also how satisfying and portable these bars turn out. They’re perfect for busy mornings, packing into lunchboxes, or fueling up after a workout. Trust me, once you try making your own, you’ll appreciate the control over sweetness and the chance to toss in your favorite mix-ins – it’s a game-changer compared to store-bought versions!
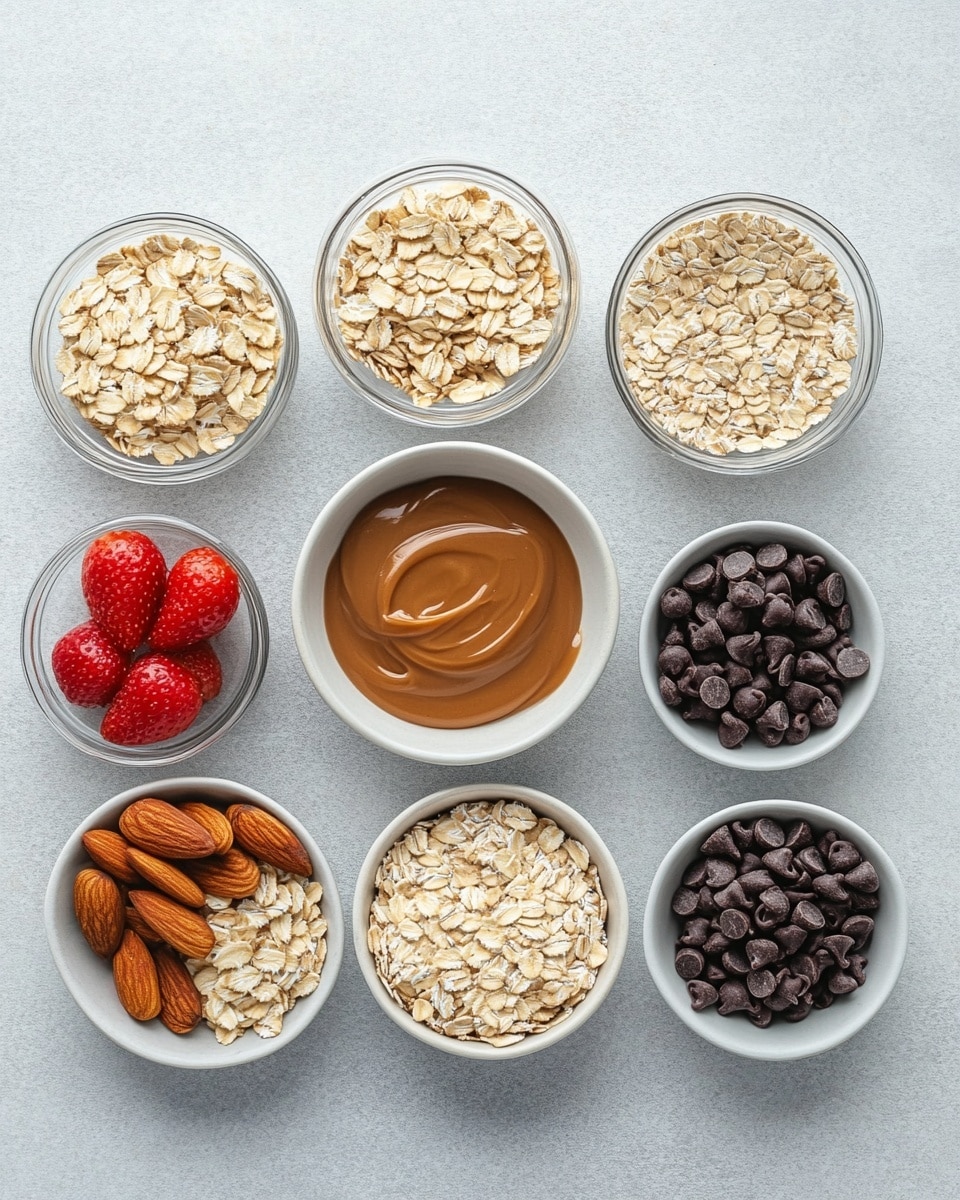
Ingredients You’ll Need
Each ingredient in this recipe works together to create bars that are chewy, sweet, and packed with texture. When shopping, look for good-quality nut butter and fresh mix-ins to really make these bars shine.
- Old-fashioned rolled oats: These provide the chewy base and heartiness—avoid instant oats as they get mushy.
- Nut butter (peanut, almond, or cashew): Choose one you love for flavor and richness; I personally like almond butter for a slightly lighter taste.
- Honey, maple syrup, or agave: This sweetens the bars naturally and acts like glue—warm it gently so it mixes smoothly.
- Mix-ins: Chocolate chips, dried fruit, seeds, or nuts—feel free to get creative here, just pick your favorites.
- Vanilla extract (optional): A little splash adds subtle warmth and depth to the flavor.
- Pinch of salt: Enhances all the flavors and balances the sweetness beautifully.
Variations
I love how flexible this Homemade No Bake Granola Bars Recipe is because you can easily tweak it to fit any craving, season, or dietary need. You can make it sweeter, nuttier, or fruitier depending on what you’re in the mood for or what you have on hand.
- Nut-free variation: Use sunflower seed butter instead of nut butter—I’ve made this swap for a friend with allergies, and it tastes fantastic.
- Chocolate lover’s tweak: Add cocoa powder to the wet mixture and toss in dark chocolate chips for an indulgent twist.
- Extra protein kick: Stir in some protein powder or add more seeds like chia or hemp—great for post-workout snacks.
- Seasonal fruit mix-ins: Swap dried cranberries for chopped dried apricots or figs to match the time of year.
- Sweetener swaps: Try maple syrup for a distinct flavor or agave for a milder taste—just keep the quantity consistent.
How to Make Homemade No Bake Granola Bars Recipe
Step 1: Prep Your Pan for Easy Removal
Start by lining an 8×8-inch baking dish with parchment paper, making sure to leave an overhang on the sides. This little extra bit is a lifesaver when you’re ready to lift the bars out later without breaking them apart. I always take this extra minute—it really pays off.
Step 2: Mix Your Dry Ingredients Together
In a large bowl, toss together the rolled oats and your choice of mix-ins—like chocolate chips, dried fruit, or nuts. I sometimes sneak in a handful of seeds here too for extra crunch and nutrients. Make sure everything is evenly combined so each bar has a balanced mix of textures.
Step 3: Melt the Nut Butter and Sweetener
Using a small saucepan on low heat, melt the nut butter and honey (or syrup/agave) together. Stir continuously until you’ve got a smooth, shiny mixture—this takes about 3-5 minutes. Adding the vanilla extract and pinch of salt here enhances flavor, so don’t skip this step! Just watch the heat carefully to avoid scorching.
Step 4: Combine and Coat
Pour the warm nut butter mixture over your oat-mix-ins bowl and stir thoroughly. You’ll want to make sure every oat and addition gets a nice coating to bind the bars perfectly. It’s tempting to just mix quickly, but trust me—patience pays off for even texture and hold.
Step 5: Press and Chill
Transfer the sticky mixture into your parchment-lined pan and press it down firmly with the back of a spoon or spatula. Pack it tight—this is key so the bars hold their shape when cut. Pop it into the fridge for at least 2 hours. This chilling step is where they set up nicely, so don’t rush it.
Step 6: Slice and Enjoy
Once firm, use the parchment paper edges to lift the entire block out of the pan. Then, slice into 10-12 bars depending on your preferred size. I like to keep them big enough to feel substantial but small enough to grab and go. These bars are good immediately, but chilling again after slicing can help them hold together even better.
How to Serve Homemade No Bake Granola Bars Recipe
Garnishes
When I’m serving these bars at home, I sometimes dust a bit of cinnamon or drizzle melted dark chocolate on top for a little extra flair. Toasted coconut flakes sprinkled over the bars right before chilling add a lovely texture and tropical touch. These little touches make the bars feel special, especially if you’re sharing them.
Side Dishes
I often pair these granola bars with fresh fruit like apple slices or a small bowl of yogurt for a balanced snack. They’re also awesome alongside a cup of coffee or a smoothie when you want a quick breakfast combo on busy mornings.
Creative Ways to Present
For occasions like kids’ parties or potlucks, I like to cut the bars into fun shapes using cookie cutters after chilling—stars, hearts, you name it! Wrapping individual bars in wax paper creates an easy-to-grab snack for school lunches or hiking trips. Presentation can be so simple yet uplifting.
Make Ahead and Storage
Storing Leftovers
I keep leftover bars in an airtight container in the fridge to maintain freshness. They usually last about a week this way. The parchment helps them keep shape, but sometimes I layer them with a sheet of wax paper in between to prevent sticking.
Freezing
Freezing these bars works wonderfully for longer storage. I wrap individual bars tightly in plastic wrap, then place them in a freezer-safe bag. When I want a snack, I just thaw them overnight in the fridge or at room temperature for a couple of hours. Freezing doesn’t affect texture much, which is a huge plus.
Reheating
If you prefer a softer bar, popping one in the microwave for about 15 seconds does the trick. Just don’t overdo it or the nut butter can get too melty. Otherwise, I usually enjoy them chilled—the firm texture is perfect for on-the-go snacking.
FAQs
-
Can I use quick oats instead of rolled oats in the Homemade No Bake Granola Bars Recipe?
While you technically can use quick oats, I don’t recommend it because quick oats are processed more finely and tend to create a muddier, less chewy texture. Old-fashioned rolled oats give your bars the perfect bite and hold together better without becoming mushy.
-
What’s the best nut butter to use in this recipe?
It really depends on your taste! Peanut butter gives a classic flavor and is budget-friendly. Almond butter is a bit milder and has a smooth, slightly sweet taste, which I love. Cashew butter is creamier and subtly nutty. You can even mix nut butters if you want a unique flavor profile.
-
Can I make these bars vegan?
Yes! Simply swap honey for maple syrup or agave to keep the bars vegan-friendly. These liquid sweeteners will still bind the bars together wonderfully.
-
How long do the homemade granola bars keep?
Stored properly in an airtight container in the fridge, these bars last about a week. For longer storage, freezing is a great option and you can thaw them as needed.
-
Can I add protein powder to the bars?
Absolutely! I often add a scoop of my favorite protein powder to the dry ingredients to make the bars more filling. Just be sure to choose an unflavored or complementary flavored powder to keep the taste balanced.
Final Thoughts
Making these Homemade No Bake Granola Bars Recipe is honestly one of my favorite kitchen wins when I’m pressed for time but still want something wholesome and tasty on hand. It’s such a simple process with minimal ingredients, but the result feels like a thoughtful, homemade snack that you can trust. I genuinely hope you find this recipe as satisfying as I do—it’s perfect for those busy days or whenever a quick energy boost is needed. So go ahead, give it a try and make these bars your own with your favorite add-ins—you won’t regret it!
PrintHomemade No Bake Granola Bars Recipe
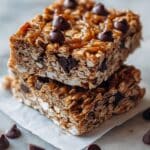
This Homemade No Bake Granola Bars recipe offers a quick and healthy snack option made with rolled oats, nut butter, honey, and your choice of mix-ins like chocolate chips, dried fruit, or nuts. These bars require no baking, just simple mixing and chilling, making them perfect for busy days or a nutritious on-the-go treat.
- Prep Time: 10 minutes
- Cook Time: 5 minutes
- Total Time: 2 hours 10 minutes
- Yield: 10 bars 1x
- Category: Snack
- Method: No-Cook
- Cuisine: American
- Diet: Vegetarian
Ingredients
Dry Ingredients
- 2 cups old-fashioned rolled oats
- ½ cup mix-ins (chocolate chips, dried fruit, seeds, or nuts)
- Pinch of salt
Wet Ingredients
- ½ cup nut butter (peanut butter, almond butter, or cashew butter)
- ⅓ cup honey, maple syrup, or agave
- 1 teaspoon vanilla extract (optional)
Instructions
- Prepare Your Pan: Line an 8×8-inch baking dish with parchment paper, ensuring extra overhang on the sides for easy lifting later.
- Mix Dry Ingredients: In a large bowl, combine the rolled oats and your choice of mix-ins such as chocolate chips, dried fruits, or nuts.
- Heat Wet Ingredients: In a small saucepan over low heat, gently melt the nut butter and honey (or maple syrup/agave) together, stirring until smooth and fully combined. Then stir in the vanilla extract if using, and a pinch of salt.
- Combine Wet and Dry Ingredients: Pour the warm nut butter mixture over the oat mixture and stir thoroughly to coat all oats evenly.
- Press into the Pan: Transfer the combined mixture into the prepared baking dish, pressing down firmly with the back of a spoon or spatula to compact it evenly and tightly.
- Chill: Place the pan in the refrigerator and allow it to chill for at least 2 hours until the bars are firm enough to cut.
- Slice and Serve: Using the parchment paper overhang, lift the set mixture from the dish and cut into 10-12 bars. Enjoy immediately or store for later consumption.
Notes
- You can customize the mix-ins to your taste or dietary needs, including seeds for added nutrition.
- If bars are too crumbly, add a little more nut butter or honey to bind better.
- For a vegan option, use maple syrup or agave instead of honey.
- Store bars in an airtight container in the refrigerator for up to one week.
- Make sure to press the mixture firmly to help the bars hold together when cut.
Keywords: no bake granola bars, healthy snack, homemade granola bars, easy granola bars, no bake snack