Homemade Chicken Chimichangas That Crunch Perfectly Recipe
Let me tell you, this Homemade Chicken Chimichangas That Crunch Perfectly Recipe is one of those dishes that just hits every note—crispy, cheesy, flavorful, and totally satisfying. Whenever I’m craving something comforting yet a little adventurous, I go straight to this recipe. The magic really lies in getting that tortilla to crisp up just right without overpowering the tender, juicy chicken filling.
What I love most about this Homemade Chicken Chimichangas That Crunch Perfectly Recipe is how versatile it is for any occasion—whether it’s a casual weeknight dinner or a fun weekend treat with friends. Plus, the best part? You can make them ahead, freeze them, or easily tweak the fillings to suit what you have on hand. Trust me, once you nail that crunch, you’ll want to make these over and over!
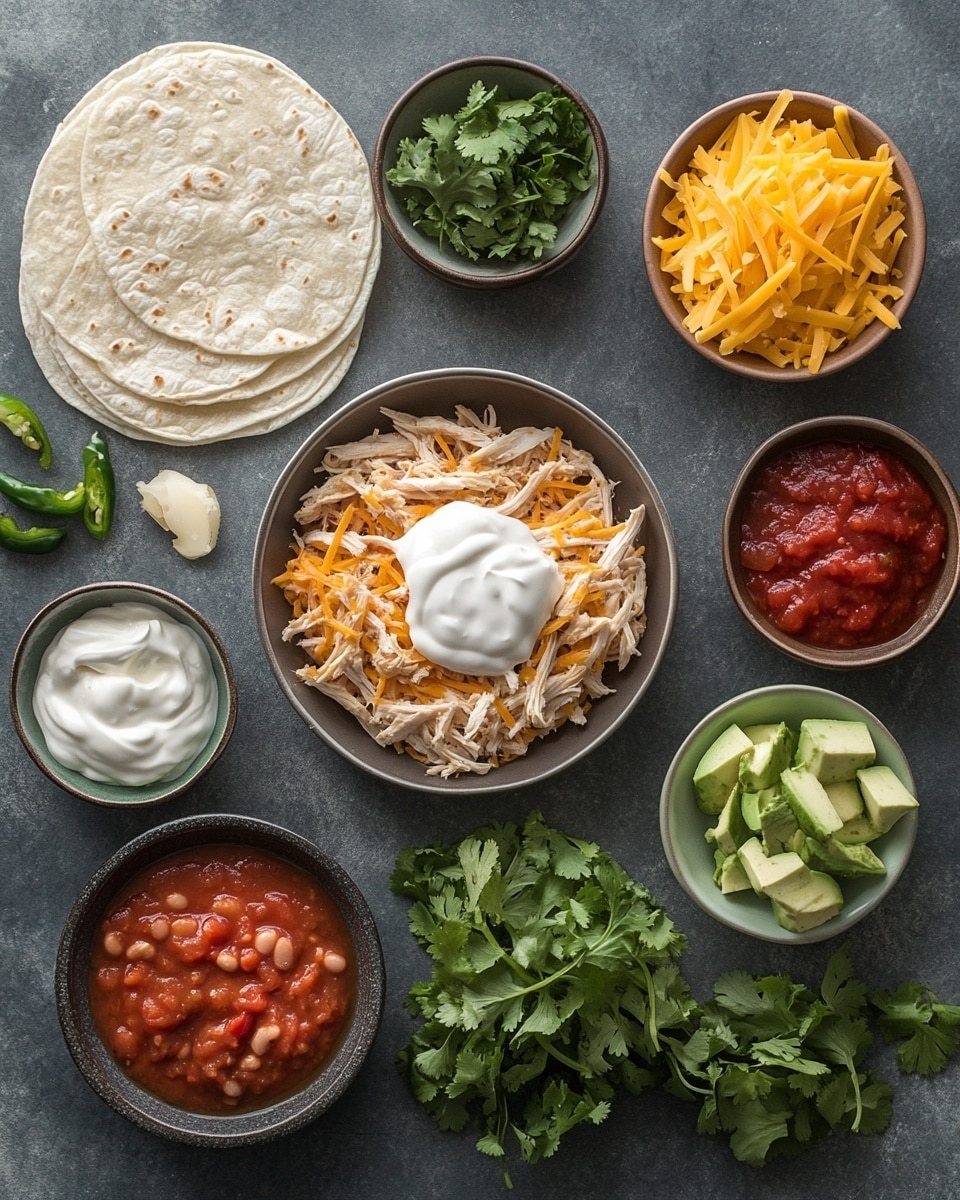
Ingredients You’ll Need
Each ingredient plays its role in making the filling flavorful and the chimichangas perfectly crisp. I always recommend grabbing fresh cheese and rotisserie chicken to save time without compromising on taste.
- Salsa (medium heat): Choose a good-quality salsa like Mateo’s for a balanced kick and depth of flavor.
- Sour cream: This adds creaminess to the filling and the perfect tang to complement the spices.
- Refried beans: They help bind the filling and add that classic texture you want inside chimichangas.
- Mild chopped green chiles: These bring a subtle warmth and a little freshness without overpowering the spices.
- Chili powder: Essential for that smoky, earthy base taste.
- Ground cumin: Adds a woody, warm note that’s crucial for authentic flavor.
- Garlic powder: A flavor booster that wakes up the whole dish.
- Onion powder: Provides a gentle sweetness in the background.
- Smoked paprika: This gives a subtle smoky hint and enhances the golden color.
- Dried oregano: A little herbal zing that rounds out the spice mix.
- Salt: Balances and enhances all the flavors in the mix.
- Shredded cooked chicken: Rotisserie chicken works wonders for juicy, flavorful meat.
- Monterrey Jack cheese: Melts beautifully and adds that mild creaminess.
- Sharp cheddar cheese: Brings a punchy, tangy contrast to the Jack cheese.
- Burrito-size flour tortillas: Big enough to wrap all the filling tightly for frying or baking.
- Vegetable oil: For frying, because that’s how you get the absolute best crunch.
Variations
I’m all for making this recipe your own! Over time, I’ve tried swapping out ingredients based on what’s in my fridge and dietary needs, and each time it’s been delicious. Don’t hesitate to add your twist.
- Variation: For a vegetarian option, replace the chicken with sautéed mushrooms and extra beans—I promise it’s just as satisfying!
- Variation: Spice lovers, add some diced jalapeños or hot sauce to the filling for that extra punch.
- Variation: Want to bake instead of fry? Brush the chimichangas with oil and bake at 425°F for 15-20 minutes until crispy and golden.
- Variation: Swap the Monterrey Jack for pepper jack cheese if you want a little heat in the cheese melting together.
How to Make Homemade Chicken Chimichangas That Crunch Perfectly Recipe
Step 1: Prepare the Flavorful Chicken Filling
Start by shredding your cooked chicken—rotisserie chicken works beautifully here and saves you a ton of time. In a big bowl, mix the shredded chicken with salsa, sour cream, refried beans, chopped green chiles, and all your spices: chili powder, cumin, garlic and onion powder, smoked paprika, oregano, and salt. Stir in the shredded Monterrey Jack and cheddar cheese last to keep it from melting before you’re ready to roll.
This mixture should be thick but easily scoopable—if it seems too wet, just add a tiny bit more cheese or beans to help it firm up a bit.
Step 2: Fill and Fold Your Tortillas
Warm the burrito-size flour tortillas in the microwave for about 20 seconds — this makes them more pliable and less likely to crack when folding. Spoon a generous amount of the chicken filling onto the center of each tortilla. Fold in the sides tightly, then roll from bottom to top to enclose the filling completely, almost like wrapping a present.
A tight roll means less chance of opening up during frying, so take your time to make sure everything is snug.
Step 3: Fry Until Golden and Crunchy
Pour about 1 to 1.5 inches of vegetable oil into a heavy-bottom skillet and heat it to 350°F (use a candy thermometer if you have one). Carefully place the rolled chimichangas seam side down in the oil to seal them shut better. Fry for about 3-4 minutes on each side or until they turn a gorgeous golden brown and that unmistakable crunch forms.
Don’t overcrowd the pan — fry in batches if necessary. After frying, transfer them to a paper towel-lined plate to drain excess oil. This step is key so they stay crisp and not soggy.
How to Serve Homemade Chicken Chimichangas That Crunch Perfectly Recipe
Garnishes
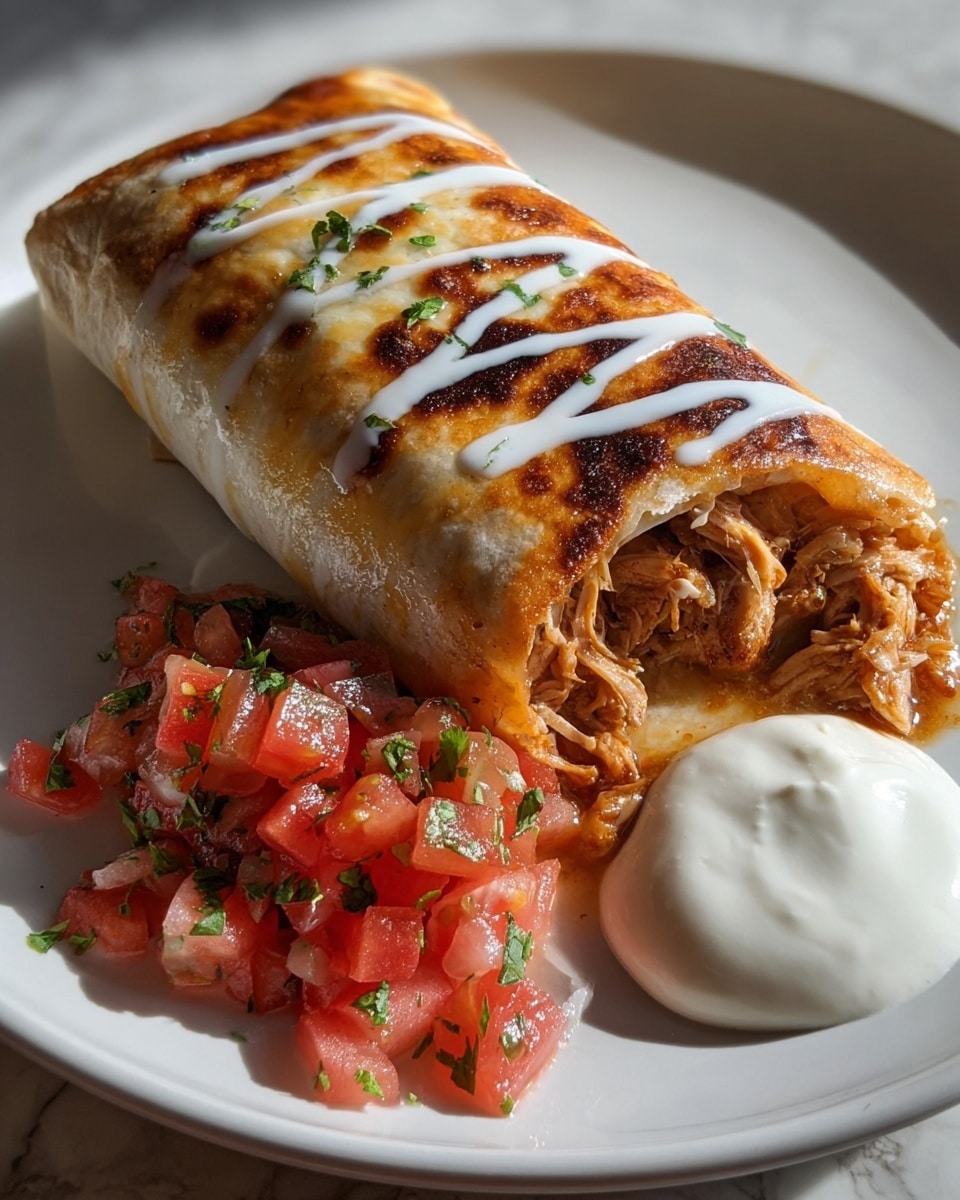
I’m partial to dollops of sour cream and salsa on top, sprinkled with fresh cilantro for a bright, herbaceous touch. Sometimes I add sliced avocado or a squeeze of fresh lime for an extra burst of creaminess and acidity. Don’t skip the hot sauce if you like things spicy!
Side Dishes
These chimichangas pair wonderfully with simple sides like Mexican rice, refried beans, or a crisp green salad. I also love serving them with a side of charro beans or corn on the cob brushed with chili-lime butter—adds a festive vibe to the meal.
Creative Ways to Present
For a special occasion, arrange chimichangas on a platter with colorful bowls of guacamole, pico de gallo, and various salsas for dipping. You can even slice them diagonally to show off the melty, cheesy filling inside, which always impresses guests.
Make Ahead and Storage
Storing Leftovers
I find it best to store leftover chimichangas in an airtight container in the fridge the same day you make them. They’ll stay good for 3-4 days, and you’ll still get some crunch when reheated properly. Avoid stacking them to keep their crispiness.
Freezing
If you want to freeze these for future meals, wrap each chimichanga tightly in plastic wrap and then aluminum foil before placing them in a freezer-safe bag. From my experience, they freeze well for up to 2 months. Just thaw overnight in the fridge before reheating.
Reheating
To keep that perfect crunch, I reheat mine in a skillet over medium heat instead of the microwave. This method crisps the outside back up beautifully—about 3-5 minutes per side should do it. If you’re in a hurry, the oven also works great: 375°F for 10-15 minutes is usually enough.
FAQs
-
Can I bake the chimichangas instead of frying?
Absolutely! Baking is a great alternative for a lighter version. Brush the rolled chimichangas with oil, place them on a baking sheet lined with parchment, and bake at 425°F for about 15-20 minutes, flipping halfway through, until they’re golden and crisp.
-
What’s the secret to getting the chimichangas crunchy without them being greasy?
Frying at the right temperature (around 350°F) ensures they crisp up quickly and absorb less oil. Also, letting them drain on paper towels immediately after frying helps keep them from getting soggy. Using a good-quality vegetable oil with a high smoke point is key too!
-
Can I use homemade chicken instead of rotisserie?
Yes! Cook and shred your own chicken breast or thighs. Just make sure it’s well-cooked and shredded finely so it mixes well with the filling. Using rotisserie chicken is just a time-saver and adds extra flavor.
-
How do I keep the filling from leaking during frying?
Folding the tortillas tightly and starting the frying seam side down seals them well. Also, avoid overfilling the tortillas; a moderate amount of filling prevents bursting while frying.
-
Can I add other vegetables to the filling?
Definitely! Try sautéed bell peppers, onions, or corn for extra texture and flavor. Just make sure veggies are cooked and not too watery to prevent soggy chimichangas.
Final Thoughts
This Homemade Chicken Chimichangas That Crunch Perfectly Recipe holds a special place in my kitchen because it blends ease, comfort, and bold flavors all in one crispy package. I love sharing it with friends who are always blown away by how something so simple can taste so incredible. So go ahead, try it yourself—you’re going to love that satisfying crunch almost as much as the rich, cheesy filling inside.
PrintHomemade Chicken Chimichangas That Crunch Perfectly Recipe

These homemade chicken chimichangas are crispy, flavorful, and perfect for a satisfying meal. Stuffed with shredded chicken, refried beans, green chiles, and a blend of cheeses and spices, then fried to golden perfection, they offer a delicious Tex-Mex experience with a crunchy finish. Serve with salsa and sour cream for an easy and satisfying dinner.
- Prep Time: 15 minutes
- Cook Time: 12 minutes
- Total Time: 27 minutes
- Yield: 6 chimichangas 1x
- Category: Main Course
- Method: Frying
- Cuisine: Tex-Mex
Ingredients
Filling
- 3 cups shredded cooked chicken (rotisserie works well)
- ½ cup refried beans
- 4 oz. can mild chopped green chiles
- 1 cup freshly shredded Monterrey Jack cheese
- 1 cup freshly shredded sharp cheddar cheese
- 2 teaspoons chili powder
- 1 teaspoon ground cumin
- 1 teaspoon garlic powder
- ½ teaspoon onion powder
- ½ teaspoon smoked paprika
- ½ teaspoon dried oregano
- ½ teaspoon salt
Wraps & Toppings
- 6 burrito-size flour tortillas
- Vegetable oil (for frying)
- ½ cup salsa (medium or hotter for more heat, like Mateo’s brand)
- ½ cup sour cream
Instructions
- Prepare the Filling: In a large mixing bowl, combine shredded cooked chicken, refried beans, chopped green chiles, both cheeses, chili powder, ground cumin, garlic powder, onion powder, smoked paprika, dried oregano, and salt. Mix thoroughly until all ingredients are well incorporated.
- Assemble the Chimichangas: Lay a flour tortilla flat on a clean surface. Spoon an even amount of the chicken filling mixture onto the center of the tortilla. Fold in the sides and then roll the tortilla tightly from one end to the other to encase the filling securely.
- Heat the Oil: Pour enough vegetable oil into a large skillet or frying pan to cover at least half of the chimichanga rolls when placed in the pan. Heat the oil over medium-high heat until it reaches approximately 350°F (175°C) or until a small piece of tortilla sizzles immediately upon contact.
- Fry the Chimichangas: Carefully place the rolled chimichangas seam-side down into the hot oil. Fry each side for about 3-4 minutes, turning as needed, until the tortilla is golden brown and crispy on all sides. Use tongs to flip and ensure even frying.
- Drain Excess Oil: Remove the chimichangas from the oil and place them on a plate lined with paper towels to soak up any excess oil and keep them crispy.
- Serve: Serve the crispy chimichangas hot with salsa and sour cream on the side for dipping or topping. Enjoy immediately for the best crunch and flavor.
Notes
- For a spicier chimichanga, use medium or hot salsa like Mateo’s brand or add extra chili powder.
- Rotisserie chicken works well, but you can also use freshly cooked chicken breast or thighs, shredded.
- Make sure the oil is hot enough before frying to prevent the chimichangas from becoming greasy.
- To keep them warm while frying batches, place finished chimichangas in a warm oven set to 200°F (93°C).
- For a healthier alternative, consider baking the chimichangas at 425°F (220°C) for about 15-20 minutes, flipping halfway through.
Keywords: chicken chimichangas, crispy chimichangas, Tex-Mex recipe, fried chimichangas, homemade chimichangas