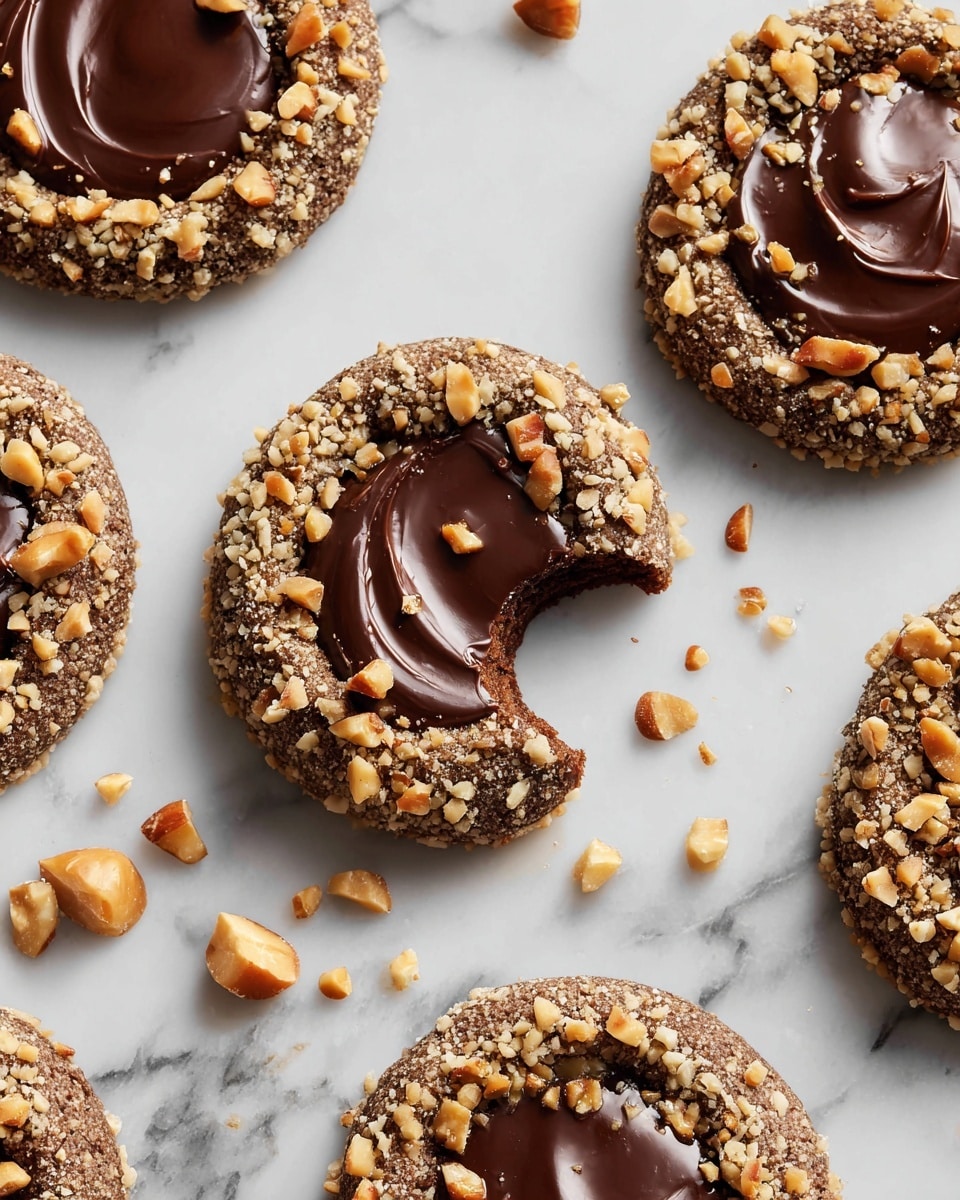
Chocolate Hazelnut Thumbprint Cookies Recipe
If you’re anything like me and adore a cookie that’s both sweet and a little nutty, you’re going to fall head over heels for this Chocolate Hazelnut Thumbprint Cookies Recipe. It’s got that perfect balance of soft, crumbly dough with a rich chocolatey center that just melts in your mouth. Whenever I make them, my kitchen fills with the most irresistible aroma of toasted hazelnuts and cocoa — pure comfort in cookie form.
This recipe shines especially during cozy evenings or special gatherings because it’s not just about the flavor; it’s also about the fun of making those thumbprint wells and filling them with luscious chocolate hazelnut spread. Plus, they’re super easy to customize, making them a go-to when I want something impressive but fuss-free. Trust me, you’ll want to bookmark this Chocolate Hazelnut Thumbprint Cookies Recipe for any time you crave a little homemade happiness.
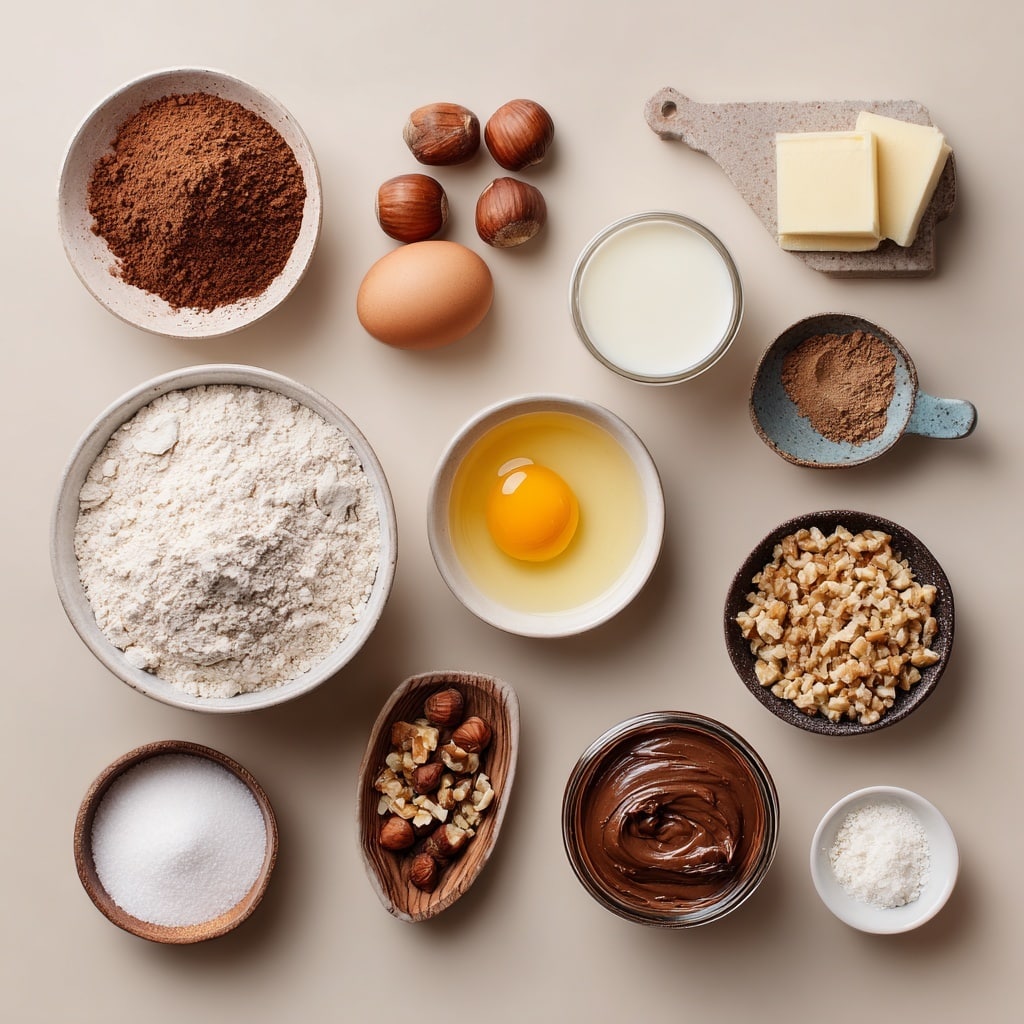
Ingredients You’ll Need
These ingredients work beautifully together to create a cookie that’s tender, flavorful, and just chewy enough around the edges. A quick tip: toast your hazelnuts well for that deep, nutty flavor that takes these cookies to the next level!
- All-purpose flour: This forms the base of your cookie dough, giving it structure without being too heavy.
- Dutch processed cocoa powder: Adds a rich chocolate flavor with a smooth, mellow finish.
- Salt: Balances the sweetness and enhances all the other flavors.
- Unsalted butter: Use quality butter for that creamy, rich taste and perfect texture.
- Egg yolk: Helps bind the dough and adds a silky richness.
- Milk: Just enough to bring the dough together while keeping it tender.
- Powdered sugar: Gives a finer sweetness and melts smoothly in the dough.
- Vanilla extract: A splash for warmth and depth in every bite.
- Finely chopped toasted hazelnuts: Toast them yourself to amplify their flavor — trust me, it’s worth the extra step.
- Chocolate hazelnut spread: The star of the show, filling each thumbprint with gooey chocolaty goodness.
Variations
One of my favorite things about this Chocolate Hazelnut Thumbprint Cookies Recipe is how easy it is to adjust to your own tastes or dietary needs. Don’t hesitate to make it your own!
- Nut-Free Variation: Swap the hazelnuts for finely chopped pretzels or oats if you’re allergic or just want a different crunch. I did this once for a friend’s party, and it was a hit!
- Vegan Version: Use a plant-based butter and substitute the egg yolk with a flax egg. It’s slightly different but still delicious and perfect if you’re dairy-free.
- Different Spread: Try raspberry jam or salted caramel in place of the chocolate hazelnut spread for a fruity or buttery twist I often make around holidays.
- Extra Chocolate: Add mini chocolate chips into the dough if you want more chocolate bursts, a little trick I picked up to please chocoholics like me.
How to Make Chocolate Hazelnut Thumbprint Cookies Recipe
Step 1: Toast and Chop Your Hazelnuts
Start by tossing your hazelnuts in a hot, dry skillet for about 5-7 minutes, shaking frequently until the skins blister and the nuts smell warm and toasty. Let them cool completely, then rub off any loose skins on a clean kitchen towel and finely chop. This step isn’t just a side task — it’s what unlocks that deep hazelnut flavor I can’t get enough of!
Step 2: Combine Dry Ingredients
In a large bowl, sift together the flour, cocoa powder, and salt. Sifting helps avoid lumps and ensures even mixing, which means a smoother dough and a prettier cookie — trust me, it makes a difference.
Step 3: Cream Butter, Sugar, and Egg Yolk
Using a hand mixer or stand mixer, beat the unsalted butter and powdered sugar together until light and fluffy, about 2-3 minutes. Add the egg yolk and vanilla extract, continuing to mix until well combined. This process gives your cookies that tender crumb without being greasy.
Step 4: Bring It All Together
Gradually add the dry ingredients and milk to the butter mixture, mixing just until everything comes together — careful not to overmix. Fold in the chopped toasted hazelnuts with a spatula to distribute them evenly without breaking your batter down.
Step 5: Shape and Thumbprint the Cookies
Chill the dough for about 30 minutes if it feels too soft to handle — this helps keep the cookies from spreading too much while baking. Then, roll the dough into walnut-sized balls and place them on a baking sheet lined with parchment paper. Using your thumb (or a small spoon handle), gently press a well into the center of each ball, being careful not to press all the way through.
Step 6: Bake and Fill
Bake the cookies at 350°F (175°C) for about 12-15 minutes — the edges should be set, but the centers still soft. Once out of the oven, while the cookies are warm, fill each thumbprint with a small dollop of chocolate hazelnut spread. It will soften and melt slightly into that perfect chocolatey center we all crave.
How to Serve Chocolate Hazelnut Thumbprint Cookies Recipe
Garnishes
I love sprinkling a bit of chopped toasted hazelnuts or a tiny pinch of flaky sea salt over the chocolate filling. It adds a nice texture contrast and brings out the nutty sweetness even more. Sometimes, just a dusting of powdered sugar works wonders if you want a classic, elegant look.
Side Dishes
Pair these cookies with a warm cup of coffee or your favorite black tea for a cozy afternoon snack. They’re also wonderful alongside a scoop of vanilla ice cream if you want to go all out for dessert. On holiday mornings, I sometimes set them next to a glass of cold milk for the kids — it’s a guaranteed hit!
Creative Ways to Present
For parties, I arrange the cookies on a pretty platter lined with parchment and garnish with sprigs of fresh rosemary or edible flowers for a festive touch. I’ve also packaged them in small gift boxes with a ribbon — they make the sweetest homemade presents that friends always rave about.
Make Ahead and Storage
Storing Leftovers
Once cooled completely, I store these cookies in an airtight container at room temperature. They keep wonderfully fresh for up to a week—but honestly, they rarely last that long in my house! Make sure to layer them with parchment paper to prevent sticking and maintain that perfect thumbprint shape.
Freezing
This Chocolate Hazelnut Thumbprint Cookies Recipe freezes really well. I usually freeze the shaped, unbaked dough balls on a tray first, then transfer them to a freezer-safe bag. When I want fresh cookies, I just bake them straight from frozen—adding a couple extra minutes to the bake time. It’s a fantastic way to always have a batch on hand for unexpected guests.
Reheating
If you want to warm up leftover cookies, pop them in a 300°F (150°C) oven for 5-7 minutes. This refreshes their texture beautifully without melting the chocolate filling too much. Avoid microwaving, as it can make the texture a bit rubbery and overly soft.
FAQs
-
Can I use store-bought roasted hazelnuts for this recipe?
Absolutely! Store-bought roasted hazelnuts work fine if they’re fresh and flavorful. However, toasting raw hazelnuts yourself releases more aroma and flavor, giving your cookies that extra-special touch. Just keep an eye on them while toasting to avoid burning.
-
What chocolate hazelnut spread do you recommend?
I’m a fan of classic brands like Nutella, but feel free to use any good quality chocolate hazelnut spread you love. Some small-batch options have more intense flavor and less sugar, which can make the cookies even better—experiment and see what you enjoy most!
-
Can I make these cookies gluten-free?
Yes! Swap the all-purpose flour for a gluten-free blend that’s suitable for baking. Just make sure it includes xanthan gum or another binder to maintain the dough’s texture. The cookies might be a bit more delicate but still delicious.
-
How do I prevent the cookie from spreading too much during baking?
Chilling the dough for about 30 minutes before baking helps the cookies hold their shape. Also, avoid using melted butter and measure your flour accurately to keep the dough firm enough to keep those cute thumbprints intact.
-
Can I prepare these cookies in advance?
Definitely! You can shape and press your thumbprints in the dough, then cover and refrigerate up to 24 hours before baking. Alternatively, freeze the shaped dough for longer storage. Just add the chocolate hazelnut spread filling right after baking for the best texture.
Final Thoughts
This Chocolate Hazelnut Thumbprint Cookies Recipe has become one of my absolute favorites, especially when I want a treat that feels both special and approachable. They’re straightforward to make but deliver a little moment of indulgence with every bite. I’m confident you’ll love making—and more importantly, eating—these just as much as I do. So go ahead, grab those hazelnuts and get baking. Your future self with a plate of warm cookies will thank you!
PrintChocolate Hazelnut Thumbprint Cookies Recipe

These Chocolate Hazelnut Thumbprint Cookies are a delightful treat combining rich cocoa, buttery dough, and a nutty hazelnut crunch. Filled with luscious chocolate hazelnut spread, these cookies have a perfect balance of chocolatey richness and nutty flavor, making them an irresistible dessert or snack.
- Prep Time: 20 minutes
- Cook Time: 15 minutes
- Total Time: 35 minutes
- Yield: 24 cookies 1x
- Category: Dessert
- Method: Baking
- Cuisine: European
Ingredients
Dry Ingredients
- 200 g all-purpose flour
- 30 g Dutch processed cocoa powder
- 1/4 tsp salt
- 115 g powdered sugar
Wet Ingredients
- 250 g unsalted butter, softened
- 1 egg yolk
- 40 g milk
- 2 tsp vanilla extract
Additional Ingredients
- 125 g finely chopped hazelnuts, toasted
- 100 g chocolate hazelnut spread
Instructions
- Prepare the Hazelnuts: Toast the finely chopped hazelnuts in a dry pan over medium heat until golden and aromatic. Set aside to cool completely, which enhances their flavor and texture in the cookies.
- Mix Dry Ingredients: In a bowl, sift together the all-purpose flour, Dutch processed cocoa powder, salt, and powdered sugar to ensure even distribution and remove any lumps.
- Cream Butter and Egg Yolk: In a separate large bowl, beat the softened unsalted butter until creamy. Add the egg yolk and continue mixing until fully incorporated and the mixture is smooth.
- Add Milk and Vanilla: Pour in the milk and vanilla extract to the butter mixture and beat again until the mixture is smooth and homogeneous, which helps create a soft dough.
- Combine Wet and Dry Ingredients: Gradually add the dry ingredients mixture into the wet mixture, folding gently with a spatula or mixing slowly by hand to form a soft dough without overworking it.
- Shape Cookies: Take small portions of dough and roll them into balls about 1 inch in diameter. Place the balls on a baking tray lined with parchment paper, spaced evenly.
- Create Thumbprints: Using your thumb or the back of a small spoon, gently press each ball in the center to create an indentation without breaking the dough, forming the thumbprint for filling.
- Coat with Hazelnuts: Roll or press the edges of each cookie ball into the toasted chopped hazelnuts to coat the outer rim, adding crunch and flavor.
- Bake the Cookies: Preheat your oven to 175°C (350°F). Bake the cookies for approximately 12-15 minutes, or until the edges are set but the cookies have a soft center. Remove from the oven and allow to cool on the baking tray for a few minutes before transferring to a wire rack.
- Fill the Thumbprints: Once the cookies are completely cool, spoon or pipe chocolate hazelnut spread into the thumbprint indentations, filling generously but neatly.
- Serve and Store: Serve immediately or store in an airtight container at room temperature for up to 5 days or refrigerate for longer freshness.
Notes
- To toast hazelnuts, place them in a dry skillet over medium heat, stirring frequently until golden and fragrant (about 5-7 minutes).
- Softened unsalted butter should be at room temperature for best creaming results.
- Do not overbake cookies to retain a soft center.
- For a dairy-free version, substitute butter with a plant-based margarine and use a vegan chocolate spread.
- You can freeze unbaked cookie dough balls for up to 1 month; thaw before baking.
Keywords: Chocolate Cookies, Hazelnut Cookies, Thumbprint Cookies, Chocolate Hazelnut Spread, Cocoa Cookies, Holiday Cookies, Homemade Cookies