Homemade Freezer Waffles Recipe
Nothing beats the convenience of grabbing a perfectly crispy waffle from the freezer on a busy morning, and that’s exactly why I’m excited to share this Homemade Freezer Waffles Recipe with you. It’s my go-to for making a big batch of waffles that you can stash away for weeks, ready to pop into the toaster whenever you want a quick, delicious breakfast without the fuss. Plus, these waffles hold their texture beautifully after freezing, which has made mornings so much easier in my kitchen.
This recipe isn’t just about convenience — it’s about quality, too. The balance of all-purpose flour and cornstarch creates that perfect lightness and crispness I love, while beating the egg whites separately gives the waffles that fluffy, airy texture that makes them taste freshly made, even after freezing. Trust me, once you try this Homemade Freezer Waffles Recipe, you’ll wonder how you ever managed breakfast without it.
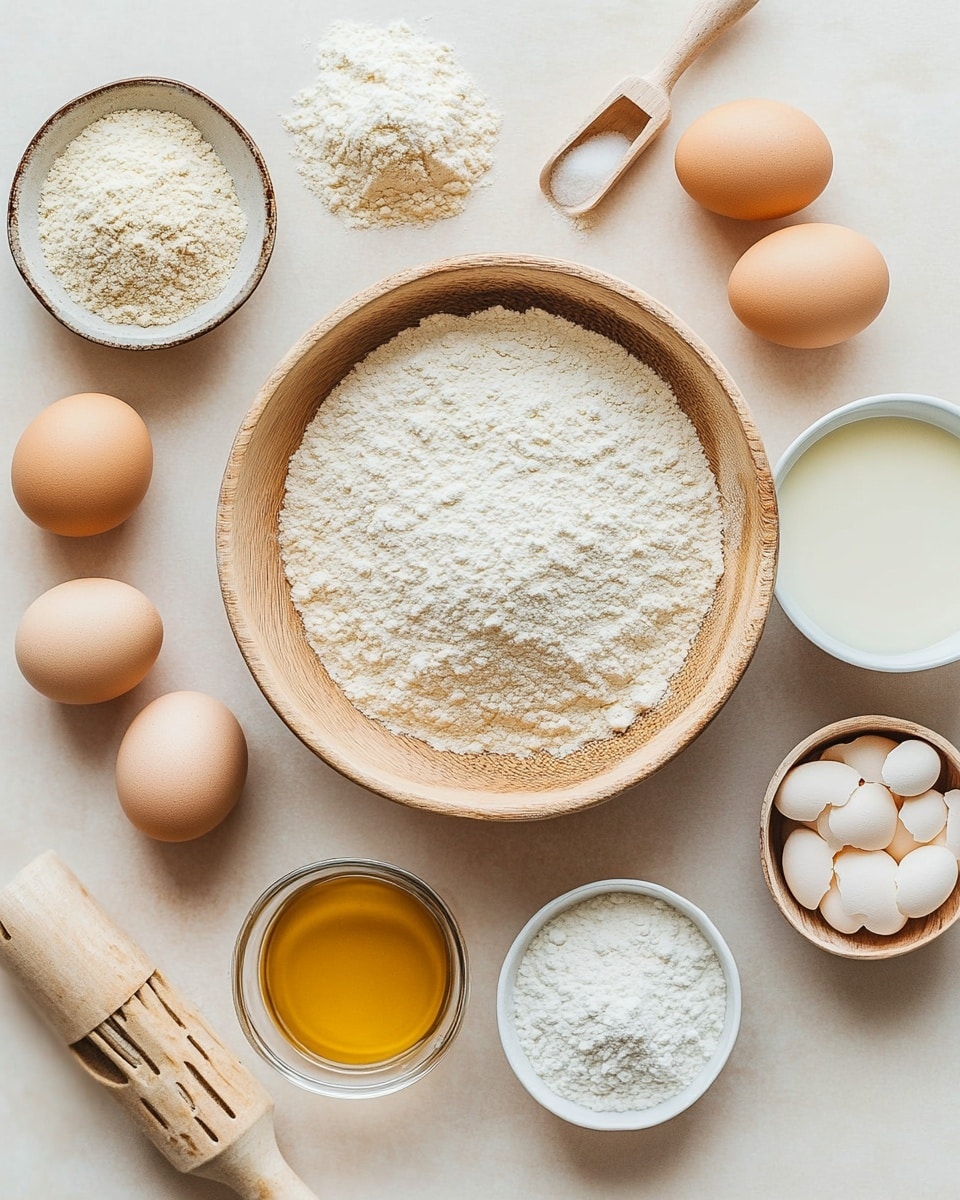
Ingredients You’ll Need
These ingredients come together to create waffles that are crispy on the outside and tender inside, using pantry staples you probably already have. Each one plays a role in the texture and flavor, so it’s worth using fresh baking powder and separating the eggs as the recipe says.
- All-purpose flour: The base that gives structure; I like to sift it to avoid lumps.
- Cornstarch: This keeps the waffles wonderfully light and crisp—don’t skip it!
- Granulated sugar: Just enough to add subtle sweetness without overpowering.
- Baking powder: Make sure it’s fresh so your waffles rise nicely.
- Salt: Balances the flavors perfectly.
- Milk (any kind): I usually use whole milk for richness, but any type works.
- Vegetable oil (or avocado/coconut oil): Adds moisture and helps with that crisp outside.
- Eggs (separated): Beating the whites separately is the secret to fluffy waffles.
- Vanilla extract: Just a teaspoon adds a lovely depth of flavor.
Variations
I love customizing this Homemade Freezer Waffles Recipe depending on the season or what we’re craving — it’s so versatile! Feel free to swap ingredients or add mix-ins to make it your own.
- Gluten-free option: I’ve tried swapping in a 1:1 gluten-free flour blend with great results. Just add a splash more milk if your batter feels thick.
- Flavor twists: Add a pinch of cinnamon or nutmeg to warm up the flavor during fall mornings.
- Sweet additions: Stir in some mini chocolate chips or fresh blueberries for a fun breakfast treat that kids adore.
- Healthier fats: Coconut oil works beautifully in place of vegetable oil, providing a subtle, tropical twist.
How to Make Homemade Freezer Waffles Recipe
Step 1: Whisk Together Your Dry Ingredients
Start by combining your all-purpose flour, cornstarch, sugar, baking powder, and salt in a large bowl. Whisking these together well ensures an even distribution of leavening agents and sweetness throughout your waffles. This little step sets you up for consistent results every time!
Step 2: Mix the Wet Ingredients Separately
In another bowl, whisk together the milk, oil, egg yolks, and vanilla extract until smooth. This helps blend the flavors and oils evenly before they meet the dry ingredients. Using room temperature eggs here makes mixing easier and helps create a smoother batter.
Step 3: Combine and Rest
Pour the dry ingredients into the wet mixture and gently stir until just combined — don’t overmix! A few lumps are okay; overworking your batter can make waffles tough. Set this batter aside while you prep the egg whites.
Step 4: Beat the Egg Whites to Soft Peaks
This step really makes a difference! Using a clean, dry bowl and a hand mixer, beat the egg whites until soft peaks form — you’ll know you’re there when they hold their shape but still fold over gently. Then, carefully fold the egg whites into your batter with a spatula to keep that airy texture. It’s a bit like magic.
Step 5: Preheat and Grease Your Waffle Iron
Get your waffle iron nice and hot before cooking—this helps the waffles cook evenly and get that golden crust. Lightly grease the iron with oil or non-stick spray to prevent sticking. Don’t use too much, or your waffles might turn greasy.
Step 6: Cook the Waffles
Use about a scant ¼ cup of batter for each mini waffle (or adjust if you have a different size). Because these waffles are destined for the freezer, I cook them just a touch less than usual — aiming for a light golden color rather than a deep brown. It keeps them from getting too crispy once you reheat them later.
Step 7: Cool Completely on a Wire Rack
This is a key step if you want to keep your waffles crispy after freezing. Placing them on a wire rack allows air to circulate and prevents moisture from making the bottoms soggy. I always let them cool fully before bagging, even though it’s tempting to dive right in!
Step 8: Freeze Your Waffles
Stack the cooled waffles with parchment paper between each to prevent sticking, then place them in a freezer-safe bag or airtight container. They’ll keep for up to 6 months, making your mornings stress-free for weeks. Label the bag so you know what’s inside!
How to Serve Homemade Freezer Waffles Recipe
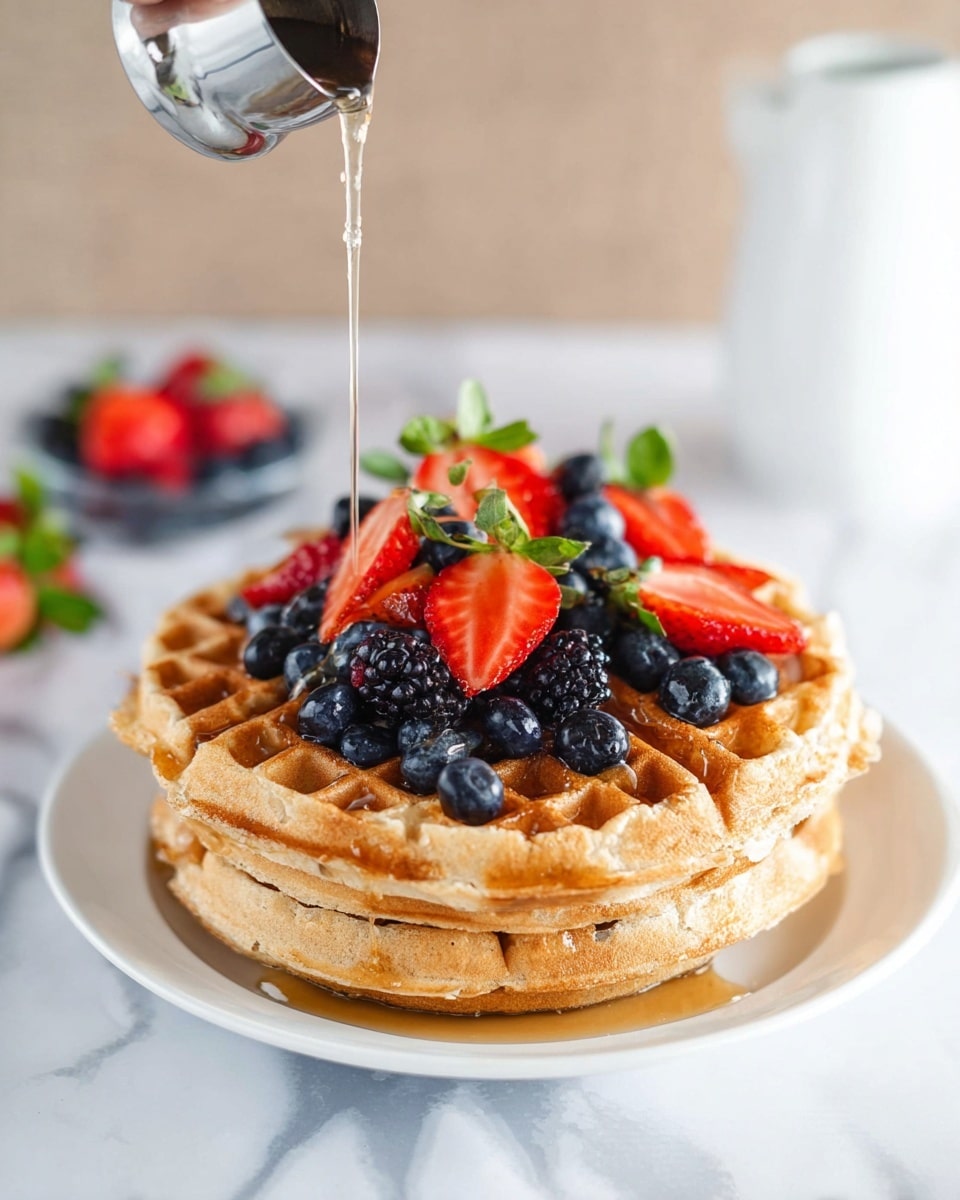
Garnishes
My favorite way to dress these waffles is with classic maple syrup and a pat of butter for that nostalgic feel. On weekends, I love topping them with fresh berries and a dollop of whipped cream for a touch of elegance. A sprinkle of powdered sugar never hurts either—simple and sweet!
Side Dishes
Pair your waffles with crispy bacon or sausage links for a hearty breakfast. On lighter mornings, a side of fresh fruit or a smoothie keeps it bright and refreshing. I often serve mine with scrambled eggs and avocado slices for a well-rounded feel.
Creative Ways to Present
For special occasions, I’ve stacked waffles layered with mascarpone and fresh strawberries to make a quick waffle “cake” that looks impressive but takes minutes to assemble. You could also cut waffles into smaller shapes with cookie cutters for a fun kids’ brunch or brunch buffet.
Make Ahead and Storage
Storing Leftovers
If you have leftover waffles outside the freezer, you can keep them in an airtight container at room temperature for up to two days. Just remember, the texture will be best if you reheat them rather than eating them cold.
Freezing
I’ve been freezing waffles for years and honestly, this Homemade Freezer Waffles Recipe freezes better than many store-bought versions I’ve tried. Just be sure the waffles cool completely before freezing, and use parchment paper between each one to avoid them sticking together.
Reheating
When you’re ready to eat, toast your frozen waffles straight from the freezer in a toaster oven or air fryer at 350°F for a few minutes. Alternatively, pop them in the oven directly on the rack for crispness without any sogginess. This method keeps their crispy edges intact, just the way I like it.
FAQs
-
Can I make this Homemade Freezer Waffles Recipe vegan?
Absolutely! You can replace the eggs with flax or chia egg substitutes, use non-dairy milk like almond or oat milk, and swap the oil for coconut or avocado oil. Just be aware that texture may differ slightly without the beaten egg whites.
-
How long do homemade frozen waffles last in the freezer?
When stored properly in a freezer-safe bag or container, these waffles can last up to 6 months without losing flavor or texture. Just make sure they’re fully cooled before freezing to avoid sogginess.
-
Can I use a regular waffle size or only mini waffles?
You can definitely use this recipe for regular-sized waffles too! I often make mini waffles for quick snacks, but the batter quantity and cook times work just as well for full-size waffles—just pour more batter per waffle and adjust the cooking time accordingly.
-
Why do I have to beat egg whites separately for this recipe?
Beating egg whites separately and folding them in adds lightness and air to the batter, making your waffles fluffier and less dense. It’s a simple trick that really elevates the texture.
Final Thoughts
I can’t recommend this Homemade Freezer Waffles Recipe enough if you want a mix of convenience and homemade goodness on your breakfast table. Having a stash of these waffles ready to heat up has saved me countless rushed mornings, not to mention made weekend breakfasts extra special with minimal effort. Give it a try—you’ll feel like you’ve got a secret weapon in your kitchen, just like I do!
PrintHomemade Freezer Waffles Recipe

This Homemade Freezer Waffles recipe offers a simple and delicious way to prepare light, fluffy waffles in advance. Made with basic pantry ingredients and featuring a technique of folding beaten egg whites into the batter for added fluffiness, these waffles can be cooked ahead, frozen, and quickly reheated for a perfect breakfast anytime.
- Prep Time: 10 minutes
- Cook Time: 5 minutes
- Total Time: 15 minutes
- Yield: About 18 mini waffles 1x
- Category: Breakfast
- Method: Stovetop
- Cuisine: American
Ingredients
Dry Ingredients
- 1 ½ cups all-purpose flour
- ¼ cup cornstarch
- 3 Tablespoons granulated sugar
- 2 ¼ teaspoons baking powder
- ¼ teaspoon salt
Wet Ingredients
- 1 cup + 2 Tablespoons milk (any kind)
- 6 Tablespoons vegetable oil, avocado oil, or melted coconut oil
- 2 large eggs (separated)
- 1 teaspoon vanilla extract
Instructions
- Prepare Dry Ingredients: In a large bowl, whisk together the all-purpose flour, cornstarch, sugar, baking powder, and salt until fully combined.
- Prepare Wet Ingredients: In a separate bowl, mix the milk, vegetable oil (or your choice of oil), egg yolks, and vanilla extract until smooth.
- Combine Wet and Dry: Pour the dry ingredients into the wet ingredients and gently mix until just combined. Avoid overmixing.
- Preheat Waffle Iron: Turn on your waffle iron to preheat according to manufacturer instructions.
- Beat Egg Whites: In a clean, dry bowl, beat the egg whites with a hand mixer until soft peaks form. This step adds lightness and fluffiness to the waffles.
- Fold Egg Whites into Batter: Gently fold the beaten egg whites into the batter, being careful not to deflate them to maintain an airy texture.
- Cook Waffles: Lightly grease the hot waffle iron. Pour about a scant ¼ cup of batter per mini waffle and cook until just lightly golden; slightly less than usual if freezing for later to avoid overcooking.
- Cool Waffles: Transfer cooked waffles to a wire rack to cool completely, ensuring the bottoms stay crisp and don’t become soggy.
- Freeze Waffles: Once cooled, place waffles in a freezer-safe bag or container. Freeze for up to 6 months for convenience.
- Reheat Waffles: To enjoy, reheat waffles in a toaster oven until warmed through, or use an air fryer at 350°F (175°C) for 2–3 minutes. Alternatively, rewarm multiple waffles in a conventional oven on the rack at 350°F for 5 minutes.
Notes
- For gluten free waffles, substitute a 1:1 cup gluten free flour blend and add an extra splash of milk if the batter is too thick.
- Cook waffles slightly less time than usual if you plan to freeze and reheat later to avoid dryness.
- Store frozen waffles in airtight freezer bags or containers to prevent freezer burn.
- Using whipped egg whites is key to achieving light and fluffy waffles.
Keywords: Homemade waffles, freezer waffles, make ahead waffles, breakfast waffle recipe, fluffy waffles