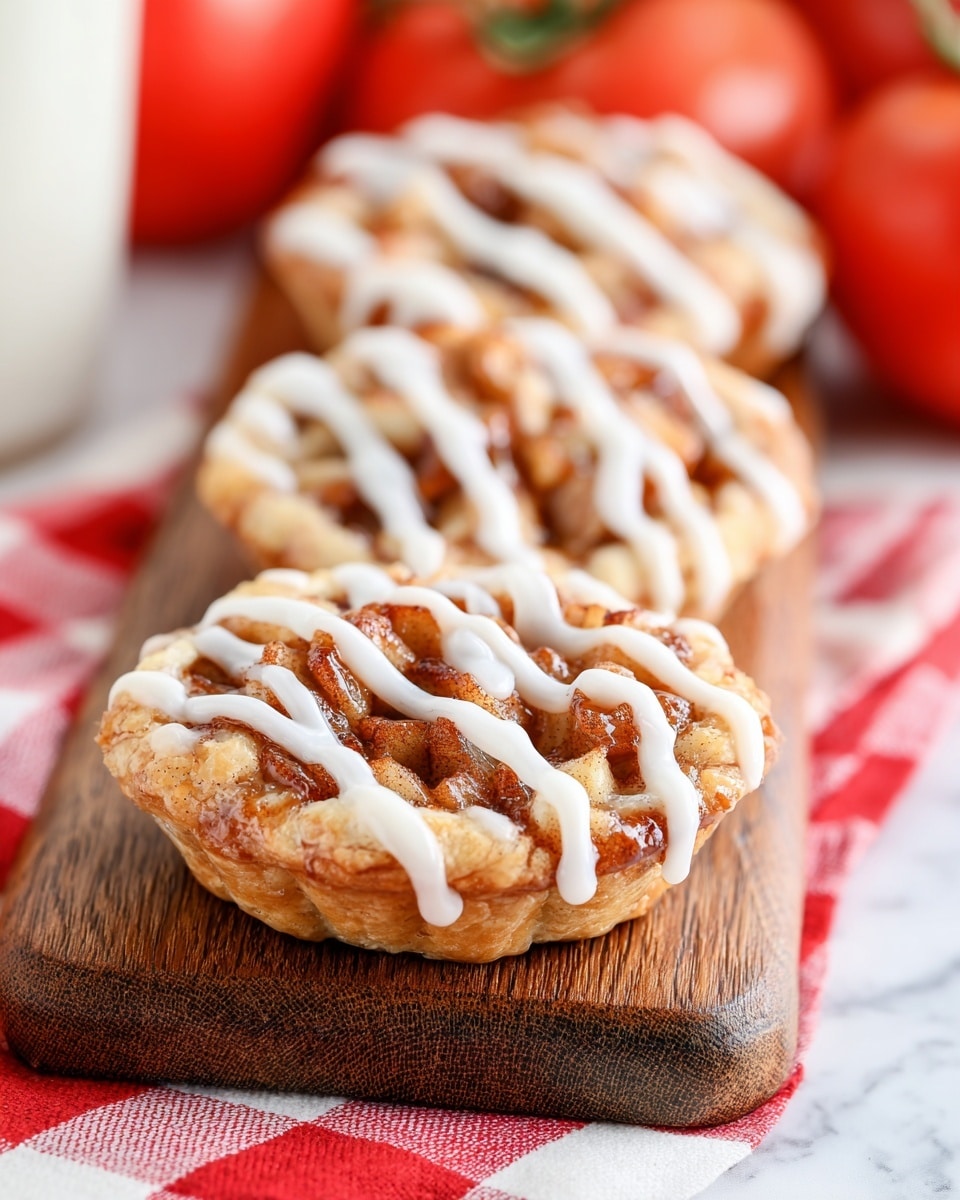
Apple Cream Cheese Danish Pastries Recipe
If you’re craving a bakery-quality treat at home, this Apple Cream Cheese Danish Pastries Recipe will totally hit the spot. I’ve made these a handful of times, especially for cozy weekend breakfasts and brunches, and they never disappoint. The flaky puff pastry paired with that luscious swirl of cream cheese and warm apple filling? It’s pure comfort wrapped in a golden, crisp package.
What makes this Apple Cream Cheese Danish Pastries Recipe so special is how it balances sweet and spice perfectly without being over the top. Plus, it’s surprisingly approachable — using store-bought puff pastry means you get all the flakiness without hours in the kitchen. Whether you’re prepping for a holiday morning or just want a sweet pick-me-up, these danishes are absolutely worth trying, trust me.
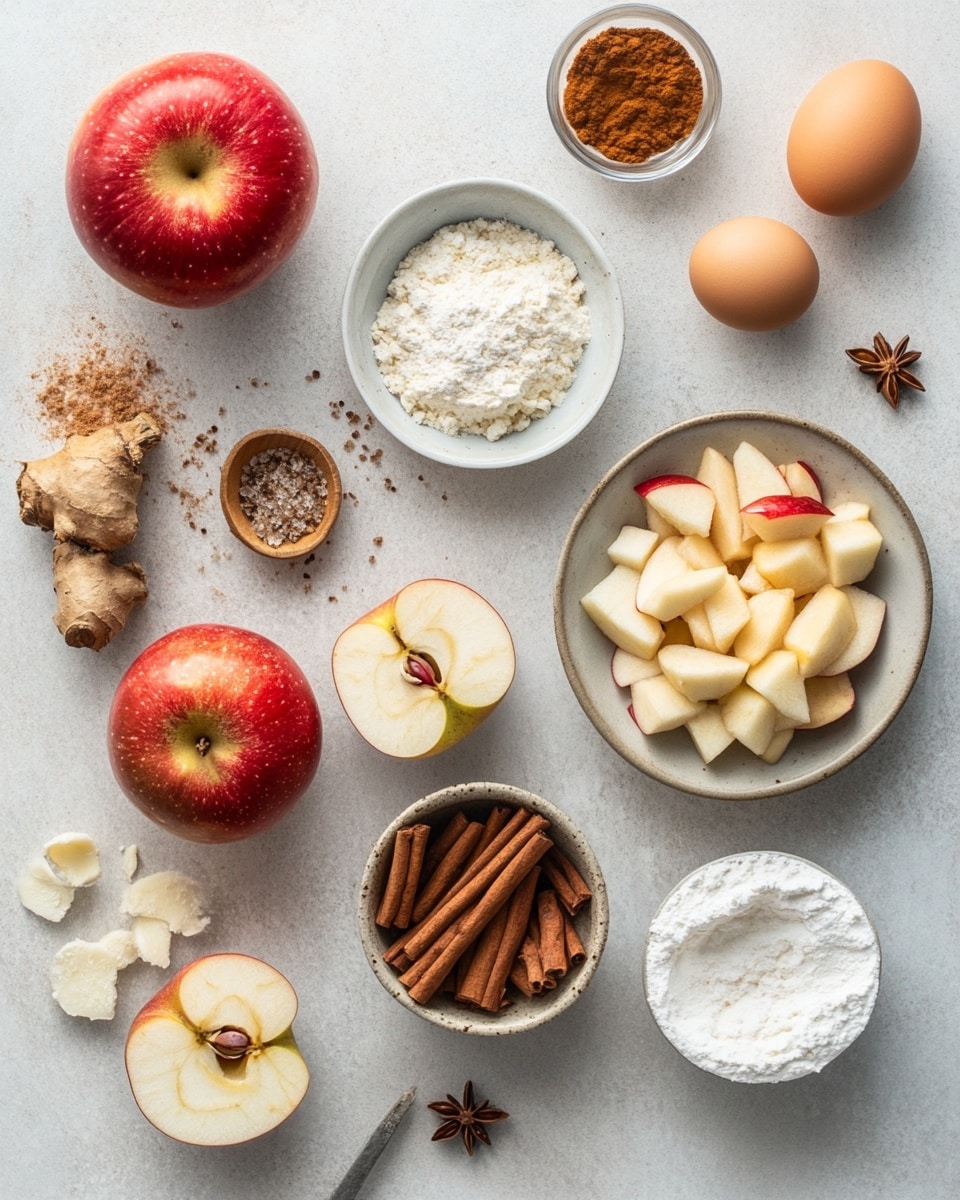
Ingredients You’ll Need
Each ingredient in this recipe works harmoniously to create those classic Danish layers of flavor and texture. The apples bring a tender sweetness, the cream cheese adds a smooth tang, and the spices make the filling warmly inviting. For best results, make sure all ingredients are fresh and your puff pastry sheets are properly thawed but still cool to handle.
- Baking apples: Choose a firm apple like Granny Smith or Honeycrisp; they hold up better when cooked and provide the perfect balance of tartness and sweetness.
- Brown sugar: Adds depth and that subtle molasses flavor complementing the cinnamon.
- Sugar: Sweetens the apple mix and cream cheese; standard granulated sugar works fine.
- Cinnamon, nutmeg, allspice, cloves, cardamom: This spice blend is what brings those warm fall vibes; fresh spices will really make a difference.
- Cream cheese: Use full-fat and softened for the creamiest, smoothest filling.
- Vanilla extract: Adds a subtle floral note to the cream cheese layer.
- Puff pastry sheets: I like the frozen kind—you just thaw them in the fridge to keep them flaky and manageable.
- Egg and water (for egg wash): This helps the danish get that beautiful golden-brown crust when baked.
- Confectioner’s sugar and half-and-half (optional glaze): A simple glaze brings added sweetness and sheen, but you can skip it if you prefer.
Variations
I love making this Apple Cream Cheese Danish Pastries Recipe my own by mixing up the fruit and filling flavors. Don’t be shy about trying seasonal twists or adapting it to suit your tastes. The basic idea stays amazing no matter what!
- Berry cream cheese danish: Swap the apples for mixed berries for a juicy, colorful alternative—I’ve done this in summer and it’s deliciously fresh.
- Maple or honey glaze: Instead of confectioner’s sugar glaze, drizzle warm maple syrup or honey for a natural sweetness.
- Nut topping: Sprinkle chopped walnuts or pecans over the cream cheese before baking for a satisfyingly crunchy texture.
- Gluten-free option: If you find a gluten-free puff pastry, this recipe works just as well—just watch the baking time closely as it may vary.
How to Make Apple Cream Cheese Danish Pastries Recipe
Step 1: Prepare the Apple Filling
Start by chopping your apples into small, even pieces so they cook uniformly. In a medium saucepan, combine the apples with brown sugar, granulated sugar, and your spices—cinnamon, nutmeg, allspice, cloves, and cardamom. Cook over medium heat, stirring occasionally, until the apples soften but don’t turn to mush, about 8-10 minutes. You want the mixture to be thick but still a little chunky. Set it aside to cool while you prep the cream cheese layer.
Step 2: Mix the Cream Cheese Layer
In a small bowl, beat together the softened cream cheese, sugar, and vanilla extract until smooth and fluffy. This layer will be the creamy counterbalance to your spiced apple filling, so don’t skip the vanilla—it adds a cozy aroma that I just adore.
Step 3: Assemble the Danishes
Roll out your puff pastry sheets on a lightly floured surface and cut each into 6 squares. Brush the edges of each square lightly with some of the egg wash (egg beaten with water). Then, spread a spoonful of cream cheese mixture in the center of each square, followed by a spoonful of apple filling on top.
Next, fold the corners of each square toward the center, pinching slightly to ensure they stick, creating that classic Danish shape. Brush the tops with the remaining egg wash to get that golden shine once baked.
Step 4: Bake Until Golden
Preheat your oven to 375°F (190°C). Place the prepared danishes on a parchment-lined baking sheet, leaving some space between them since puff pastry rises quite a bit. Bake for 18-22 minutes or until puffed up and golden brown. Keep an eye on them—you’ll know they’re done when they’re beautifully caramelized and flaky on top.
Step 5: Optional Glaze
If you like, whisk together confectioner’s sugar and half-and-half (or milk) to make a simple glaze. Drizzle this over the warm pastries right after they come out of the oven. The glaze adds a glossy finish and a subtle sweetness that I find irresistible.
How to Serve Apple Cream Cheese Danish Pastries Recipe
Garnishes
I usually keep it simple with the glaze, but a light dusting of cinnamon sugar or a few fresh apple slices on the side look pretty and add a fresh crunch. Sometimes, a sprig of fresh mint adds a lovely pop of color and fragrance too. If you’re feeling fancy, a small dollop of whipped cream complements the richness perfectly.
Side Dishes
These danishes pair wonderfully with a hot cup of coffee or tea for breakfast or brunch. If you want something heartier, serve alongside scrambled eggs or a simple green salad for a lunch spread. Fresh fruit or yogurt also balances the sweetness nicely.
Creative Ways to Present
For special occasions, I like to arrange the danishes on a rustic wooden board surrounded by fresh apple slices and a small bowl of homemade whipped cream or honey. Another fun idea is to serve them in individual mini baskets lined with pretty napkins for a brunch party—everyone loves a little personal touch!
Make Ahead and Storage
Storing Leftovers
I store leftover danishes in an airtight container at room temperature if I plan to eat them the next day. They stay surprisingly fresh for up to two days, though the puff pastry is best enjoyed fresh. Refrigerating them can cause the pastry to lose some of its crispness, so I only chill if you need to keep them longer.
Freezing
Want to make these ahead for a busy morning? Freeze the assembled but unbaked danishes on a tray lined with parchment paper. Once frozen solid, transfer them to a freezer bag for up to two months. When you’re ready, bake them straight from frozen—just add a few extra minutes to the baking time.
Reheating
To reheat leftover danishes, pop them in a 350°F (175°C) oven for about 5-8 minutes until warm and crisp again. Avoid microwaving, as that tends to make the pastry soggy. I find this method keeps their flaky texture just right, almost as good as freshly baked.
FAQs
-
Can I use homemade puff pastry for this recipe?
Absolutely! Homemade puff pastry will work beautifully if you have the time and patience to make it. Just be sure it’s properly chilled and rolled out evenly before assembling to get those signature flaky layers.
-
Is it necessary to use an egg wash?
While not strictly required, the egg wash really helps the danishes develop a shiny, golden crust that looks as good as it tastes. If you’re avoiding eggs, you could brush with melted butter for a softer finish.
-
Can I substitute other fruits for the apple filling?
Definitely! Pears, peaches, or even mixed berries make great substitutes. Just adjust the cooking time so the fruit softens but doesn’t become mushy.
-
How long do Apple Cream Cheese Danish Pastries last?
They’re best eaten fresh the day you bake them but can be stored at room temperature in an airtight container for up to two days. Beyond that, freezing is your best bet to maintain quality.
-
Can I make the filling and cream cheese layer in advance?
Yes! The apple filling and cream cheese mixture can be prepped a day ahead and stored in the fridge. This makes assembly super quick and stress-free when you’re ready to bake.
Final Thoughts
This Apple Cream Cheese Danish Pastries Recipe holds a special place in my kitchen repertoire because it marries the ease of puff pastry with flavors that feel so indulgent yet homey. Every time I bake them, the house fills with that cozy, spiced-sweet aroma, and it reminds me why baking is so joyful. I can’t recommend trying these enough—once you do, you’ll find this recipe becoming a go-to favorite for breakfasts, brunches, or anytime you want a little slice of comfort.
PrintApple Cream Cheese Danish Pastries Recipe

Delight in flaky, buttery Apple Cream Cheese Danishes featuring a warm spiced apple filling and a smooth cream cheese layer, all wrapped in golden puff pastry and finished with a sweet glaze.
- Prep Time: 20 minutes
- Cook Time: 20 minutes
- Total Time: 40 minutes
- Yield: 8 danishes 1x
- Category: Breakfast, Dessert, Snack
- Method: Baking
- Cuisine: American
- Diet: Vegetarian
Ingredients
Apple Pie Filling
- 1 1/2 Cups chopped baking apples
- 2 Tablespoons brown sugar
- 2 Tablespoons sugar
- 1/2 teaspoon cinnamon
- 1/4 teaspoon nutmeg
- 1/8 teaspoon allspice
- 1/8 teaspoon cloves
- 1/8 teaspoon cardamom
Cream Cheese Layer
- 4 ounces cream cheese, softened
- 2 Tablespoons sugar
- 1 teaspoon vanilla extract
Danish
- 2 sheets puff pastry, thawed
- 1 egg
- 1 Tablespoon water
Glaze (optional)
- 3/4 Cup confectioner’s sugar
- 3–5 teaspoons half and half or milk
Instructions
- Prepare Apple Filling: In a saucepan over medium heat, combine chopped apples, brown sugar, sugar, cinnamon, nutmeg, allspice, cloves, and cardamom. Cook, stirring frequently, until the apples are tender and the mixture is thickened, about 8-10 minutes. Remove from heat and let cool.
- Make Cream Cheese Layer: In a bowl, beat the softened cream cheese with sugar and vanilla extract until smooth and creamy. Set aside.
- Prepare Puff Pastry: Roll out each thawed puff pastry sheet on a lightly floured surface. Cut each sheet into 4 equal squares for a total of 8 squares.
- Assemble Danishes: Place a spoonful of cream cheese mixture in the center of each puff pastry square. Top with a spoonful of the cooled apple filling. Fold or pinch the corners of the pastry towards the center, leaving some filling visible.
- Egg Wash: In a small bowl, whisk together the egg and water. Brush the edges of each danish with this egg wash to help achieve a golden brown crust.
- Bake: Preheat your oven to 400°F (200°C). Place the danishes on a parchment-lined baking sheet and bake for 15-20 minutes or until puffed and golden brown.
- Prepare Glaze (optional): While the danishes bake, mix confectioner’s sugar with half and half or milk until you reach drizzling consistency.
- Finish and Serve: Once baked, allow the danishes to cool slightly. Drizzle with glaze if desired before serving.
Notes
- Use tart baking apples like Granny Smith for best flavor and texture.
- Ensure puff pastry is fully thawed to avoid cracking during assembly.
- The glaze is optional but adds a nice sweet finish to the danishes.
- Store leftovers in an airtight container and rewarm gently in the oven before serving.
Keywords: Apple danish, cream cheese danish, puff pastry dessert, spiced apple filling, baked danishes, breakfast pastry