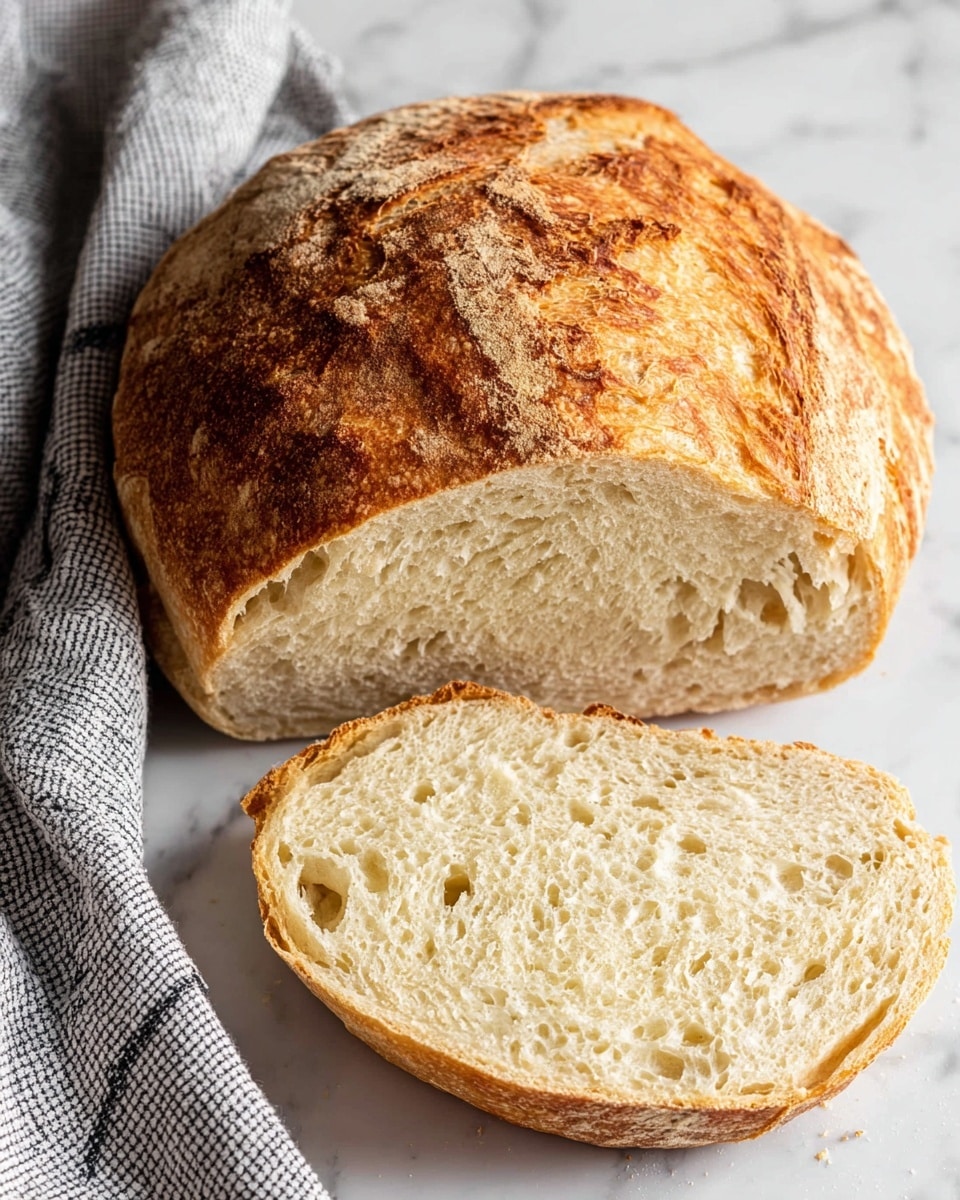
Easy Dutch Oven No-Knead Bread Recipe
I’ve got to tell you, this Easy Dutch Oven No-Knead Bread Recipe feels like magic every time I make it. You mix up simple ingredients, let the dough do its thing with barely any effort, and then bake it in a dutch oven to get that perfect crusty outside and soft, chewy inside. It’s one of those recipes that fools everyone into thinking you’re a bread-baking pro, even if it’s your first loaf.
This bread is a go-to when life gets busy but you still want that fresh, homemade loaf on your table. It works beautifully for everything—from an impromptu dinner party to a cozy Sunday breakfast. I promise, once you try this Easy Dutch Oven No-Knead Bread Recipe, you’ll wonder why you haven’t made bread at home sooner.
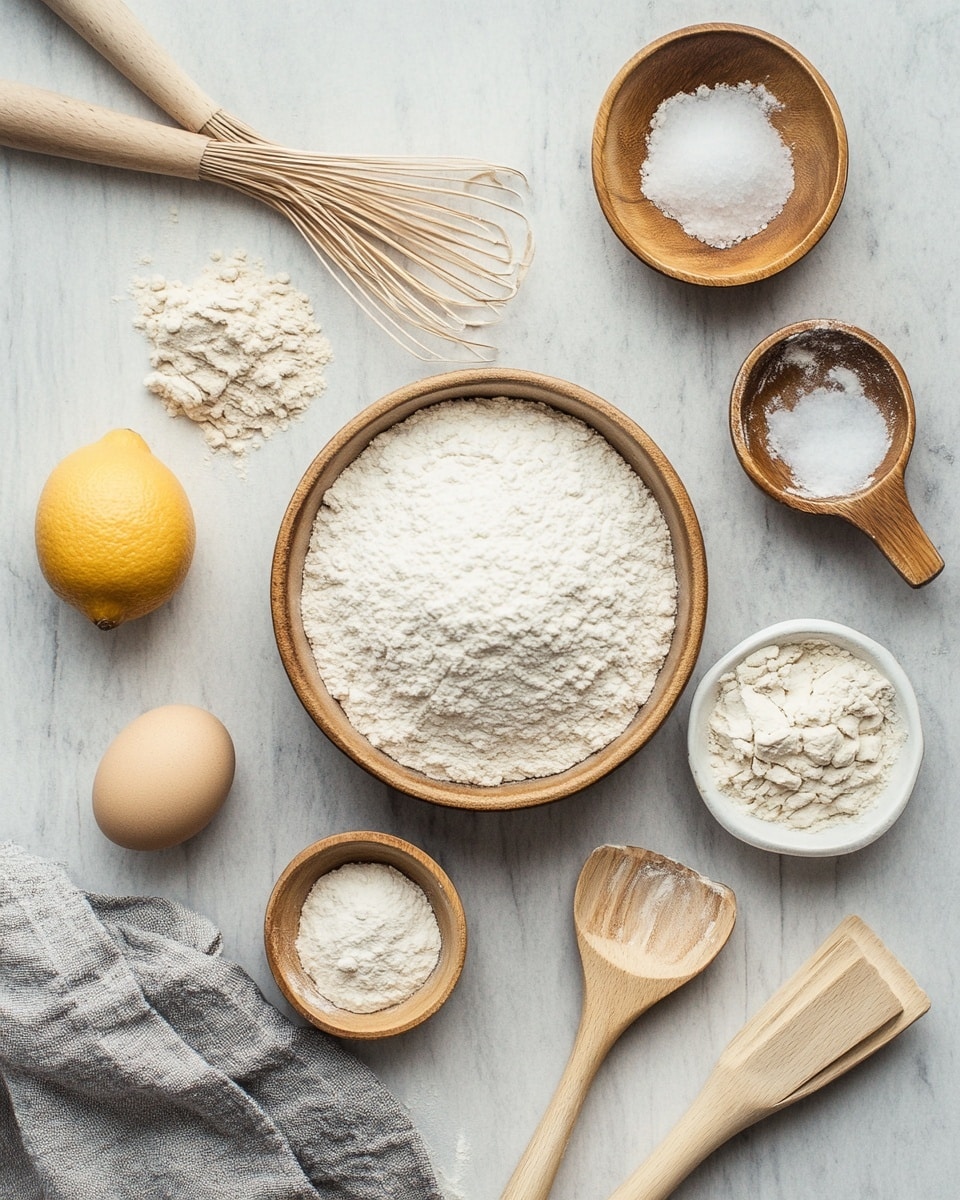
Ingredients You’ll Need
These ingredients are basics you probably have on hand, and they come together perfectly to create that rustic bread everyone loves. Plus, using active dry yeast and warm water helps give the dough a gentle rise without the need for kneading.
- All-purpose flour: I find it gives just the right balance for structure and softness without overcomplicating things.
- Active dry yeast: This is your bread’s little helper—it wakes up in the warm water and gets everything rising beautifully without kneading.
- Sea salt: Brings out the flavor in the dough. I like sea salt because of its clean taste and texture.
- Warm water (about 105°F): Just warm enough to activate the yeast but not so hot that it kills it. I usually touch test to check—it should feel comfortably warm on your wrist.
Variations
One of my favorite things about this Easy Dutch Oven No-Knead Bread Recipe is how easy it is to customize. You can add herbs, swap flours, or even try sweet versions, making it truly your own.
- Herb-infused: I love stirring in fresh rosemary or thyme into the flour before mixing—adds a lovely aroma and flavor that surprises everyone.
- Whole wheat: Replacing half the all-purpose flour with whole wheat gives a heartier texture and boosts nutrition. Just note it might need a tad more water.
- Garlic and olive oil: Drizzle some olive oil and fold in minced garlic for a savory, tasty twist—my go-to for dinner sides.
- Cheese bread: Stir in shredded sharp cheddar or parmesan right before the first rise. It’s cheesy, melty goodness in every bite!
How to Make Easy Dutch Oven No-Knead Bread Recipe
Step 1: Combine and Stir Your Ingredients
Start by whisking together the flour, yeast, and salt in a big bowl. Then pour in the warm water and mix everything with a wooden spoon or your hand until it forms a sticky, shaggy dough. It won’t look perfect—that’s the beauty of no-knead bread! Resist the urge to add extra flour here; the dough should be wet and loose, which gives you that open crumb texture later.
Step 2: Let It Rise Slowly
Cover your bowl loosely with plastic wrap or a clean kitchen towel and let the dough sit at room temperature for about 12 to 18 hours. Yep, it’s a long wait, but that slow fermentation is what makes the flavor deep and complex. I usually mix mine before bed and bake early the next day—it’s like waking up to fresh bread ready to go.
Step 3: Shape and Rest the Dough
When your dough is bubbly and has nearly doubled, scrape it onto a floured surface. Fold it over gently a few times to shape it into a ball. You don’t want to punch it—just give it some structure. Then let it rest for about 30 minutes while you preheat your oven and Dutch oven.
Step 4: Bake in a Hot Dutch Oven
Preheat your oven to 450°F with the Dutch oven inside (lid on). After resting, carefully place the dough into the hot pot—be mindful, it’s very hot! Cover with the lid and bake for 30 minutes, then remove the lid and bake for another 15 minutes to get that stunning golden crust. The first time I did this, I was nervous about handling the hot pot, but as long as you use good oven mitts and have a sturdy surface, it’s stress-free and so worth it.
How to Serve Easy Dutch Oven No-Knead Bread Recipe
Garnishes
I usually keep it simple with a sprinkle of flaky sea salt right after baking for extra texture and flavor. Sometimes I brush the crust with a little melted butter or olive oil for a glossy finish, especially when serving for guests.
Side Dishes
This bread pairs wonderfully with soups (tomato basil, I’m looking at you), stews, or even just a slather of butter and jam for breakfast. I often slice it thin and serve with a cheese board for casual entertaining—people always comment on how fresh and crusty it tastes.
Creative Ways to Present
For special occasions, I like to score the loaf with a leaf or wheat pattern before baking—it adds charm and looks super impressive. Another trick is to serve it alongside a dipping oil infused with garlic and herbs; it makes guests feel like they’re at a little artisanal bakery.
Make Ahead and Storage
Storing Leftovers
I usually wrap leftover bread tightly in a clean kitchen towel or place it in a paper bag to keep the crust crisp while preventing it from drying out. Then, I store it at room temperature and try to eat it within two days—the flavor and texture are at their best then.
Freezing
Freezing is a lifesaver when you bake extra. Slice the loaf first, then pop the pieces into a resealable freezer bag. That way you can take out just what you need, and it defrosts quickly. I’ve been surprised at how little the texture changes with this method!
Reheating
To bring back that fresh-baked vibe, I heat leftover slices in a toaster or warm the whole loaf briefly in the oven wrapped in foil. This helps the crust revive without making the bread dry. I find reheating is almost like having freshly baked bread all over again.
FAQs
-
Can I make this Easy Dutch Oven No-Knead Bread Recipe without a Dutch oven?
Absolutely! While a Dutch oven helps create steam and develop a crispy crust, you can bake the bread on a baking stone or heavy baking sheet with a pan of water on the rack below for moisture. The texture might be slightly different but still delicious.
-
What if I don’t have active dry yeast?
You can use instant yeast as a substitute—just reduce it slightly (about 25% less) since it’s more potent. The rising times stay about the same, so no need to change your schedule.
-
Why does the recipe call for such a long rise time?
The extended rise encourages slow fermentation, which develops flavor and gives the bread a beautiful open crumb. It’s what makes no-knead bread taste so much better than quick bread recipes.
-
Can I add ingredients like nuts or seeds?
Definitely! Adding mix-ins like sunflower seeds, walnuts, or flaxseeds is an excellent way to personalize your loaf. Just fold them in gently after the first mix, and reduce water slightly if they absorb a lot of moisture.
-
How do I know when the bread is fully baked?
The bread should have a deep golden-brown crust and sound hollow when tapped on the bottom. Using a thermometer helps too; when the internal temperature hits around 200°F (93°C), it’s done.
Final Thoughts
This Easy Dutch Oven No-Knead Bread Recipe has become a staple in my kitchen because it takes all the fuss out of baking but still delivers that satisfying homemade bread experience. I hope you’ll give it a try and enjoy the simple joy of fresh bread baking—it’s the kind of recipe that becomes a trusted friend in your cooking routine. Trust me, once you taste the crusty, airy bread from your own oven, you won’t want store-bought bread anymore!
PrintEasy Dutch Oven No-Knead Bread Recipe
This Easy Dutch Oven No Knead Bread recipe allows you to bake a crusty, artisan-style loaf with minimal effort. Using simple pantry ingredients and a Dutch oven, this no-knead method results in a flavorful bread with a crunchy crust and soft interior, perfect for beginners and experienced bakers alike.
- Prep Time: 15 minutes
- Cook Time: 50 minutes
- Total Time: 13 to 18 hours 5 minutes
- Yield: 1 loaf (about 8 slices) 1x
- Category: Bread
- Method: Baking
- Cuisine: American
Ingredients
Dry Ingredients
- 3 cups all-purpose flour
- 2 teaspoons active dry yeast
- 1 ½ teaspoons sea salt
Wet Ingredients
- 1 ½ cups warm water (about 105°F)
Instructions
- Combine Ingredients: In a large bowl, mix together the all-purpose flour, active dry yeast, and sea salt. Pour in the warm water and stir with a wooden spoon or spatula until a sticky, shaggy dough forms.
- First Rise: Cover the bowl with plastic wrap or a clean towel and let the dough rise at room temperature for 12 to 18 hours, until the surface is dotted with bubbles and the dough has expanded significantly.
- Preheat Dutch Oven: About 30 minutes before baking, place a 6 to 8-quart Dutch oven with its lid inside the oven and preheat to 450°F to ensure it is very hot.
- Shape Dough: Lightly flour a work surface and turn the dough out onto it. Using floured hands, gently shape the dough into a rough ball without kneading. Let it rest for about 15 minutes, loosely covered with a towel.
- Prepare for Baking: Remove the hot Dutch oven from the oven. Carefully place the dough ball into the Dutch oven, cover with the lid, and return it to the oven.
- Bake Covered: Bake the bread covered for 30 minutes. The lid traps steam, helping to develop a crusty exterior.
- Bake Uncovered: Remove the lid and continue baking for another 15 to 20 minutes, until the bread is deep golden brown and sounds hollow when tapped.
- Cool Bread: Transfer the bread to a wire rack and allow it to cool for at least 1 hour before slicing to complete the cooking process and enhance texture.
Notes
- The long rise time develops flavor and gluten structure without the need for kneading.
- Make sure the water temperature is warm, not hot, to activate the yeast effectively without killing it.
- Use a well-seasoned or enameled Dutch oven for best results.
- Allow the bread to cool completely to avoid a gummy texture when sliced.
- You can add herbs, garlic, or olives for flavor variations.
Keywords: no knead bread, Dutch oven bread, homemade bread, easy artisan bread, crusty bread, simple bread recipe