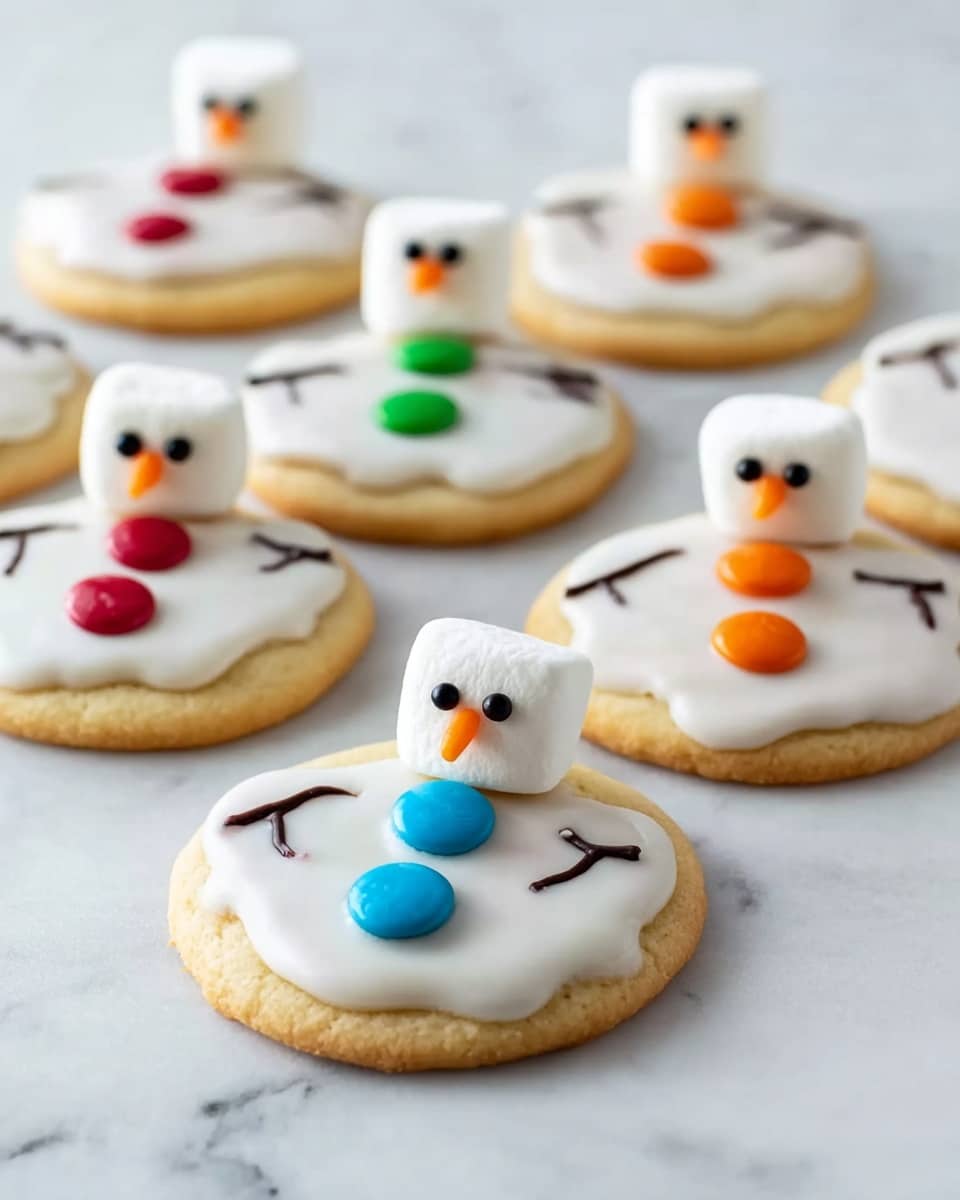
Melted Snowman Cookies Recipe
If you’re looking to bring a little winter magic into your kitchen, this Melted Snowman Cookies Recipe is an absolute must-try. I first made these with my niece during the holiday season, and not only was the baking fun, but watching those little marshmallow snowmen come to life on sugar cookies was pure joy. The combination of sweet sugar cookies, fluffy marshmallows, and colorful decorations makes these cookies stand out at any festive gathering.
This Melted Snowman Cookies Recipe is perfect for holiday parties, classroom treats, or just some cozy baking time at home. What I love most is how they’re both whimsical and simple — even if you’re not a professional baker, you’ll enjoy making them. Plus, they’re a fun way to get kids involved, letting them design their own snowmen with icing and candies. Trust me, once you try them, these cookies will be a holiday tradition you look forward to every year!
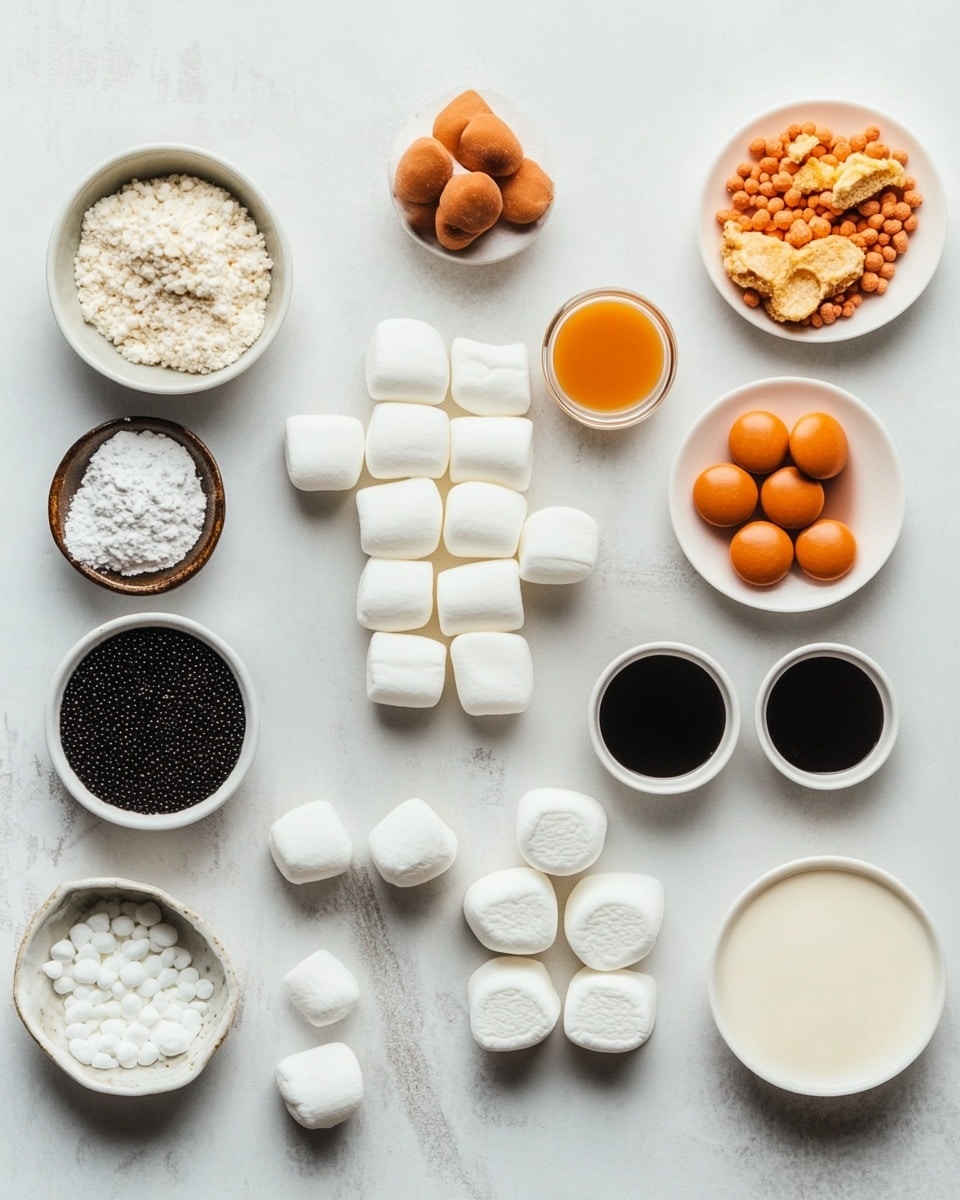
Ingredients You’ll Need
The beauty of this recipe is its straightforward ingredient list; these basics come together to create something truly adorable and delicious. When shopping, look for good-quality sugar cookies as your base — they’ll give you that perfect soft crunch. The royal icing needs to be thick enough to hold everything, so keep that consistency in mind when mixing.
- Sugar cookies: I like using my favorite homemade sugar cookie recipe or store-bought ones to save time. Just make sure they’re not overly crisp.
- Royal icing: This is what makes everything stick and look pretty! If you’re making your own, aim for a slightly thick consistency for decorating.
- Marshmallows (cut in half): These represent the snowman’s “melting” body—cutting them in half helps give the illusion of a squished, melted shape.
- Long orange sprinkles: These work perfectly as the snowman’s nose, mimicking a cute little carrot.
- M&Ms: Use these colorful candies for buttons and eyes; red or brown M&Ms pop well against the white icing.
- Black gel food coloring: Essential for piping the mouth or small details — gel colors give a nice, sharp finish.
Variations
I love how flexible this Melted Snowman Cookies Recipe is — it lets you get creative with your decorations and ingredients. I often switch up the candies depending on what I have at home or to match different color themes, and sometimes I swap royal icing for cream cheese frosting for an extra tangy flavor but keep the piped details simple.
- Gluten-free: Use gluten-free sugar cookies to make this recipe friendly for those avoiding gluten — the decorations work just the same!
- Chocolate twist: Add a drizzle of melted chocolate over the top or use chocolate chip buttons for a richer flavor I found kids absolutely love.
- Vegan option: Substitute with vegan marshmallows and icing alternatives to keep everyone included in the fun.
- Miniature size: Try making bite-sized cookies and marshmallows for party favors or a cookie tray — they’re even cuter that way!
How to Make Melted Snowman Cookies Recipe
Step 1: Prepare Your Base Cookies
Start with your sugar cookies — if you’re making them from scratch, bake and cool them completely before decorating. I always find cooling is key; warm cookies can make the icing run and the decorations slide off. If you’re using store-bought, just set them on a tray, and they’re ready to go. This step sets the stage for your melted snowman, so having a nice flat surface helps with decorating neatly.
Step 2: Pipe the Royal Icing
Using a piping bag, spread or pipe a large blob of royal icing in the center of each cookie — this will act like melting snow pooling on your cookie. Don’t worry about perfect shapes here; the messier, the more melted they look! You want a nice thick layer because it’ll hold your marshmallow halves in place.
Step 3: Add Your Marshmallow Half “Bodies”
Take your marshmallows that you’ve already cut in half and press them gently into the icing while it’s still wet. Place one half vertically toward the top for the snowman’s head, and the other half tilted or flat below it to create that “melting” squished body look. This always feels like magic to me — those fluffy marshmallows bring the snowman to life!
Step 4: Decorate with Candies and Details
Now comes the fun part — decorate your snowman’s face and body. Use the long orange sprinkles for the carrot nose, placing them on the marshmallow head. Next, press M&Ms lightly on the icing for the eyes and buttons. For the mouth, I like using a toothpick to draw tiny smiles with black gel food coloring; it’s delicate work, but looks so charming. If your icing has started to set, you might need to add a tiny drop of water to the gel color to help it flow smoothly.
How to Serve Melted Snowman Cookies Recipe
Garnishes
I like to add a dusting of powdered sugar over these cookies, giving them a gentle snowy effect that fits the theme perfectly. Sometimes I sprinkle edible glitter on top for a bit of sparkle when serving at parties — it makes these little guys shine under holiday lights!
Side Dishes
These cookies go wonderfully with a warm cup of hot cocoa or even a spicy chai latte — the cozy drinks balance the sweet and make for an ultimate winter treat combo. For a festive party, I serve them alongside gingerbread or peppermint bark for a color and flavor variety that guests love.
Creative Ways to Present
For holiday gatherings, I like arranging these cookies on a large platter layered with fresh pine sprigs and cinnamon sticks to create a rustic, festive look. I’ve also wrapped individual cookies in cellophane tied with red and green ribbons as sweet gifts — they always get oohs and ahhs! If you’re making these with kids, setting up a decorating station lets everyone get creative and enjoy the process together.
Make Ahead and Storage
Storing Leftovers
I store leftover Melted Snowman Cookies in an airtight container at room temperature, layered with parchment paper to keep them from sticking or smudging. They usually stay fresh and soft for up to 3 days, though I challenge myself not to let them last that long — they’re just too tempting!
Freezing
If you want to make them ahead for a party, these cookies freeze quite well. I wrap each cookie individually in plastic wrap and place them in a freezer-safe container. When I tried this, the marshmallows held up perfectly, and the decorations stayed intact. Just let them thaw completely at room temperature before serving.
Reheating
Reheating isn’t usually necessary since these are best enjoyed at room temperature, but if you want to warm them slightly, I gently heat for about 5 seconds in the microwave. Be careful not to melt the decorations or marshmallows — a few seconds is all you need to refresh their softness.
FAQs
-
Can I use store-bought frosting instead of royal icing for the Melted Snowman Cookies Recipe?
Absolutely! While royal icing helps hold the decorations firmly, a thick store-bought frosting can work if you don’t mind a softer texture. Just make sure the frosting is thick enough to support the marshmallows and candies without sliding off.
-
How do I prevent the marshmallows from sliding off the cookie?
The secret is to apply a generous layer of slightly thick royal icing and press the marshmallows gently into it before it dries. The icing acts like glue and secures the marshmallows. Also, avoid moving the cookies too much immediately after decorating.
-
Can I make the Melted Snowman Cookies Recipe dairy-free?
Yes! Use dairy-free sugar cookies, vegan marshmallows, and a dairy-free royal icing or frosting alternative to make this recipe suitable for dairy-free diets.
-
What’s the best way to keep the colors vibrant on the cookies?
Using gel food colors like black gel for details helps maintain sharp, bright colors. Also, add decorations while icing is still wet to keep them bold and prevent bleeding.
-
Can kids help with making the Melted Snowman Cookies Recipe?
Definitely! This recipe is wonderfully kid-friendly. Kids love cutting marshmallows and placing decorations — just supervise them while using scissors and piping bags.
Final Thoughts
This Melted Snowman Cookies Recipe holds a special place in my heart because it’s not just about baking but creating memories. Every time I make them, I feel a little spark of joy, whether it’s sharing with friends or sneaking a cookie with a cup of tea. I wholeheartedly recommend giving this recipe a go — it’s a guaranteed crowd-pleaser that brings a smile with every bite. So grab your cookies, icing, and marshmallows, and let’s melt some snowmen in the warmest and sweetest way possible!
PrintMelted Snowman Cookies Recipe

Melted Snowman Cookies are a delightful and festive treat perfect for winter holidays. This fun and creative recipe features classic sugar cookies decorated with royal icing and marshmallows to resemble adorable snowmen in a melted shape. With simple ingredients and easy-to-follow steps, these cookies are perfect for holiday parties, family gatherings, or as a charming gift.
- Prep Time: 20 minutes
- Cook Time: 0 minutes
- Total Time: 20 minutes plus 2-3 hours drying time
- Yield: 12 cookies 1x
- Category: Dessert
- Method: No-Cook
- Cuisine: American
- Diet: Vegetarian
Ingredients
Cookies
- 12 sugar cookies
Royal Icing
- 2 cups royal icing
Decorations
- 6 marshmallows, cut in half
- Long orange sprinkles (for carrot noses)
- M&Ms (for eyes and buttons)
- Black gel food color (for facial details)
Instructions
- Prepare the base: Begin by placing the 12 sugar cookies on a flat surface or cookie sheet, ready for decorating.
- Apply royal icing: Spread a generous layer of royal icing over the surface of each sugar cookie to resemble the melted snow body. Ensure the icing is smooth and covers the entire top surface.
- Add marshmallow heads: Take each marshmallow half and place it on one end of the cookie on top of the royal icing, representing the snowman’s head.
- Decorate faces and buttons: Use black gel food color to carefully draw eyes and mouths on the marshmallow heads. Add M&Ms as eyes and buttons along the melted body on the cookie.
- Create carrot noses: Decorate each marshmallow half with a long orange sprinkle placed as a carrot nose.
- Set cookies to dry: Allow the decorated cookies to sit at room temperature until the royal icing and gel decoration are fully set and dry, approximately 2-3 hours.
- Serve and enjoy: Once dried, serve your melted snowman cookies as a festive treat for friends and family to enjoy during the holiday season.
Notes
- Use fresh royal icing for best results to get a smooth and firm finish.
- If black gel food color is not available, use black decorating icing pens or melted chocolate for facial details.
- To speed up drying, place cookies in a cool, dry place and avoid humidity.
- These cookies can be stored in an airtight container for up to one week.
Keywords: holiday cookies, sugar cookies, snowman cookie, royal icing cookie, Christmas treats, festive baking