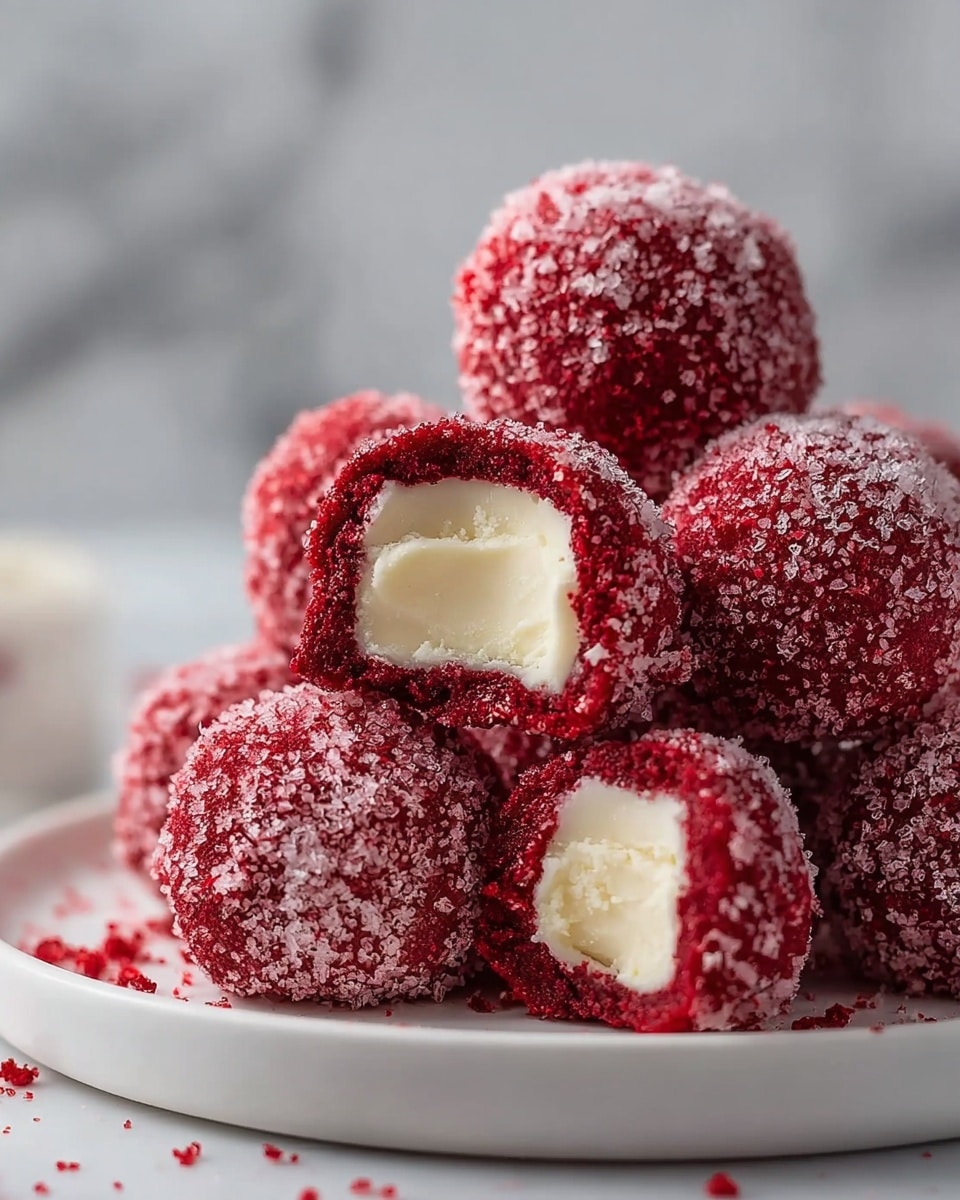
Red Velvet Snowballs Recipe
Oh, you’re going to love this Red Velvet Snowballs Recipe—it’s honestly one of my favorite twists on classic snowball cookies. The rich red velvet flavor combined with a cocoa kiss and that delicate powdered sugar coating just feels like a festive hug in cookie form. I often whip these up around the holidays, but truth be told, they’re great any time you want a little celebration in your kitchen.
What makes this Red Velvet Snowballs Recipe really shine is how soft and tender the cookies turn out, thanks to the mix of cocoa and red food coloring, which gives them that unmistakable red velvet charm. Plus, coating them in powdered sugar while they’re still warm creates that iconic snowball effect that’s just too fun to resist. You’ll find yourself sneaking more than a few—promise!
Ingredients You’ll Need
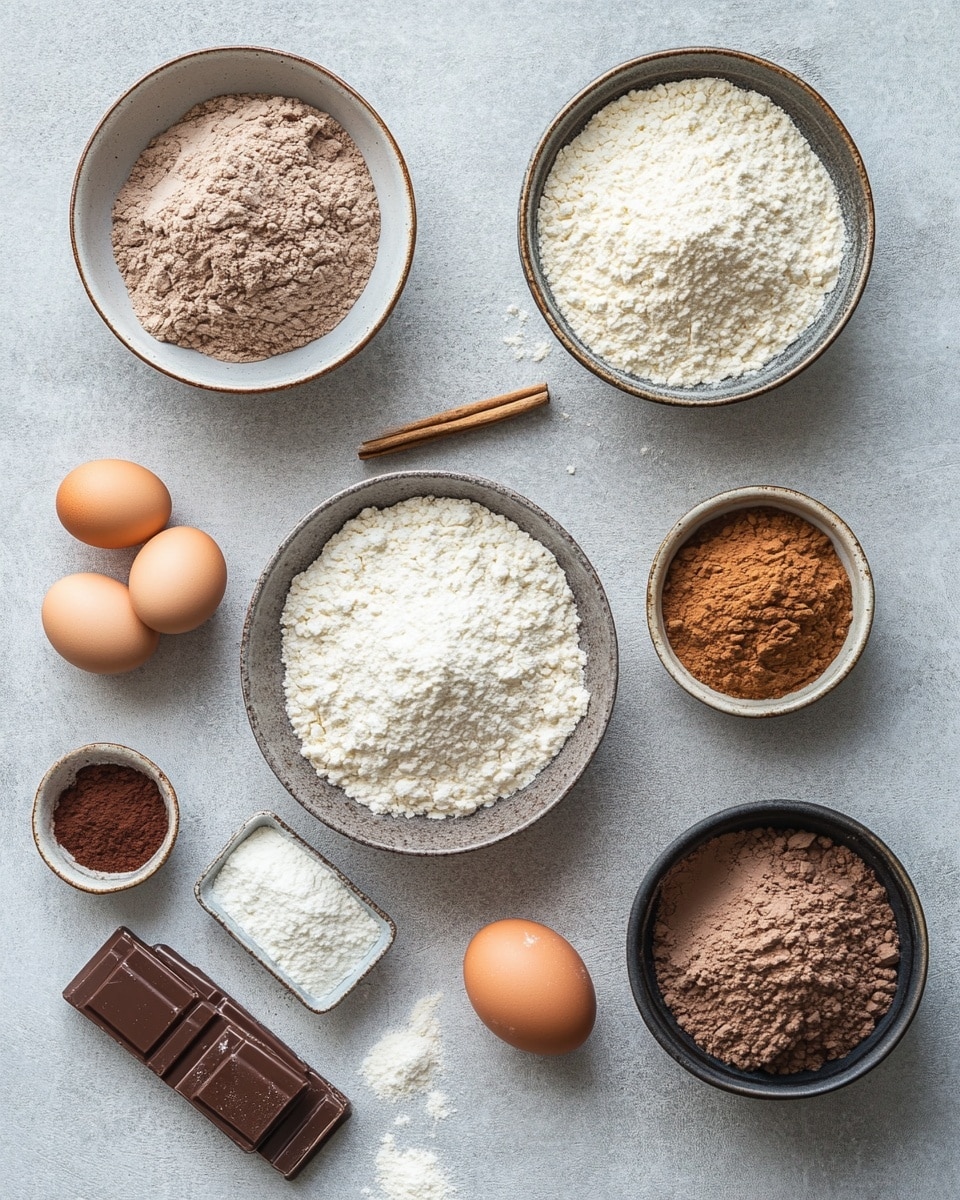
The ingredients for this Red Velvet Snowballs Recipe work beautifully to balance rich cocoa flavor and that sweet, fluffy texture. When you pick your ingredients, pay close attention to freshness—especially the cocoa powder—to get the best taste and color.
- All-purpose flour: The base that keeps these cookies tender but sturdy enough to hold their shape.
- Cocoa powder: Adds that deep chocolate flavor essential to red velvet.
- Baking powder: Helps the cookies rise just enough for a soft bite.
- Salt: Balances the sweetness and enhances the cocoa taste.
- Unsalted butter: Make sure it’s softened to room temperature for easy mixing and even texture.
- Granulated sugar: Sweetens the dough and gives a slight crispness before the powdered sugar coating.
- Large egg: Binds everything together and adds moisture.
- Vanilla extract: Adds warmth and rounds out the flavors perfectly.
- Red food coloring: I like using gel food coloring here—it’s more vibrant and a little goes a long way.
- Powdered sugar: The snowball magic — coating these warm cookies in powdered sugar gives them that melt-in-your-mouth sweetness.
Variations
One of the best parts about this Red Velvet Snowballs Recipe is how easy it is to make it your own. I’ve played around with a few variations and honestly, each one brings something charming to the table. Feel free to tweak the recipe to suit your tastes and dietary needs.
- Nutty twist: I often add finely chopped pecans or walnuts for a nice crunch—just toss them into the batter before baking.
- Dairy-free option: Swap the butter for a plant-based alternative and use a flax egg to keep these snowballs soft and flavorful.
- Less intense red: If you prefer a subtler look, reduce the red food coloring slightly—you can always add more for bolder color.
- Chocolate drizzled: Drizzle melted white chocolate over the cooled snowballs to add a little extra sweetness and pretty presentation for holiday parties.
How to Make Red Velvet Snowballs Recipe
Step 1: Prep the Dry Ingredients Thoughtfully
Start by whisking together your all-purpose flour, cocoa powder, baking powder, and salt in a medium bowl. This step is crucial because it distributes everything evenly and prevents any clumps of cocoa powder in your dough. I find sifting the cocoa powder helps achieve that perfect blend.
Step 2: Cream Butter and Sugar Until Fluffy
Now, in a separate bowl, beat the softened butter and granulated sugar together until the mixture turns light and fluffy. This usually takes about 3-4 minutes with an electric mixer. This step locks in air, which helps the cookies stay wonderfully tender.
Step 3: Add Egg, Vanilla, and Red Food Coloring
Next, beat in the egg, vanilla extract, and red food coloring until the color is vibrant and the mixture is smooth. Don’t rush this part—the red color should be consistent throughout the batter, which is also a good indicator that it’s well mixed.
Step 4: Combine Wet and Dry Ingredients
Gradually add the dry ingredients into the wet mixture, stirring gently until just combined. Overmixing here can make the cookies tough, so mix until you no longer see flour but stop right there. The dough will be a bit soft, which is exactly what you want.
Step 5: Bake and Coat with Powdered Sugar
Form the dough into small balls—about 1 to 1.5 inches in diameter—and place them onto a baking sheet lined with parchment paper. Bake at 350°F (175°C) for around 10-12 minutes. When they come out warm, roll them immediately in powdered sugar. Trust me, this is the secret to that perfect snowball look. Let them cool on a wire rack, then give them another gentle coating of powdered sugar if you want an extra sugary touch.
How to Serve Red Velvet Snowballs Recipe
Garnishes
I usually keep things classic by dusting these Red Velvet Snowballs with extra powdered sugar, but sometimes I sprinkle tiny edible silver pearls for a festive flair. A light drizzle of white chocolate can make the presentation pop without overpowering the delicate cocoa flavor.
Side Dishes
These cookies go wonderfully with a cup of creamy hot cocoa or a frothy cappuccino. I’ve also paired them with a scoop of vanilla ice cream for a simple dessert that never fails to impress guests. If you want to get fancy, serving alongside some candied pecans or fresh raspberries creates a beautiful balance of flavors.
Creative Ways to Present
For holiday parties, I like arranging these Red Velvet Snowballs Recipe cookies in a festive bowl lined with red tissue paper, topped with pine sprigs for that Christmas feel. Another fun idea: stack them like a little snowman, sticking mini chocolate chips in as buttons for a whimsical touch kids adore.
Make Ahead and Storage
Storing Leftovers
I store my leftover Red Velvet Snowballs in an airtight container at room temperature to keep them soft and fresh for up to 4 days. If you find the powdered sugar fading, a quick dusting before serving brings back that lovely snowy effect.
Freezing
If I want to make these ahead for a big event, I freeze the baked cookies after a cooling and sugar dusting. I lay them single-layer on a baking sheet first, freeze until firm, and then transfer to a freezer-safe bag. They freeze beautifully for up to 3 months without losing their texture or flavor.
Reheating
When it’s time to enjoy frozen Red Velvet Snowballs, I let them thaw at room temperature for about 20 minutes, then warm them gently in a 300°F oven for 5 minutes to revive that fresh-baked feel. Be careful not to overheat, or they’ll dry out—this low heat helps maintain that soft, melt-in-your-mouth texture.
FAQs
-
Can I make Red Velvet Snowballs Recipe without red food coloring?
Absolutely! While the red food coloring gives these cookies their classic red velvet look, the flavor mostly comes from the cocoa powder and vanilla. If you skip the coloring, your snowballs will just be chocolate-flavored—still delicious, just a little less festive.
-
How do I keep the cookies soft and tender?
Softness comes from not overmixing the dough and baking just until the cookies start to set but still feel slightly soft in the center. Also, using softened butter helps create that tender bite. Cooling them on a rack and handling gently keeps them from drying out.
-
Can I use natural cocoa powder in this recipe?
Yes, but keep in mind natural cocoa powder is more acidic and can affect the taste slightly. If you use Dutch-processed cocoa, the flavor will be smoother and less bitter. Both will work, just expect subtle differences.
-
What’s the best way to store leftover Red Velvet Snowballs?
Store them in an airtight container at room temperature to keep them fresh and soft. Adding a slice of bread in the container can help maintain moisture. For longer storage, freezing is your best bet.
-
Can these cookies be made gluten-free?
You bet! Substitute the all-purpose flour with a gluten-free blend that measures cup-for-cup. Just be sure to check that your baking powder is gluten-free, and keep an eye on texture—it might need a touch more moisture.
Final Thoughts
This Red Velvet Snowballs Recipe has been one of those comforting treats I reach for whenever I want to bring a little festive joy into the kitchen. Soft, sweet, and oh-so-pretty, they never fail to bring smiles around the table. I hope you enjoy making and sharing these delightful cookies as much as I do—grab your ingredients, and let’s bake some cozy magic together!
PrintRed Velvet Snowballs Recipe

Red Velvet Snowballs are soft, cocoa-infused cookies with a vibrant red color, coated in powdered sugar for a sweet, snowy appearance. These festive treats combine the classic flavors of red velvet cake in a bite-sized cookie perfect for holidays or any special occasion.
- Prep Time: 15 minutes
- Cook Time: 12 minutes
- Total Time: 27 minutes
- Yield: Approximately 24 cookies 1x
- Category: Dessert
- Method: Baking
- Cuisine: American
Ingredients
Dry Ingredients
- 1 1/2 cups all-purpose flour
- 1/2 cup cocoa powder
- 1 teaspoon baking powder
- 1/4 teaspoon salt
Wet Ingredients
- 1/2 cup unsalted butter, softened
- 1 cup granulated sugar
- 1 large egg
- 1 teaspoon vanilla extract
- 1 tablespoon red food coloring
For Coating
- 1 cup powdered sugar
Instructions
- Preheat and Prepare: Preheat your oven to 350°F (175°C). Line a baking sheet with parchment paper to prevent the cookies from sticking and to make cleanup easier.
- Mix Dry Ingredients: In a medium bowl, whisk together all-purpose flour, cocoa powder, baking powder, and salt until evenly combined. Set aside.
- Cream Butter and Sugar: In a large bowl, use an electric mixer to cream the softened unsalted butter with granulated sugar until light and fluffy. This usually takes 3-4 minutes and helps create a tender cookie texture.
- Add Wet Ingredients: Beat in the egg, vanilla extract, and red food coloring until the mixture is smooth and the color is evenly distributed.
- Combine Dry and Wet Ingredients: Gradually add the dry ingredients to the wet ingredients, mixing on low speed or folding with a spatula until just combined. Be careful not to overmix to keep the cookies tender.
- Shape the Cookies: Using a tablespoon or cookie scoop, portion cookie dough and roll into 1-inch balls with your hands.
- Bake: Place the cookie balls on the prepared baking sheet about 2 inches apart. Bake in the preheated oven for 10-12 minutes, or until the edges have set but the centers are still soft.
- Coat in Powdered Sugar: While the cookies are still warm, roll them gently in the powdered sugar until fully coated for a snowy, sweet finish. Allow the cookies to cool completely on the baking sheet before transferring to a wire rack.
Notes
- Ensure the butter is softened to room temperature to make creaming easier and achieve better cookie texture.
- Use gel-based red food coloring for a more vibrant and less runny dough.
- Coating cookies while warm helps the powdered sugar stick better and gives a beautiful snowball effect.
- Store cookies in an airtight container at room temperature for up to 5 days.
- For extra flavor, add a teaspoon of instant espresso powder to the dry ingredients to enhance the cocoa taste.
Keywords: red velvet cookies, snowball cookies, holiday cookies, cocoa cookies, powdered sugar coating