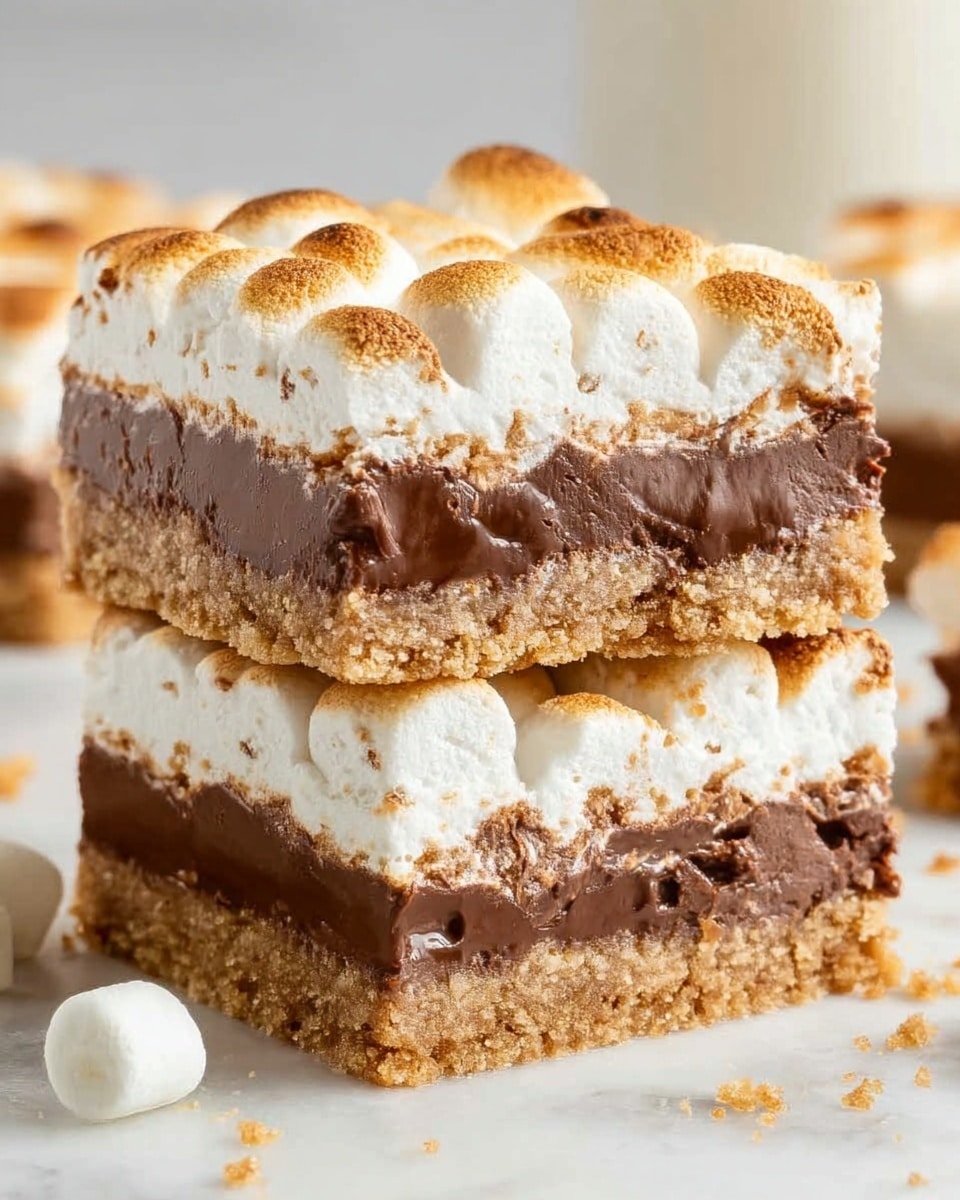
Delicious S’mores Bar Recipe
Oh, if you’re looking for a fun, crowd-pleasing treat that brings back all those cozy memories of campfires and starry nights, this Delicious S’mores Bar Recipe is exactly what you need. It’s like the classic s’mores you love, but in an easy-to-share, mess-free bar form that’s perfect for parties, after school snacks, or just when you want a sweet bite without the fuss. I honestly love making this when I want that gooey, chocolatey goodness without having to mess with roasting marshmallows over a fire.
What makes this Delicious S’mores Bar Recipe special is how it combines that crunchy graham cracker base with melty chocolate and the absolute best toasted marshmallow flavor, all baked into one slice. It’s so simple, yet it hits all the nostalgia buttons, and your friends and family will keep asking for it. Trust me, it’s a winner for birthdays, casual get-togethers, or whenever you just feel like indulging in a little comfort food magic.
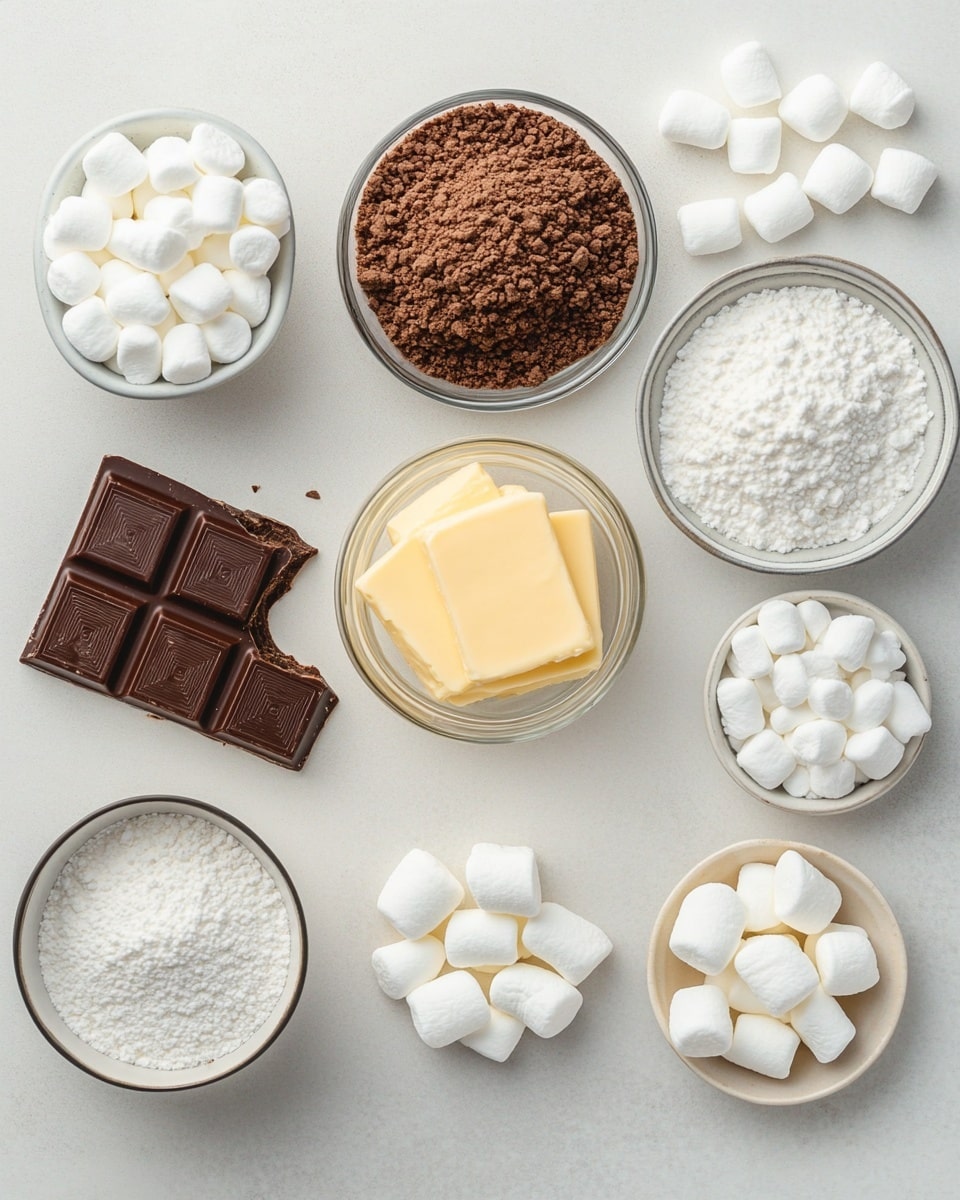
Ingredients You’ll Need
These ingredients come together beautifully to create those iconic s’mores flavors. The best part? They’re pantry staples that you can usually find just about anywhere, which makes putting this recipe together a breeze.
- Graham cracker crumbs: The crunchy, slightly sweet base is a must. I like using finely crushed crumbs so the crust holds well and bakes evenly.
- Butter (melted): It helps bind the graham cracker crumbs and adds richness — don’t skimp here, it makes a big difference for that perfect texture.
- Powdered sugar: Just a hint of extra sweetness and a little bulking agent to keep the crust from crumbling apart.
- Hershey chocolate bars: Classic milk chocolate bars bring the nostalgia — I always use the full 4.4-ounce bars for that rich, melty goodness.
- Mini marshmallows: These are the star of the show! They melt perfectly and create that toasty, pillowy top layer that s’mores are known for.
Variations
I love mixing this recipe up based on what I have around or who I’m serving it to. It’s so forgiving and fun to customize, so don’t hesitate to get creative with your s’mores bars!
- Variation: Sometimes I’ll swap out classic milk chocolate for dark chocolate or even white chocolate to switch up the flavor profile — dark chocolate adds a nice touch of richness that’s not too sweet.
- Diet-friendly option: I’ve tried using gluten-free graham crackers here, and it turns out just as tasty, so if you need to skip gluten, you’re in luck.
- Nutty twist: Adding chopped nuts like pecans or almonds into the crust adds a lovely crunch and nutty flavor. I once added toasted pecans and it became an instant hit.
- Fun toppings: Toss in some rainbow sprinkles or drizzle caramel over the bars before baking for a colorful, extra indulgent touch.
How to Make Delicious S’mores Bar Recipe
Step 1: Prepare Your Graham Cracker Crust
First off, preheat your oven to 350°F (175°C). Then, combine your graham cracker crumbs with the melted butter and powdered sugar in a bowl. Mix until it looks like wet sand — this texture helps the crust press firmly into your pan. I like to press it evenly into a greased 9×9-inch baking pan, using the bottom of a glass to really pack it down tightly. This step ensures your bars don’t crumble when you slice them.
Step 2: Add the Chocolate Layer
Next, break up your Hershey chocolate bars into pieces and sprinkle them evenly over the graham cracker crust. As the bars melt during baking, they’ll create a wonderfully gooey chocolate layer. A quick tip here: Spread the pieces evenly to avoid any thick or thin spots – your bars will have a consistent chocolatey experience.
Step 3: Top with Mini Marshmallows and Bake
Now for the magic — pile those mini marshmallows evenly over the chocolate layer. Don’t be shy; I love a toasty, gooey marshmallow topping. Bake the whole thing for about 10-12 minutes until the marshmallows turn golden brown on top. Keep a close eye toward the end to avoid burning. If you want perfectly golden marshmallows, switch your oven to broil for the last 1-2 minutes, but watch it carefully—it happens fast!
Step 4: Cool and Slice
Once baked, let the s’mores bars cool for at least 15 minutes so the layers can set up and you don’t end up with a melty mess when slicing. If you’re impatient like me, pop it in the fridge for a bit to speed up the process. Then, slice into squares (or rectangles, your call!) and get ready to enjoy that perfect chocolate-marshmallow-graham cracker bite.
How to Serve Delicious S’mores Bar Recipe
Garnishes
I love sprinkling a tiny dusting of extra powdered sugar or even a few chocolate shavings on top just before serving. It adds an elegant touch and a hint of extra sweetness. Sometimes, a light drizzle of caramel or a sprinkle of sea salt really balances that sweet gooeyness perfectly.
Side Dishes
These bars are rich, so I often pair them with something light like fresh berries or a small scoop of vanilla ice cream. The tartness from the berries and the creaminess of the ice cream perfectly complement the sweet, chewy s’mores bars. For a fun twist at parties, I serve them alongside cold milk or coffee.
Creative Ways to Present
One time I made a “Build-Your-Own S’mores Bar” station where I cut the bars into small pieces and offered a selection of toppings like crushed nuts, mini chocolate chips, and even fruit preserves. It was a big hit! You could also layer these bars in clear glass jars for a cute picnic treat or wrap individual bars in parchment paper tied with twine for easy gifting.
Make Ahead and Storage
Storing Leftovers
Leftover s’mores bars keep great in an airtight container at room temperature for up to 2 days. After that, I like to store them in the fridge to keep the marshmallows from getting too sticky or melting into each other. Just make sure they’re well covered so they don’t dry out.
Freezing
I’ve frozen these bars successfully by wrapping individual pieces tightly in plastic wrap, then placing them in an airtight freezer container. They keep well for up to 2 months. When you’re ready to enjoy, just thaw them overnight in the fridge — they still taste fresh and gooey!
Reheating
To revive that fresh-baked feel, I warm leftover s’mores bars in the microwave for about 10-15 seconds. This softens the marshmallows and chocolate nicely without making the crust soggy. For a slightly crispier crust, a quick 5-minute zap in a 350°F oven also works beautifully.
FAQs
-
Can I use a different type of chocolate for the s’mores bars?
Absolutely! While the recipe calls for classic Hershey’s milk chocolate bars, you can swap in dark chocolate, white chocolate, or even flavored bars like peanut butter or caramel. Just pick your favorite and enjoy how it changes up the flavor.
-
How do I prevent the marshmallows from burning?
Great question! Keep a close eye on the bars when they’re in the oven, especially during the last couple of minutes. If you’re broiling the marshmallows, it only takes about 1-2 minutes, so stand nearby and watch carefully to pull them out right when they turn golden brown.
-
Can I make these s’mores bars ahead of time?
Definitely! You can prepare the whole bar a day ahead and store it in the fridge, then slice and serve when your guests arrive. Just bring them to room temperature or give them a quick warm-up before serving for the best gooey texture.
-
Are mini marshmallows necessary, or can I use large ones?
Mini marshmallows work best because they melt and toast evenly in this recipe. Using large marshmallows can result in uneven melting and a thicker, more molten topping. If you only have large ones, cutting them into smaller pieces helps achieve a similar effect.
-
What’s the best pan size to use for this recipe?
A 9×9-inch square baking pan is perfect for this recipe. It’s deep enough to hold all the layers without overflow and allows you to cut nice, even bars. If you don’t have that size, an 8×8-inch pan works too but your bars might be a bit thicker.
Final Thoughts
I’ll be honest — this Delicious S’mores Bar Recipe is one of my go-to comfort desserts because it’s quick, foolproof, and always brings smiles around the table. It’s perfect when you want those nostalgic s’mores flavors without the hassle of a campfire. I hope you’ll find it as fun and satisfying as I do, especially when shared with friends and family. Give it a try and let the gooey, melty, crunchy magic brighten up your day!
PrintDelicious S’mores Bar Recipe
This S’mores Bar recipe combines the classic campfire flavors of graham crackers, melted butter, chocolate, and mini marshmallows into a delicious and easy-to-make dessert bar. Perfect for satisfying your sweet tooth with a gooey and crunchy treat without the need for a campfire.
- Prep Time: 10 minutes
- Cook Time: 12 minutes
- Total Time: 22 minutes
- Yield: 12 bars 1x
- Category: Dessert
- Method: Baking
- Cuisine: American
Ingredients
Crust & Base
- 2 Cups graham cracker crumbs
- 8–12 Tablespoons melted butter
- ½ Cup powdered sugar
Filling & Topping
- 4 Hershey Chocolate Bars (4.4 ounces each)
- 1 package mini marshmallows
Instructions
- Prepare the crust: In a large mixing bowl, combine the graham cracker crumbs, powdered sugar, and melted butter. Stir until the mixture is well combined and resembles wet sand.
- Form the base layer: Press the crumb mixture evenly into the bottom of a greased or parchment-lined baking pan, making sure it is compacted tightly to form a solid crust.
- Layer the chocolate: Break the Hershey chocolate bars into pieces and evenly distribute them over the graham cracker crust.
- Add marshmallows: Spread the mini marshmallows evenly over the chocolate layer to ensure complete coverage.
- Bake the bars: Preheat your oven to 350°F (175°C) and bake the assembled bars for about 10-12 minutes, or until the marshmallows turn golden brown and start to puff up.
- Cool and serve: Remove the pan from the oven and allow the bars to cool completely in the pan so they can set properly before cutting into squares and serving.
Notes
- For a richer flavor, use the full 12 tablespoons of butter for a moister crust.
- You can substitute the Hershey bars with other milk or dark chocolate bars to vary the taste.
- Keep an eye on the marshmallows while baking to prevent them from burning.
- These bars are best eaten within 2 days for optimal freshness but can be stored in an airtight container.
Keywords: S’mores bars, graham cracker dessert, marshmallow bars, easy dessert, campfire recipe