Scandinavian Rosettes Recipe
Rosettes are one of those delightful little treats that surprise you with their crisp texture and subtle sweetness. This Scandinavian Rosettes Recipe brings that golden, lacy magic right into your kitchen, perfect for a cozy afternoon or as a charming dessert for guests. I’ve always loved how these delicate wonders balance a light, crispy shell with just a hint of vanilla warmth—so simple but utterly irresistible!
Whenever I make these rosettes, it’s like sharing a little piece of Scandinavian tradition with friends. The best part is how straightforward this Scandinavian Rosettes Recipe is—just a few ingredients and some patience with the frying, and you’ve got yourself a stunning homemade treat. If you adore crispy, lightly sweet pastries that are as fun to make as they are to eat, you’re in for a real treat here.
Ingredients You’ll Need
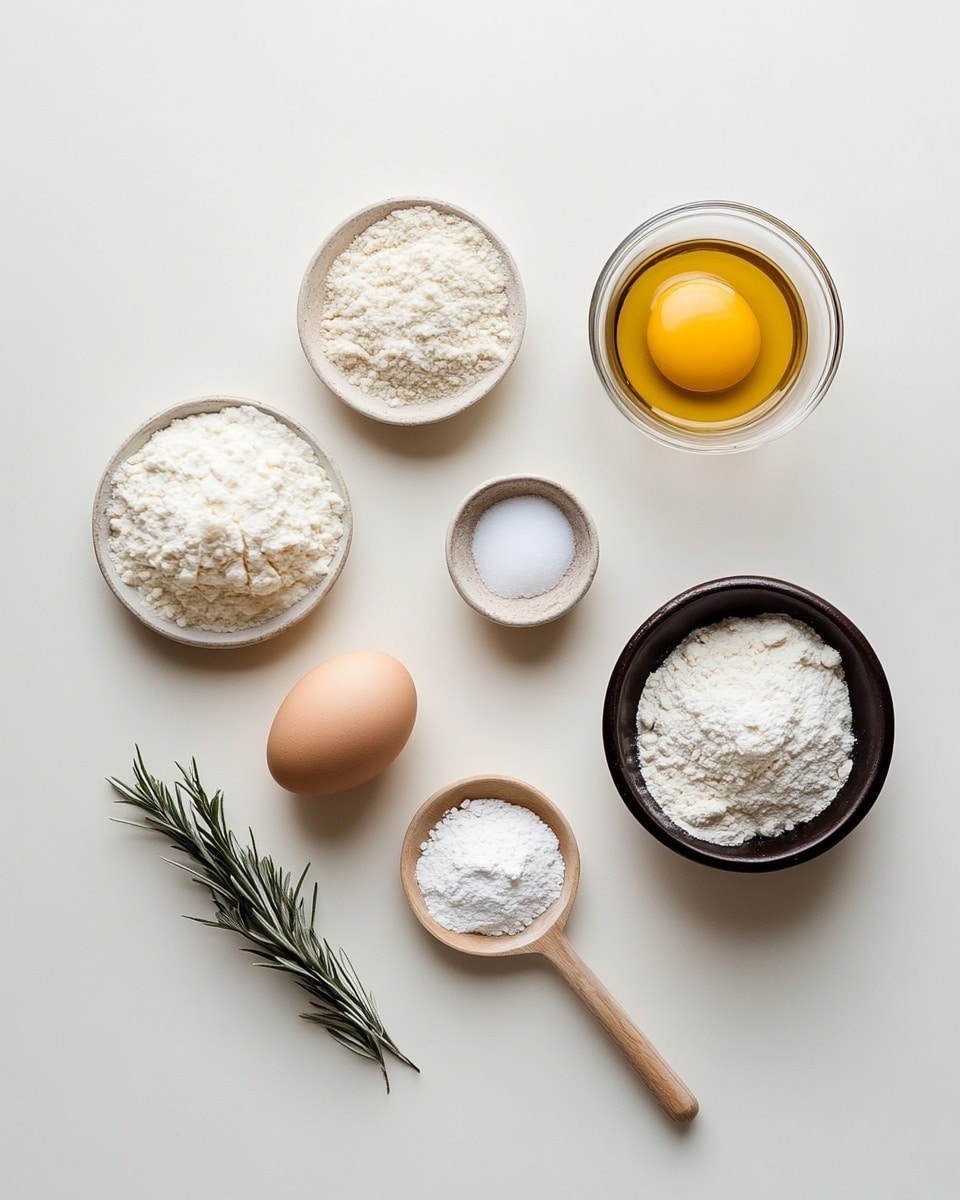
Each ingredient in this recipe has a straightforward role, but together they create a wonderfully crisp and light rosette. Choose quality, fresh ingredients for the best result, especially when it comes to the eggs and milk, as they impact both flavor and texture.
- Eggs: These give the batter structure and help the rosettes crisp up nicely.
- Granulated sugar: Adds just a touch of sweetness without overpowering the delicate flavor.
- Salt: Balances the sweetness and enhances the overall taste.
- All-purpose flour: The foundation of the batter, providing the right texture for crispiness.
- Whole milk: Gives richness and smoothness to the batter for that golden finish.
- Vanilla (optional): Just a teaspoon adds a lovely aromatic note that makes these rosettes smell fabulous as they fry.
- Oil for frying: Use a neutral oil with a high smoke point like canola or vegetable oil for the best results.
Variations
I love tweaking this Scandinavian Rosettes Recipe based on season or mood—it’s super forgiving, so don’t hesitate to personalize it. Here are some variations I’ve tried that you might enjoy as well!
- Spiced Rosettes: Adding a pinch of cinnamon or cardamom to the batter gives a warm, cozy twist that’s perfect for fall or winter—one of my favorite ways to mix it up.
- Gluten-free option: Swap the all-purpose flour with a gluten-free flour blend. Just be mindful the texture is slightly different but still delicious.
- Vegan version: Replace the eggs with unsweetened applesauce or a flax seed mixture and use a plant-based milk instead of whole milk. The results are pretty close to the original, and the crispy texture still shines through.
- Chocolate dipped: Once cooled, dip the rosettes in melted dark or white chocolate for a fancy touch that impresses everyone at holiday gatherings.
How to Make Scandinavian Rosettes Recipe
Step 1: Whisking Up Your Batter
Start by cracking the eggs into a mixing bowl and whisking them together with the sugar and salt until everything’s nice and combined. Then, slowly add the flour, alternating with the milk, making sure to whisk well in between so your batter stays smooth. If you’re adding vanilla, now’s the time. The batter should be thin enough that it drips easily off a spoon—that’s key for creating those delicate lacy shapes later!
Step 2: Heating the Oil and Preparing Your Rosette Iron
Heat oil in a deep pan or fryer to about 350°F (175°C). I like using a candy or deep-frying thermometer here—it makes a difference because too hot and the rosettes burn, too cool and they soak up oil and get greasy. While the oil is heating, attach your rosette iron securely to a handle (if it’s detachable) and place it into the hot oil until it’s piping hot, about a minute or two. This preheating prevents the batter from sticking.
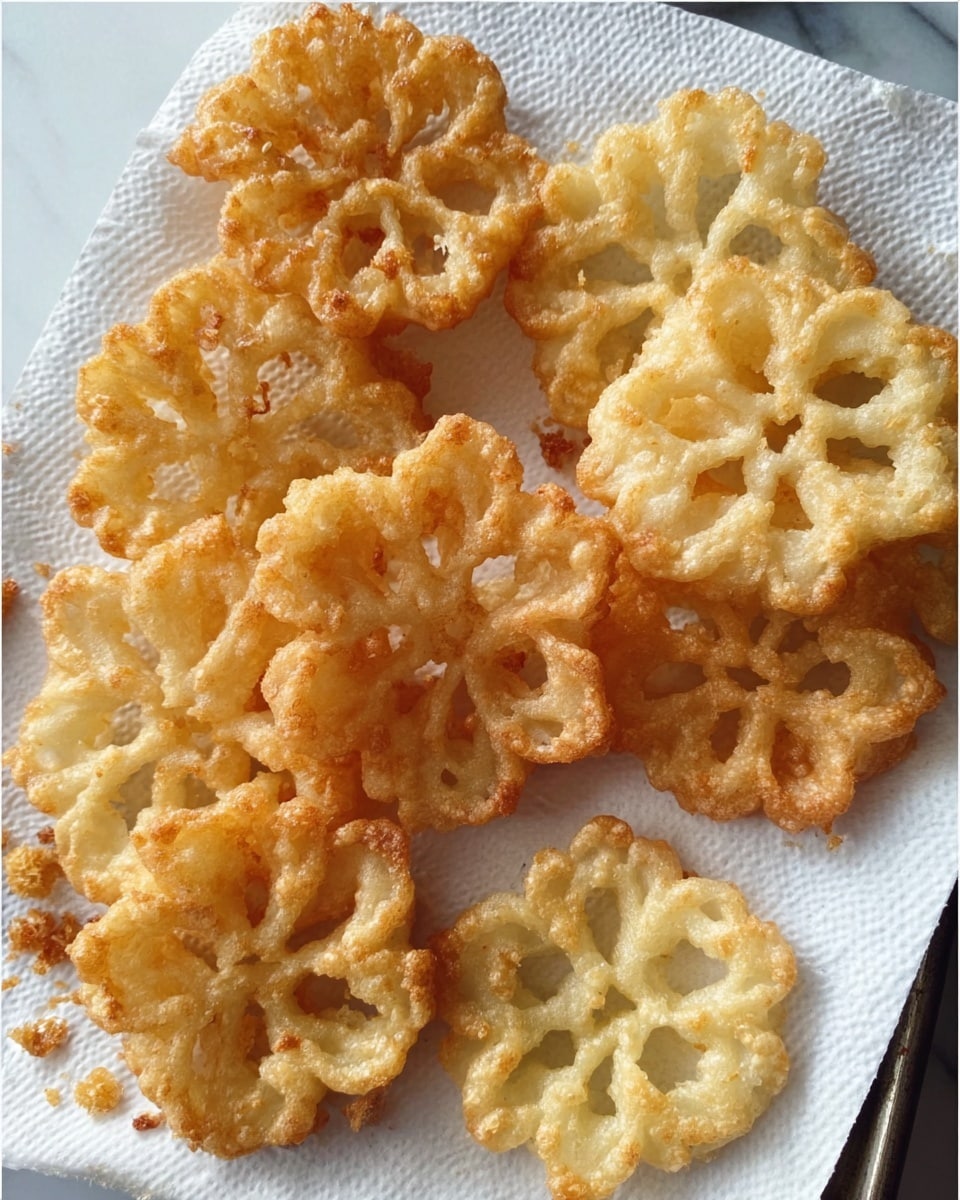
Step 3: Frying Your Rosettes
Dip the hot rosette iron into the batter—not all the way, just enough to coat the bottom and sides about halfway up. Then, immediately dunk the iron back into the hot oil. You should see the batter start to crisp up and bubble right away. Fry until the edges turn golden brown, about 30 seconds to a minute. Use a fork or skewer to gently loosen the rosette from the iron and flip it to fry the other side for an additional 15-30 seconds. Remove and drain on paper towels. Repeat the process until your batter is gone.
How to Serve Scandinavian Rosettes Recipe
Garnishes
I’m a big fan of keeping it simple—just a generous dusting of powdered sugar makes these rosettes look and taste like pure magic. For special occasions, I love sprinkling some ground cardamom or a drizzle of honey for an extra layer of flavor that’s subtly sweet and aromatic. Sometimes, a scoop of vanilla ice cream on the side turns this into an elegant dessert.
Side Dishes
These rosettes pair wonderfully with fresh berries or compote, which adds a bright, juicy contrast to their crispness. I sometimes serve them alongside a cup of strong coffee or tea—it’s a delightful way to finish a leisurely weekend brunch. If you want, a dollop of whipped cream or crème fraîche is also lovely.
Creative Ways to Present
For holiday gatherings, I like arranging these rosettes in a decorative basket lined with a festive cloth or paper doilies—guests always appreciate the charm. Another idea is to stack them and tie a pretty ribbon around the bunch—instant edible gifts! You could even thread a few on skewers as a playful finger food dessert.
Make Ahead and Storage
Storing Leftovers
I usually store leftover rosettes in an airtight container at room temperature for up to two days. Make sure they’re completely cool before storing to keep them crisp. If they soften a bit, gently reheating can bring back the crunch.
Freezing
Freezing rosettes can be tricky because of their delicate texture, but I’ve had success by freezing them flat on a baking sheet first, then transferring them to a zip-top bag. This keeps them from sticking together. When you’re ready, thaw at room temperature for 10-15 minutes and then crisp them up briefly in a hot oven.
Reheating
To bring your rosettes back to life, I recommend a quick reheat in a toaster oven or regular oven at 350°F (175°C) for 3-5 minutes. Avoid the microwave—it tends to make them soggy. If you want, a gentle sprinkle of powdered sugar after reheating adds a fresh touch.
FAQs
-
What is the secret to making perfect Scandinavian rosettes crisp?
The secret lies in heating the rosette iron thoroughly before dipping it in the batter, using the right oil temperature (around 350°F), and making sure your batter is thin enough to create those delicate lacy edges. Also, don’t overcrowd the pan to keep the oil temperature steady.
-
Can I make Scandinavian rosettes without a special iron?
While a rosette iron is traditional and makes the process easier, if you don’t have one, you might try using small cookie cutters or other metal shapers for frying—but the delicate shape and crisp edges won’t be quite the same. Investing in a rosette iron pays off if you plan to make these often.
- How long do Scandinavian rosettes stay fresh?
When stored properly in an airtight container at room temperature, rosettes stay fresh and crispy for about 1-2 days. After that, they can start to lose their crunch but can be refreshed briefly in a hot oven.
- Can I add flavor variations to the batter?
Absolutely! Vanilla is classic, but you can stir in a bit of ground cinnamon, cardamom, almond extract, or even citrus zest. Just keep it subtle so you don’t overpower the light, airy character of the rosettes.
- Is it better to use whole milk or can I substitute?
Whole milk gives the nicest richness and texture to the batter, but you can substitute with 2% milk or a plant-based milk like oat or almond if needed. Just expect slightly different results in flavor and texture.
Final Thoughts
Making this Scandinavian Rosettes Recipe always feels like a little joyful ritual to me. The way those crisp pastries spring to life in the hot oil and the heavenly scent that fills my kitchen—it’s hard not to smile. I hope you’ll give it a try too and enjoy sharing these light, crispy treats that have such a warm history behind them. Once you make your first batch, you’ll find so many ways to put a personal spin on them, and I promise they’ll become a favorite for cozy mornings or festive occasions.
PrintScandinavian Rosettes Recipe

Scandinavian Rosettes are light, crispy, and delicately sweet fried pastries, traditionally enjoyed in Nordic countries. Made from a simple batter of eggs, sugar, flour, and milk, these rosettes are fried using a special rosette iron to create their signature intricate, flower-like shape. Perfectly crisp on the outside and tender on the inside, they are often dusted with powdered sugar or served with jam for a delightful treat.
- Prep Time: 15 minutes
- Cook Time: 20 minutes
- Total Time: 35 minutes
- Yield: 12–15 rosettes, depending on size 1x
- Category: Dessert
- Method: Frying
- Cuisine: Scandinavian
- Diet: Vegetarian
Ingredients
Batter Ingredients
- 2 eggs
- 1 tablespoon granulated sugar
- 1/4 teaspoon salt
- 1 cup all-purpose flour
- 1 cup whole milk
- 1 teaspoon vanilla extract (optional)
For Frying
- Oil for frying (vegetable or canola oil recommended)
Instructions
- Prepare the batter: In a mixing bowl, whisk together the eggs, granulated sugar, and salt until combined. Gradually sift in the all-purpose flour, mixing continuously to avoid lumps. Slowly add the whole milk and vanilla extract (if using), whisking until the batter is smooth and slightly runny. Let the batter rest for about 10 minutes to achieve the best texture.
- Heat the oil: Pour oil into a deep, heavy-bottomed pan to a depth sufficient for deep frying, and heat to about 375°F (190°C). Maintaining the correct temperature ensures the rosettes fry quickly and become crispy without absorbing too much oil.
- Prepare the rosette iron: Attach the rosette iron to a long handle and heat it by submerging in the hot oil for a few minutes until very hot. This prevents the batter from sticking and helps form the signature shape.
- Dip and fry: Remove the heated rosette iron from the oil carefully, then dip it into the batter, ensuring not to cover the edge. Immediately submerge the iron back into the hot oil and fry until the rosette turns golden brown, about 30-60 seconds. Gently shake or use a fork to release the rosette from the iron once it is cooked.
- Drain and cool: Place the fried rosettes on paper towels to drain excess oil. Allow them to cool slightly to crisp up further.
- Serve: Dust the rosettes with powdered sugar or serve with your favorite jam or preserves. Enjoy them fresh for the best texture and flavor.
Notes
- Ensure the batter is slightly runny but not too thin to hold shape on the iron.
- Maintaining the oil temperature is critical; too hot will burn the rosettes, too cool will make them greasy.
- Use a thermometer for accurate oil temperature measurement.
- Rosette irons come in various shapes, such as stars or flowers; choose your preferred shape.
- Rosettes are best enjoyed fresh and crispy but can be stored in an airtight container for 1-2 days.
- For a gluten-free version, substitute all-purpose flour with a gluten-free flour blend suitable for frying.
Keywords: Scandinavian rosettes, rosette pastries, crispy fried dessert, Nordic treats, traditional Scandinavian recipes